Morning Friends and Crafters. I had such a wonderful time at Hochanda. It was such a great show, Matt made me feel as relaxed as possible. The whole team at Hochanda made me feel right at home, very welcome and did everything they could to make it perfect. The set was staged to perfection, I met 'Magic Hands' in real life, I didn't even know they were attached to a person,lol Today, I thought I would share a tutorial for one of the show demos.

You will Need:
Craftascope 'Trent' A5 Media Stencil
Craftascope 'Profile' A5 Media Stamp Collection 2
Eco Green Acrylic Paint Mulch and Clamshell or Similar (Cream and Beige)
Brayer
Glass Mat or Gel Printing Plate 8 x 10''
8 x 4'' Tag
Crafters Companion Spray n Shine
Basic Rectangle Die (Approx 4 x 3'')
Mermaid Lagoon Distress Ink
Versafine Black Ink
Black Fine Liner
White Gel or Posca Pen
Black Card
Step 1: Create the background. Use a Brayer to spread a little of one colour onto your matt or plate. Scrunch up some copier paper and remove some of the colour to create a pattern. The add your tag face down and smooth the back, peel away to lift the print. Do this with your second colour, you really dont need much paint for this at all, leave to dry. Cut your rectangle from copier paper, keep both parts. Spray with a little Stick n Spray and position onto your tag.

Step 2: Use a smoothie or similar to add the Distress Ink all over the tag. The colour will highlight the texture from the acrylic resist. Rub over with a clean cloth or kitchen roll to remove any excess ink.

Step 3: Carefully position the outer rectangle and remove the inner. Next position the stencil and ink through with the black ink. Leave this to dry for 10 to 15 minutes to avoid any smudges.

Step 4: Remove the stencil to reveal.

Step 5: Remove the outer rectangle, make sure its dry, then remove any excess adhesive with a kitchen roll or similar.
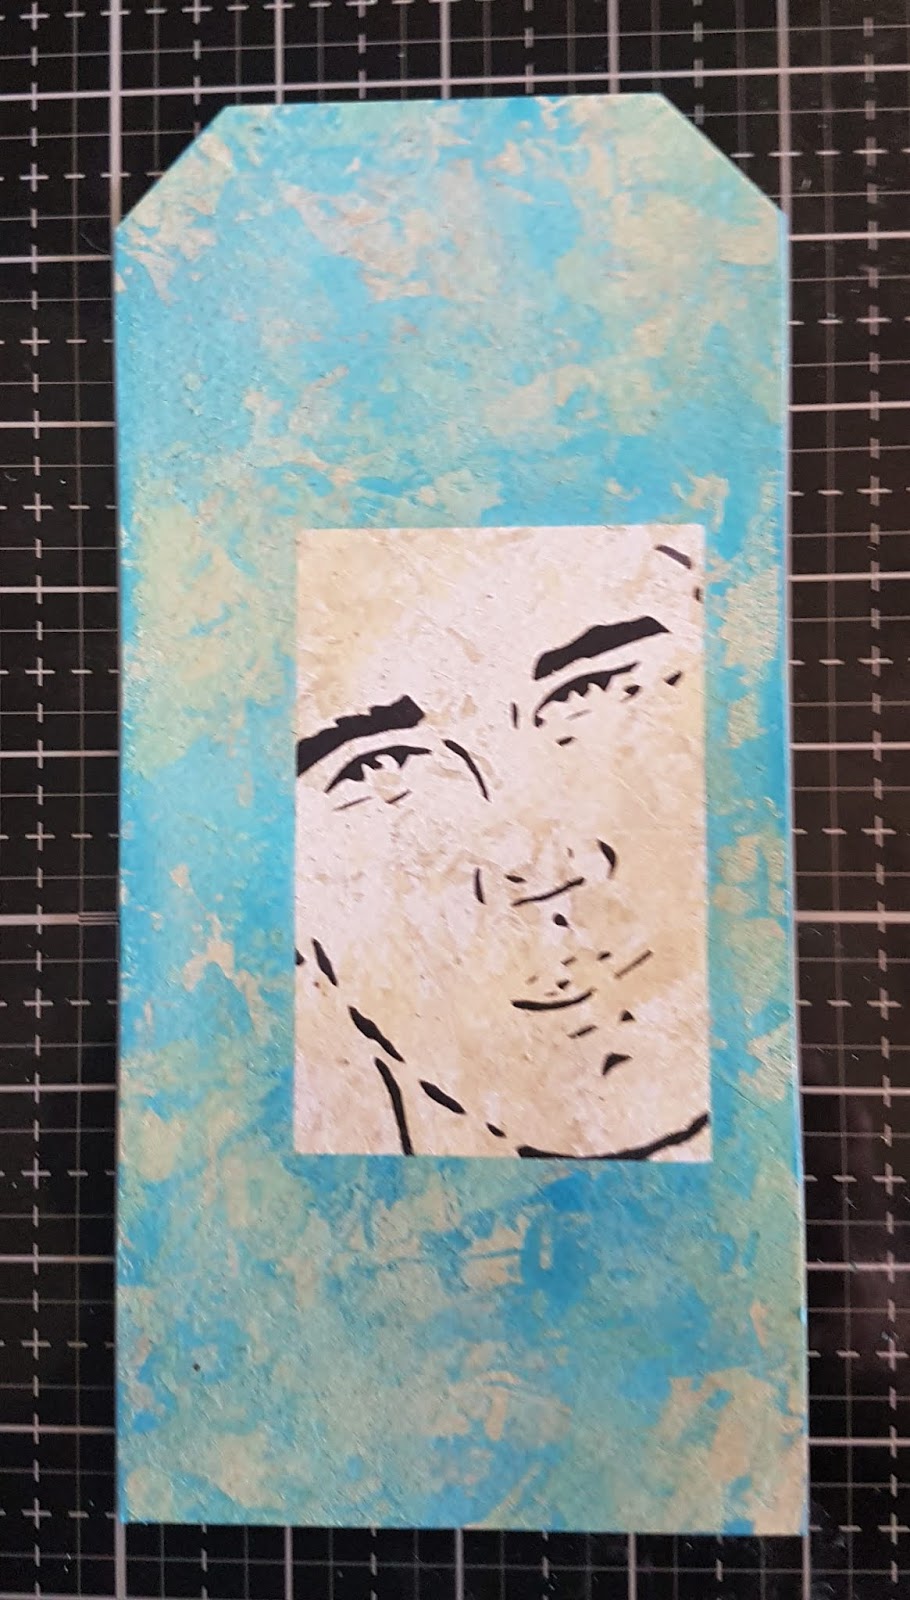
Step 6: Use your black fine liner to add a deckled edge around the rectangle, highlighting the image.

Step 7: Mount your tag onto Black card, Stamp your words onto white card and cut them out individually. Rather than mount these, take your black and white pens and add some detail around them. The tag is now complete, it's great on it's own but would also look great added to a card or other project.

If you would like to get your hands of the last few of my collection they are only available at Hochanda or via my Etsy site, a link is at the top of my blog (CRAFTSCOPE ETSY SHOP).
Just a little extra here: If you have not shopped with Hochanda before, here is a voucher code giving you 30% off your first purchase (FEY5JBP7) it can be used for any purchase, feel free to share it.
Thank you ever so much for joining me today. I do hope you have enjoyed the tutorial along with the finished project I have shared. I hope you will join me again very soon to see what else I have to share. For now Take care and Happy Crafting.xxx
I really like this sample. It looks simple but has hidden depth in the techniques that you have used. I remember your advice to just let go,not think about it and have fun! However that is so not me,if you haven't already guessed that! Not that this is necessarily the project to do that on,a bit more structured than the last two. However should probably be applied to most.
ReplyDeleteThank you for sharing Nicola x
Honestly Nicola, It wasn't me at all either, but once you have a go at something new you will find it takes you on a whole new journey. Very exciting too. I am really happy you lie this one, It's a little reminder of my first show on Hochanda. Thank you.xx
ReplyDelete