Wednesday 25 April 2018

Monochrome Mandala

Morning, I hope you are well and have been enjoying the nice weather. The Mozzies are out in force here, so I have been bitten a treat. Getting things sorted with Immigration at the moment, so I am hoping that everything will be sorted by next week and I can get back to posting as normal. Today I thought, I would share a simple but striking way of using the wonderful Henna Easel.

You will need:
'Best Wishes' From the Rose Easel Dies Set
Die'Sire Create a Card Henna Easel Die Set
Matt Black Card 
Centura Pearl White 'Hint of Silver'
Burgundy Double Sided Satin Ribbon

Step 1: Create you base Easel Blank using the dies set with Matt Black Card.

Step 2: Create a mat using the largest die for your topper. Also cut the same using Centura Pearl.

Step 3: Wrap a length of ribbon around your card and secure at the back using double sided tape.

Step 4: From Centura Pearl, use both outer dies to create a slim frame for your base. Then secure with Tacky Glue.

Step 5: Cut your detail into the black topper section. Next place the Centura Pearl behind with the dies still in place, then run through your machine to emboss rather than cut.

Step 6: For the base repeat with the largest detail die to create an accent piece for your base, secure with 3D glue gel.

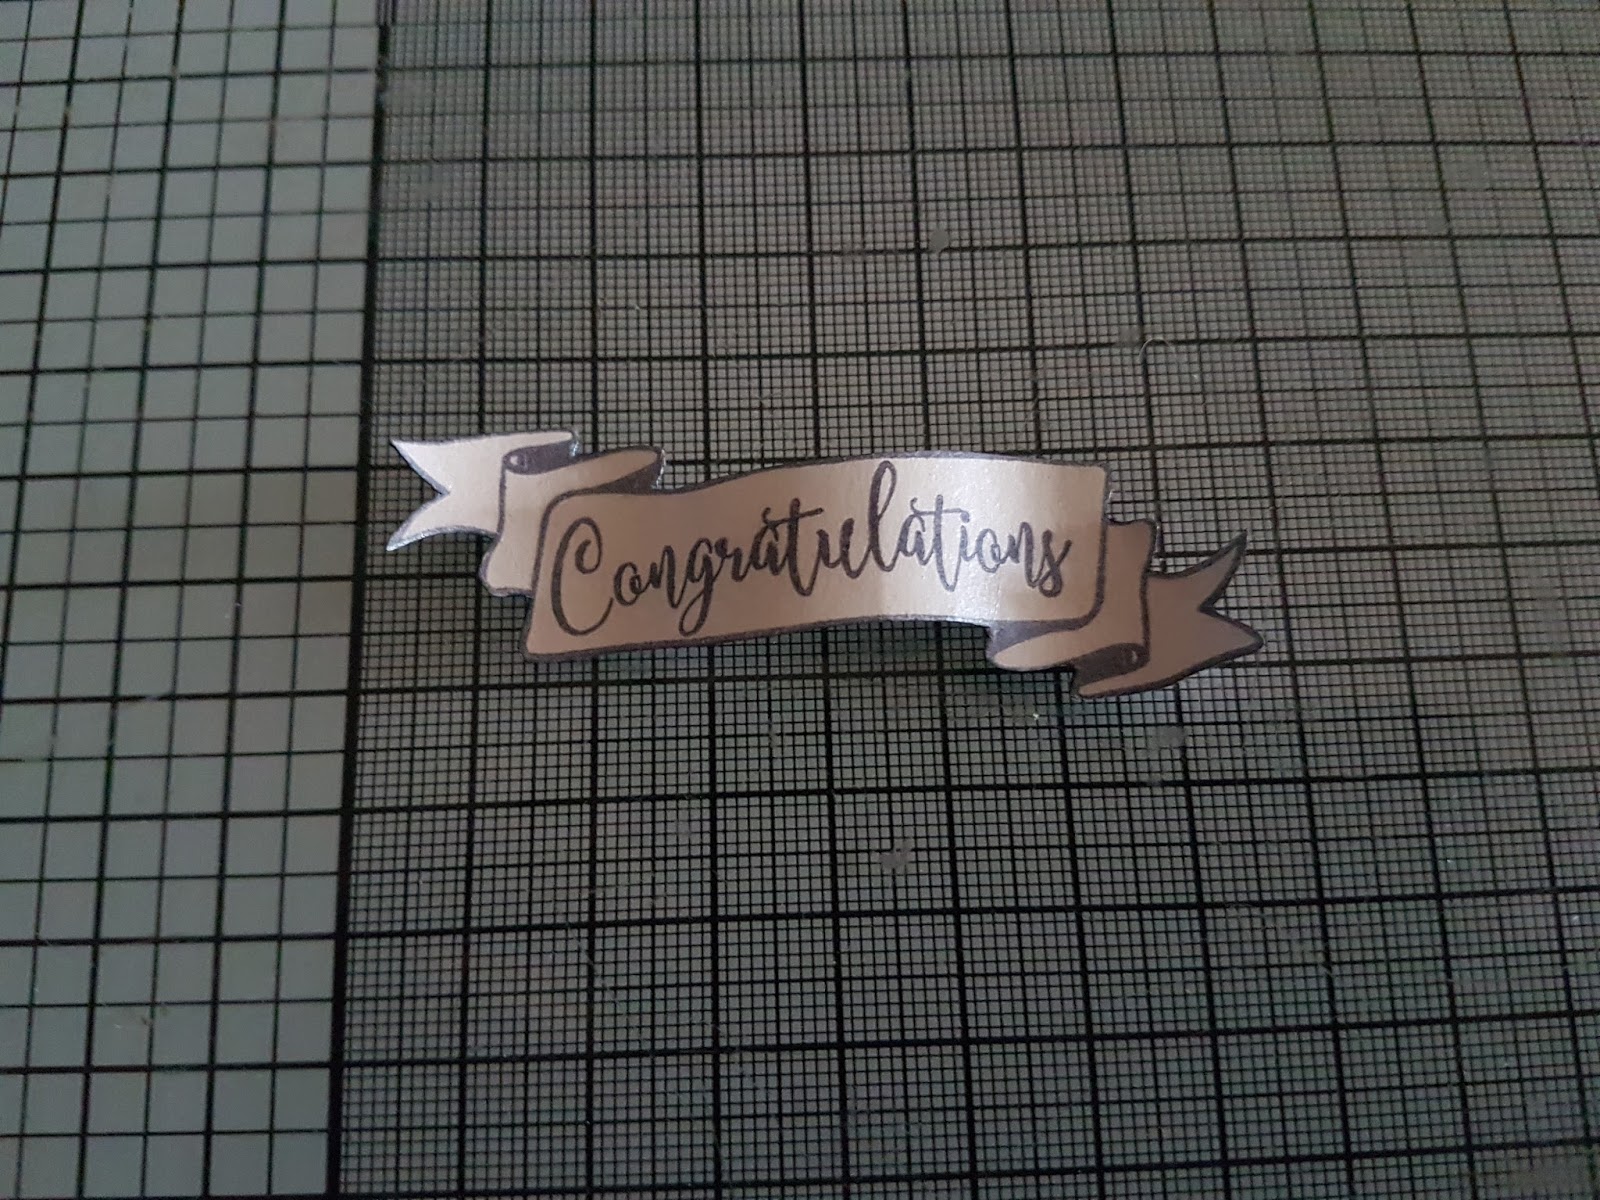
Step 7: Add a matching bow to finish your card, then add a sentiment in a matching colour.

Thank you so much for taking the time to visit today. I hope you have enjoyed the tutorial and the finished card. I do hope you will continue visiting to see what else I have to share with you. Take care and Happy Crafting.xx

Saturday 14 April 2018

A Single Red Rose

Morning, I hope you are all well, I am sharing a Red Foamiran Rose this morning along with a Tutorial for anyone who would like to see how it was made. If people would like me to, I can make some Tutorial Videos at some point in the future (as soon as I sort out my Camera). For now though I do hope you enjoy the written tutorial I have shared along with the finished Rose.

For this you will need:
Red Foamiran
Scissors
Red and Deep Purple Oil Pastels
Aluminum Foil
Florist Wire
Iron
Hot Glue Gun

Step 1: Cut 20, 3.5 x 3.5 cm squares of Foamiran and 19, 4.5 x 4.5 cm squares.

Step 2: Round the corners of your Foamiran squares (shown above on card), to give a petal shape.

Step 3: Colour the petals using a sponge with your oil pastels. Use more of the purple on the smaller petals to really deepen the colour and less on half of the larger petals, leave the other half with just the red pastel. Add the Purple to all of the edges. (TOP TIP) It's easier to edges the petals by grouping say 5 or 6 together and tinting the edges rather than singly.

Step 4: Take one petal, heat on the medium iron, concertina fold, then roll and twist between your fingers. Using the thumb and forefinger of each hand gently stretch the mid section of the petal. Do this for each of your petals. For the larger petals repeat this but afterwards gently roll the edges outwards and over. (Look at a real petal and try to emulate them as close as you can.

Step 5: Cut off the points of your petals, about 3 mm in. Roll a cone shape of foil, make a hole in it and secure your twisted florist wire inside the hole with Hot glue.

Step 6: Take your first small petal, add glue to the cone and gently shape the petal around the cone, it shouldn't go all of the way round. Shape the petal into something resembling a witches hat. Repeat with another petal on the opposite side of the cone. Repeat again with one more petal. Then add each petal in turn, so it half overlaps the previous petal. Repeat with all of the petals.

Step 7: With the larger petals, use slightly less glue than before as you want these to be slightly looser, while still adding enough to hold in place. Repeat this until you have 6 - 8 petals left. Then for a looser bloom add even less glue for the last ones. If you want a tighter bloom continue as before.

TOP TIP: You can stop at any time you are happy with the size of your Rose or even just use the smaller petals. Just make a note of the amount you have used for future reference. The Rose I have made here uses all of the petals.

For all of you Foamiran Supplies Visit: 14 Craft Bar

Many thanks for joining me today, I hope you like the Tutorial I have shared today along with the finished Rose. If you would like to see the Roses and other flowers on video do let me know in the comments below or if you have any feedback at all. I do like to know what people think or if there is anything in particular you would like to see or learn. For now Take care and Happy Crafting.xxx 

Friday 13 April 2018

Happy Couple

Hi Everyone, I am very late with my blog post today. I am still trying to sort out far too many things, dont have enough time and I am desperately falling behind. I am sharing this card today, made with the Sara's 'Rustic Wedding' Collection, as it's been such a huge success. As always, I have provided a full Tutorial with additional photos, which I do hope you will enjoy.

You Will Need:
Rustic Wedding Delicate Heart Dies
Rustic Wedding Chic Border Die
Rustic Wedding Just Married Die
Rustic Wedding A4 Printed Kraft Card
Rustic Wedding Jute Twine
Sue Wilson Largest of the Ornate Pierced Rectangles (Noble Collection)
Funky Foam, Craft foam or similar
Parchment
Red or Silver Mirri card
Centura Pearl White 'Hint of Silver'
Quickie Glue Pen
Clear Glitter
White Stayzon Ink Pad
Embossing tool and Embossing Mat
Clear Tape
Crafters Companion Tape Runner

Step 1: Cut the 'Just Married' die in Funky Foam, You will only need the couple for this. (See Photo). Secure this to a stamping block and stamp onto the parchment using White Stayzon Ink.

Step 2: From the back of your parchment, emboss on a mat using the small embossing tool, Just the outline and a little white work for shape and dimension.

Step 3: You will need a card blank measuring  6 3/4'' x 8 1/4''. Centre the die into the front of your card to create the aperture.

 Step 4: Take another sheet of card, again centre the die, This will eventually go on the inside front of your card to cover the workings.

Step 5: Cut out the Chic Border 4 times

Step 6: Select a sheet from the Printed Kraft Card pack.

Step 7:Cut the couple out using the outer Delicate Border die, also one from mirri card. Secure the parchment to the mirri using a tape runner around the edges. Scribble on the parchments around the edge and cover with clear glitter.
Cut another Heart using Centura Pearl, then the full heart with decorative insert from Kraft card.


Step 8: Secure a Chic Border die centrally on the inside of your card (Pearl Outward Facing). Repeat this top and bottom. Secure a length of twine between the centre points and secure with clear tape. Secure the Chic Border die cuts over the first to pan bottom, this time pearl facing inwards.

Step 9: Secure the inner aperture  to hide all the workings and give a professional look. To finish your card carefully sandwich the hearts together across the jute, making sure the heart is central between top and bottom of the card.

Thank you ever so much for joining me again today, It's always nice to have your company. I hope hope you have enjoyed the tutorial I have shared along with the finished card. I do hope you will stop by again to see what I have to share. Have a great weekend and see you next week. Take care and Happy Crafting.xx


Thursday 12 April 2018

Moonlit Couple

Morning, I have another project for you this morning using the 'Rustic Wedding' Signature Collection from Sara. Just by changing the colours used, the look and feel changes completely. I thought it might be a good idea to share to show you how versatile it can be, even when used within the wedding theme. We all adore the Rustic look, but it's always good to make as much use as possible from your stash. A quiet moment for the Happy couple in the moonlight, after all the excitement of the day, The Perfect Ending.

You will need:
Rustic Wedding 'Just Married Die'
Rustic Wedding 'Always and Forever' Stamp Set
Matt Black Card 6 x 6''
Sheena Stamping Card 6 x 6''
Centura Pearl Hint of Silver Card Base 6.5 X 6.5''
Distress Inks: Faded Jeans, Blueprint Sketch and Chipped Sapphire
Silver Embossing Powder
Versamark Ink Pad
Anti Static Bag
Heat Gun
Pebeo Silver Gilding Wax
Self Adhesive Sheet (single sided)
Clear Glitter


Step 1: Create your landscape on the Sheena Card, Use ripped copier paper for the hills and mountains. Use the Distress inks, the deeper shades towards the edges and lighter towards where the hills meet to give the moonlit illusion. Use Stick n Spray to secure a circle to your piece, position it where you would like your oversized moon.

Step 2: Add your sky, again the darker shades blending towards the centre, getting lighter towards the moon and land. Deepen the edges with the deepest colour. Then stamp a few tress for depth of your scene.

Step 3: Centre your die within the black card, cut and emboss the first. The cut a further 2 the same, layer them up using Tacky Glue, keeping the embossed piece at the top.

Step 4: Use a section of self adhesive sheet behind the bride, trim around the edges with scissors. Cover with clear glitter to add sparkle to her dress. Secure to your background piece with either foam tape or 3D glue gel.

Step 5: Using Versamark, stamp the 'Just Married' sentiment within the banner and emboss with silver embossing powder. (Don't forget to use your anti-static bag first). Trim around the banner, shape and add to your design.

Step 6: Sparingly add the silver gilding wax, to the trees and leaves to add the hint of moonlight. The to finish the card add to your card base, made with Centura Pearl, Hint of Silver.

Thank you for joining me today, I really hope you have enjoyed the tutorial along with the finished card today. I do hope you will join me again as there is always something to share. For now take care and Happy Crafting.xxx

Wednesday 11 April 2018

Congratulations

Welcome to my first Tutorial using the amazing 'Rustic Wedding' Collection by Sara. What an amazing launch it was, I do hope you saw the shows. For my card today, I have used Foamiran to make the rose, In fact the first time I have ever used a quilling die with Foamiran. I do hope you enjoy the tutorial I have shared today.

For this card you will need:

Always and Forever Rustic Wedding Stamp Set
Rustic Wedding 6 x 6 Pad
Rustic Wedding A4 Printed Kraft Card
Rustic Wedding Bridal Bouquet Die
Rustic Wedding Hope Die
Rustic Wedding Newlyweds Die Set
Rustic Wedding Self Adhesive Hessian
Black Card
Versafine Black Ink Pad
Peeled Paint Distress Ink
Pale Peach or Pink Oil Pastel
White Foamiran
Green Foamiran
Adhesives, Tacky Glue, Foams Pads
Hot Glue Gun

Step 1: Cut out the White Foamiran with your die, then in green cut the leaves from the coordinating die. Colour the ends of the  petals sparingly at the ends and  then stretch and shape. For a fuller bloom use 2 of these die cuts. (For more Information of using the foamiran see LINK).

Step 2: Create you rose using a small amount of hot glue on the base of each petal in turn building up your flower.

Step 3: Cut a Calyx shape from green Foamiran, I have detailed this in my flower forming blog (See Post for more information) Colour using peeled paint Distress Ink.

Step 4:  Twist the leaves together and turn too and fro to give a more realistic look.

Step 5: Secure to the base of your rose with hot glue.

Step 6: Stamp the banner and sentiment from the collection onto Centura Pearl. Cut out.

Step 7: Cut the Hessian, using the heart die from the Newlyweds set. Onto mat black card draw around the same die and cut out, this creates the perfect thin mat for your hessian heart. Secure together.

Step 8: Cut out 'Hope' from Centura Pearl and position onto your layered hearts.

Step 9: Select a sheet from the 6 x 6 paper pad and layer it onto black card, leaving a narrow border.

Step 10: Create an 8 x 8 card base from the same Centura Pearl card. The taking a sheet from the printed Kraft card layer onto your base.

Step 11: Using foam pads add your decorative paper layers to the card, as shown.

Step 12: Arrange the heart in the centre, finally position your rose and banner to finish your card.

Thank you so much for joining me today, I really hope you have enjoyed the tutorial I have shared along with the finished card. Please join me again to see what I have to share. I would love to have your comments so I know that you like what I am sharing or not. Take care and Happy Crafting.xxx

Tuesday 10 April 2018

Accent Flowers and Leaves from Foamiran

Morning, I have been so touched by the amount of Messages and comments I have had about the Bowl of Foamiran Roses I shared with you. To be quite honest I really wasn't expecting so many, It has really made me very happy to realise just how king you all are. It's taken me hours to answer you all and I really hope I haven't missed anyone out, please forgive me if I have. I now have a second Tutorial on the Hochanda blog to show the accent flowers and Leaves.

They are wonderful to add the finishing touches to your beautiful creations. I do hope you will take a look. If you do have the time to leave your comments on the blog so I know what sort of thing you would like to see and if there are any areas you would like me to cover. As I mentioned I will do a video if enough people would prefer it.

Please take a look at my Tutorial Here. If you missed the main rose making tutorial is can be found HERE. For now, Take care and Happy Crafting.xx

Sunday 8 April 2018

Foamiran Roses

Morning Everyone. This is a post I have been desperate to share with you since I wrote it as part of my Flower Making Series on the Hochanda Blog. Today it's been published so I can now share it with you. The lovely Anna Hersom is on our screens tomorrow at 11 am and 3 pm bringing a selection of the Foamiran sheets along with other accessories and dies to help create the most amazing floral embellishments for any purpose.

My post on the Hochanda Blog includes a tutorial to make a rose with the Foamiran so I do hope you will visit and if you have time leave a comment and please share that post.

Thank you so much for taking the time to visit today, For now take care and Happy Crafting.xx