Showing posts with label Foamiran Rose. Show all posts

Tuesday, 21 August 2018

Foamiran Roses

Morning Friends and Crafters, it seems like a long time since I shared with you all. Anyway, I have received a few messages and comments about making roses with Foamiran, I have made a few videos so far, so in today's blog post I thought I would share the links again rather than a tutorial. My top aim is to have you all enjoying making your foamiran flowers and to be 100% happy with what you are making, so I hope I might be able to help.

Foamiran is such a wonderful medium to use for flowers, it gives especially good results wit roses. I know the first couple can be tricky (we have all been there), but once you have mastered the techniques, you will be producing the most amazing and realistic blooms.

At first, really take your time to add the shape to your petals. It's really worth the effort, once you have that you will become a lot faster and shaping them is such a relaxing pastime, you can really lose yourself.

I'd really like to hear form anyone , so I know where you feel things are going wrong, or where you are having difficulty. Thats way I can try and help or give some advice, it will also help mw to know what sort of video will help the most.

I have included a selection of video within this post, if there are certain areas you would like covered, please let e know in the comments section. My top advice would be to forget all about the colouring to begin with, use either White or Ecru Foamiran until you are happy with your results.

Thank you ever so much for joining me today, I hope you have found this post useful. I hope to be back with you very soon. For now, Take care and Happy Crafting.xx

Saturday, 4 August 2018

Decorated Foamiran Gift Box)

Hi Friends and Crafters, I do hope you are all well. We all love making blooms from Foamiran from 14 Craft Bar, so I thought it would be a nice idea to share a box I made and decorated to deliver when giving as a gift or even if you sell your flowers. I made a rose and then made the box to fit, so dimensions will depend on your project.

You will need:
Oil Pastels Green and Pale Pink
Florist Wire
Green Florist Tape
Hot Glue Gun
Aluminum Foil
Box Made to Measure with Viewing Window
Pink Satin Ribbon Bows x 2
Small Mulberry Paper Flowers (Roses and Flowers)

Step 1: Cut the foamiran into squares.
For the Pink Rose: Pink 3.5 x 3.5 cm, White 4.5 x 4.5 and 6 x 6 cm
For the White Roses: 3.5 cm and 4.5 x 4.5 cm

Step 2: Round off 3 of the corners to form a petal shape. I have a video to show this along with Shaping and Colouring on a previous post.

Step 3: Colour all of the petals green at the base. The for the pink rose colour the mid sized one with pink around the edges and the larger petal with a  little pink and some green.

Step 4: Shape all of your petals, heating then twisting and gently stretching them to a petal shape, Finally roll the edges outwards.

Step 5: Form a small come shape with foil, make a hole using a pokey tool and secure the florist wire in place with Hot Glue.

Step 6: Build up your blooms tightly in the center, getting loser as you go.

Step 7: Keep the white rose fairly lose, they want to be small but full.

Step 8: To finish the main rose add a green calyx , a leaf and then wrap with florist tape.

Step 9: Decorate the top of your box with the pink ribbon bows, white foamiran roses as the centerpiece and then some small flowers to create a pleasing effect.


Thank you ever so much for joining me today, I do hope you like the finished piece and found the tutorial and videos helpful. For now Take care and Happy Crafting. 

Sunday, 13 May 2018

A Single Bloom

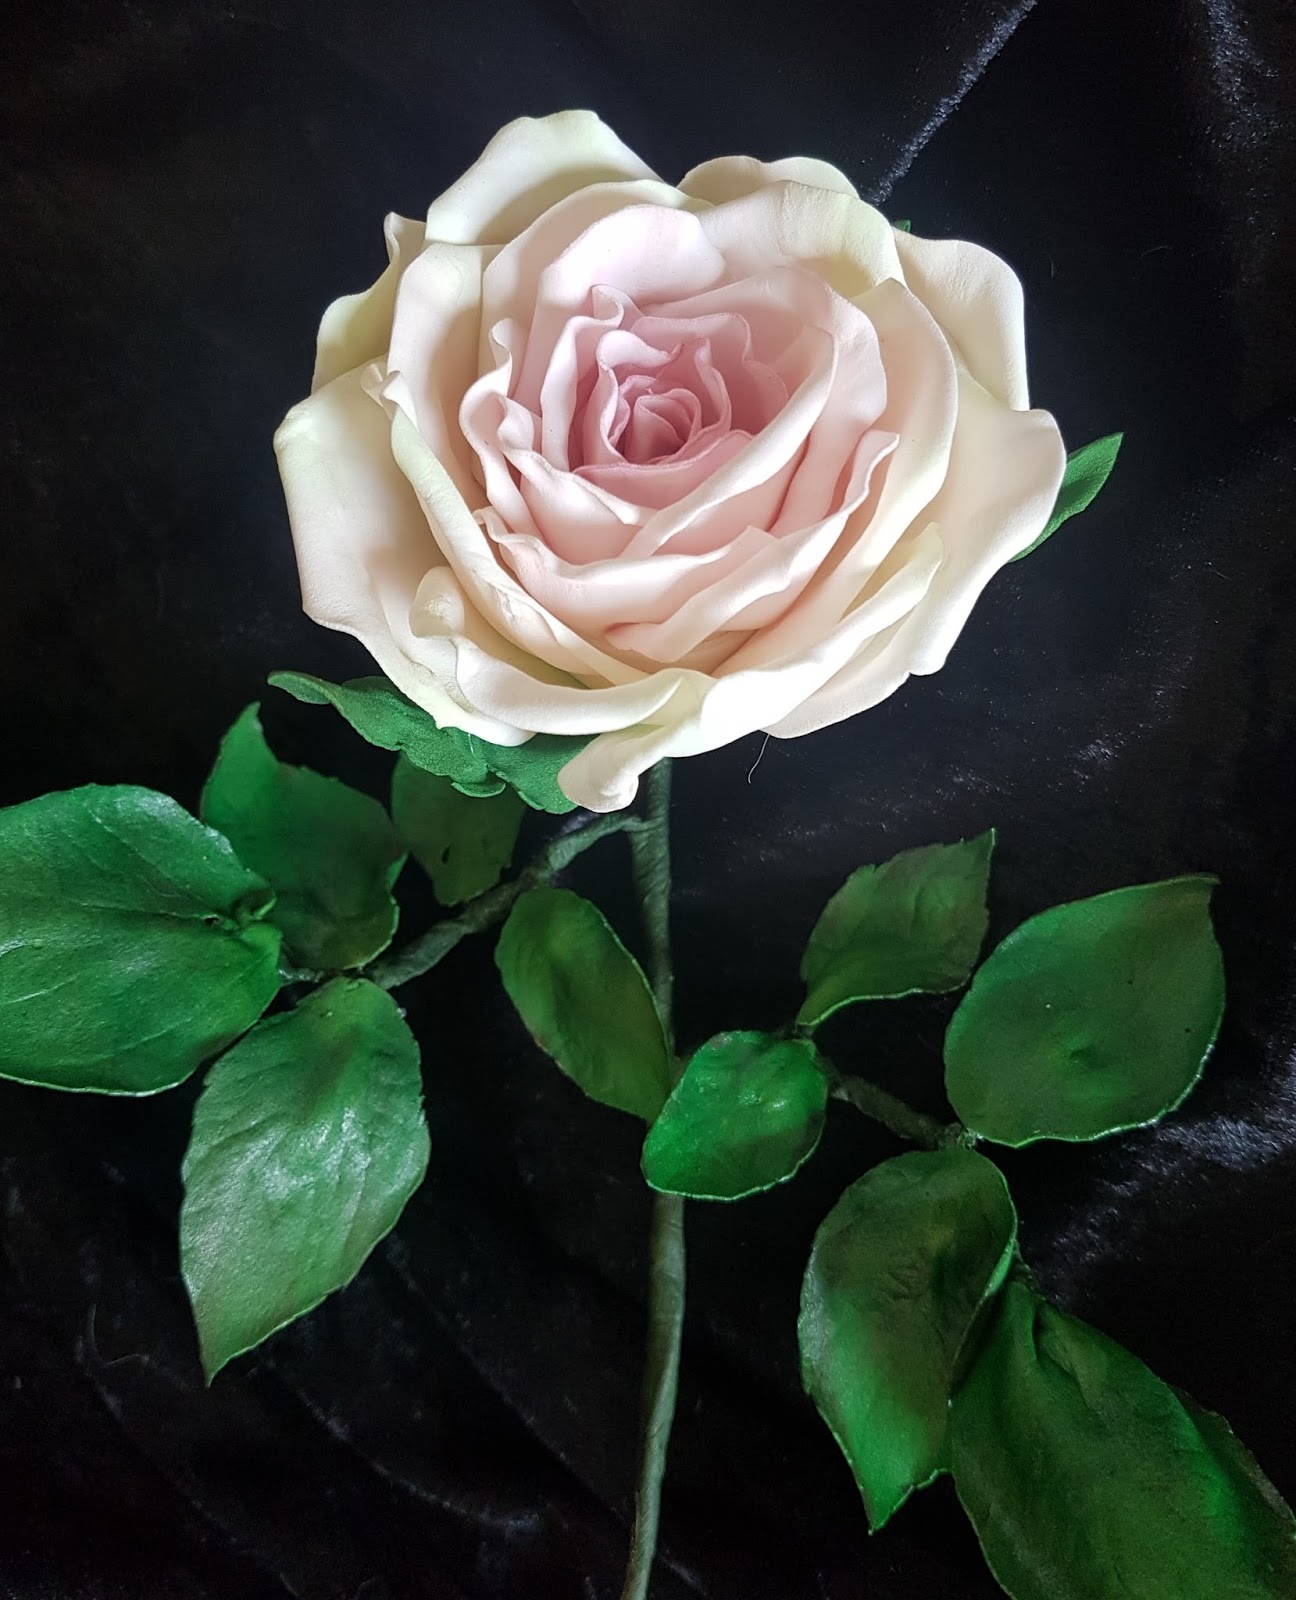
Morning Everyone, It's a real pleasure to be sharing my first post as part of the 14CraftBar Design Team. I am thrilled as it's a real honour to be part of such a talented team doing something that I really love, anyone who knows me will know that I love Roses. So today I am sharing a Beautiful Single Rose Bloom made with Foamiran from 14CraftBar.


You will need:
Florist Wire
Copper Wire
Green Florist Tape
Glue Gun
Mod Podge Glossy
Oil Pastels Petals: Green, Peach and Pink. Leaves: Dark Green and Deep Red

I have actually done a few sections of video to go with this tutorial,however it was really disappointing as I have a new kitten who was calling for mum, I dont know how to turn the sound off, so I will try again next time.

Step 1: Prepare your petals from squares, rounding off 3 of the corners as shown in the picture. You need 7 - 4 x 4 cm, 7 - 4.5 x 4.5 cm and 12 - 5 x 5 cm.

Step 2: Colour your petals, each of the sized needs green at the base, front and back. Edge the smallest leaves with the pink, then blend pink on the front and back of the petals. For the mid size use very little pink and more peach. For the largest size use a little green and mostly peach.

Step 3: Shape your petals, by concertina folding the top edges and twisting them back and forth, Lightly stretch to give a cupped middle, For the mid and large sizes roll the petal gently outwards.

Step 4: Roll a cone shape and secure to the end of a piece of copper wire. Take the petal and secure around the cone as shown.

Step 5: Repeat on the opposite side as shown.


Step 6: Repeat with all of your smaller petals.


Step 7: Next add your mid size petals, overlapping each over the last. Make sure to secure these slightly loser than before.


Step 8: Cut a selection of leaves from the green Foamiran, also cut a calyx shape.

Step 9: Colour these using dark green oil pastels and areas of red, especially around the edges.

Step 10: Roll a small piece of foil, thread onto the wire and secure at the base of the rose.

Step 11: Add the calyx, secure in place with the glue gun, shape around the foil using a toothpick.

Step 12: Firstly add veins to each leaf using the mold then wire all the leaves and join them to form the classic rose leaf arrangement.

Step 13: Wire the leaves to the stem and cover with florist tape, paint the leaves with glossy Mod Podge or similar.

Step 14: Enjoy your beautiful bloom.


Thank you so much for joining me today. I really hope you enjoyed it and I promise to do a video for the roses in my next post. I would love to have your comments and to hear what you think. For now Take care and Happy Crafting.xx

Saturday, 12 May 2018

A wonderful day and some Great News

Morning. It looks like it's going to be another wonderful day today. I hope you are still enjoying some nice weather wherever you are. I am very excited to be able to share some wonderful news this morning. 

I was asked to join the Foamiran 14CraftBar 2018 Design Team, it's being announced this morning. Many of you know how much I love making flowers of all types, but especially Roses. Making them from all sorts of mediums, such as the wonderful Clay from FMM and of course the superb Foamiran from 14CraftBar. You really can achieve some amazing results with it, so to join such a super talented group is a dream come true for me.

I have my first project as part of their team being published tomorrow morning on their blog so I do hope you will take a look at what I have create this week. I will also be sharing it on here.

I did a video this time, but I was very disappointed with it. It took ages to set up and I had the music all ready and playing as I made it. However when I played it back to check there was the noise of a kitten crying for Mum in the background. I tried to removed the sound without success so it's not really good enough to share. In addition the glue gun looked awful on camera, I had no idea I had used it so much, so a new one is on its way. Don't worry, I will be doing another to share with you. For now take care and Happy Crafting.xx

Wednesday, 11 April 2018

Congratulations

Welcome to my first Tutorial using the amazing 'Rustic Wedding' Collection by Sara. What an amazing launch it was, I do hope you saw the shows. For my card today, I have used Foamiran to make the rose, In fact the first time I have ever used a quilling die with Foamiran. I do hope you enjoy the tutorial I have shared today.

For this card you will need:

Always and Forever Rustic Wedding Stamp Set
Rustic Wedding 6 x 6 Pad
Rustic Wedding A4 Printed Kraft Card
Rustic Wedding Bridal Bouquet Die
Rustic Wedding Hope Die
Rustic Wedding Newlyweds Die Set
Rustic Wedding Self Adhesive Hessian
Black Card
Versafine Black Ink Pad
Peeled Paint Distress Ink
Pale Peach or Pink Oil Pastel
White Foamiran
Green Foamiran
Adhesives, Tacky Glue, Foams Pads
Hot Glue Gun

Step 1: Cut out the White Foamiran with your die, then in green cut the leaves from the coordinating die. Colour the ends of the  petals sparingly at the ends and  then stretch and shape. For a fuller bloom use 2 of these die cuts. (For more Information of using the foamiran see LINK).

Step 2: Create you rose using a small amount of hot glue on the base of each petal in turn building up your flower.

Step 3: Cut a Calyx shape from green Foamiran, I have detailed this in my flower forming blog (See Post for more information) Colour using peeled paint Distress Ink.

Step 4:  Twist the leaves together and turn too and fro to give a more realistic look.

Step 5: Secure to the base of your rose with hot glue.

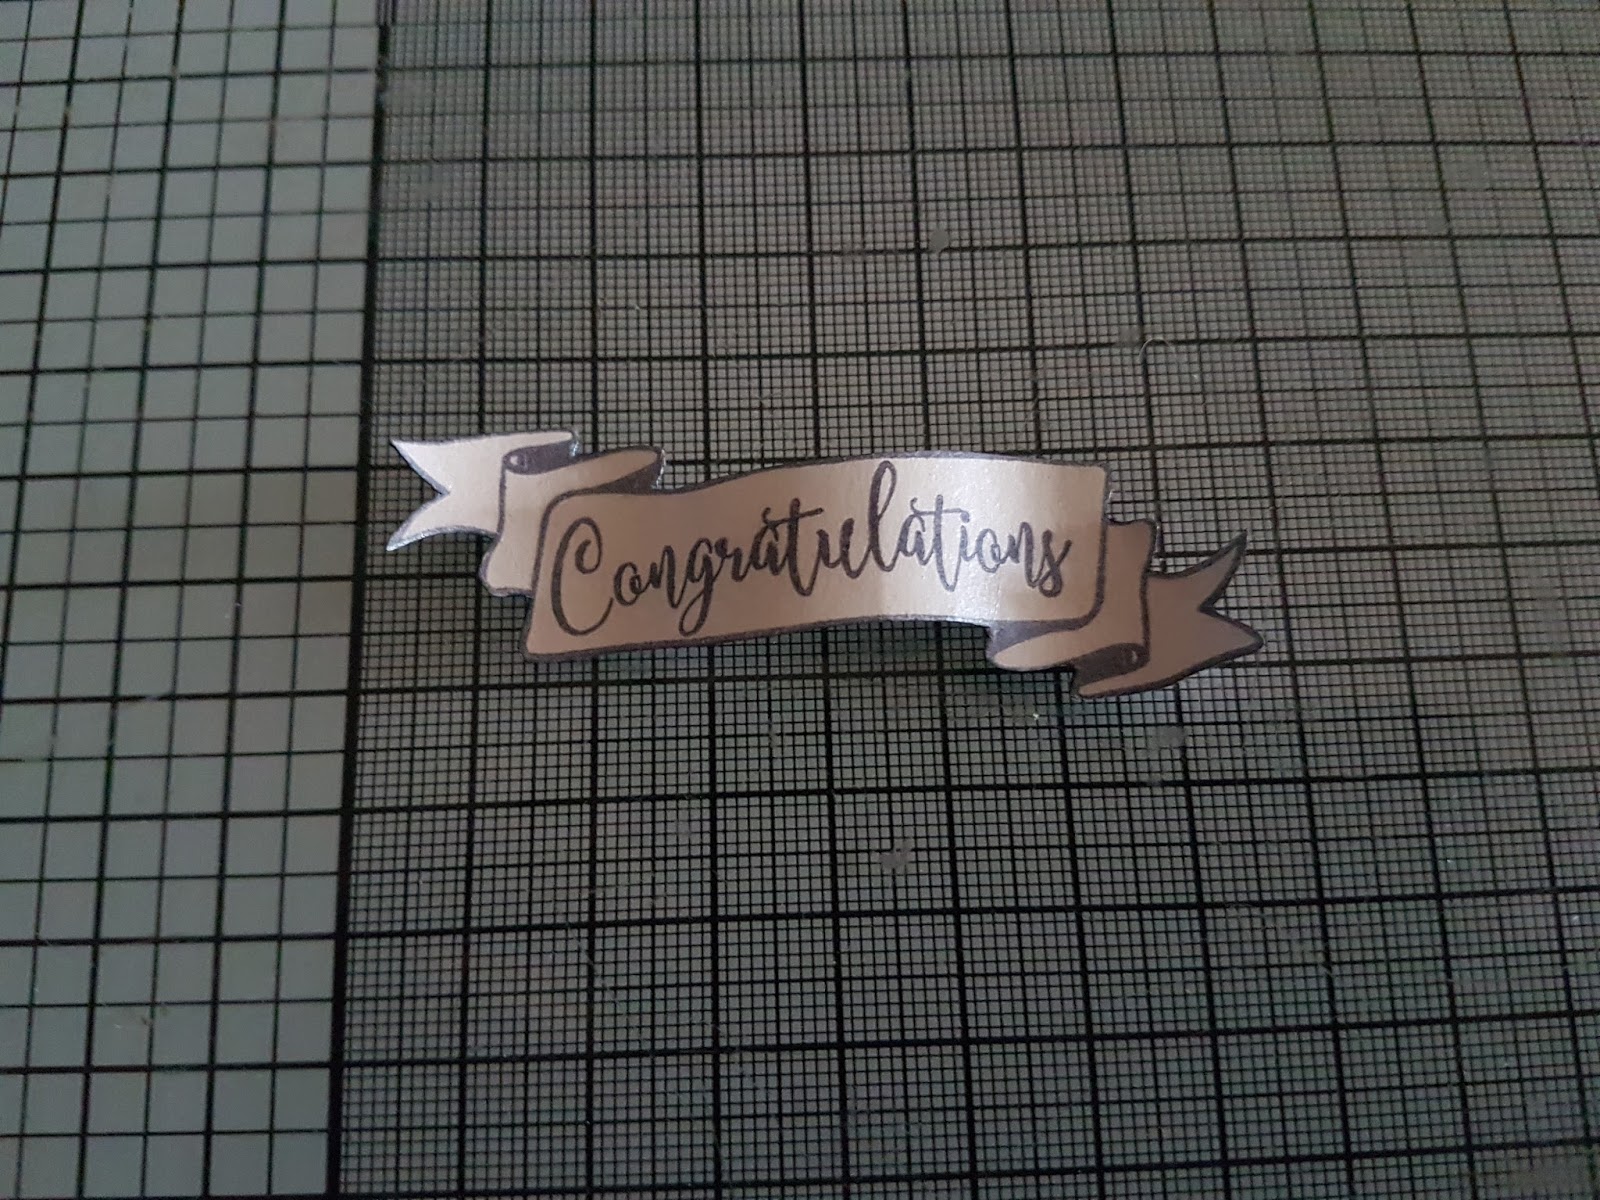
Step 6: Stamp the banner and sentiment from the collection onto Centura Pearl. Cut out.

Step 7: Cut the Hessian, using the heart die from the Newlyweds set. Onto mat black card draw around the same die and cut out, this creates the perfect thin mat for your hessian heart. Secure together.

Step 8: Cut out 'Hope' from Centura Pearl and position onto your layered hearts.

Step 9: Select a sheet from the 6 x 6 paper pad and layer it onto black card, leaving a narrow border.

Step 10: Create an 8 x 8 card base from the same Centura Pearl card. The taking a sheet from the printed Kraft card layer onto your base.

Step 11: Using foam pads add your decorative paper layers to the card, as shown.

Step 12: Arrange the heart in the centre, finally position your rose and banner to finish your card.

Thank you so much for joining me today, I really hope you have enjoyed the tutorial I have shared along with the finished card. Please join me again to see what I have to share. I would love to have your comments so I know that you like what I am sharing or not. Take care and Happy Crafting.xxx