Welcome to my first Tutorial using the amazing 'Rustic Wedding' Collection by Sara. What an amazing launch it was, I do hope you saw the shows. For my card today, I have used Foamiran to make the rose, In fact the first time I have ever used a quilling die with Foamiran. I do hope you enjoy the tutorial I have shared today.

For this card you will need:
Always and Forever Rustic Wedding Stamp Set
Rustic Wedding 6 x 6 Pad
Rustic Wedding A4 Printed Kraft Card
Rustic Wedding Bridal Bouquet Die
Rustic Wedding Hope Die
Rustic Wedding Newlyweds Die Set
Rustic Wedding Self Adhesive Hessian
Black Card
Versafine Black Ink Pad
Peeled Paint Distress Ink
Pale Peach or Pink Oil Pastel
White Foamiran
Green Foamiran
Adhesives, Tacky Glue, Foams Pads
Hot Glue Gun
Step 1: Cut out the White Foamiran with your die, then in green cut the leaves from the coordinating die. Colour the ends of the petals sparingly at the ends and then stretch and shape. For a fuller bloom use 2 of these die cuts. (For more Information of using the foamiran see LINK).

Step 2: Create you rose using a small amount of hot glue on the base of each petal in turn building up your flower.

Step 3: Cut a Calyx shape from green Foamiran, I have detailed this in my flower forming blog (See Post for more information) Colour using peeled paint Distress Ink.

Step 4: Twist the leaves together and turn too and fro to give a more realistic look.

Step 5: Secure to the base of your rose with hot glue.

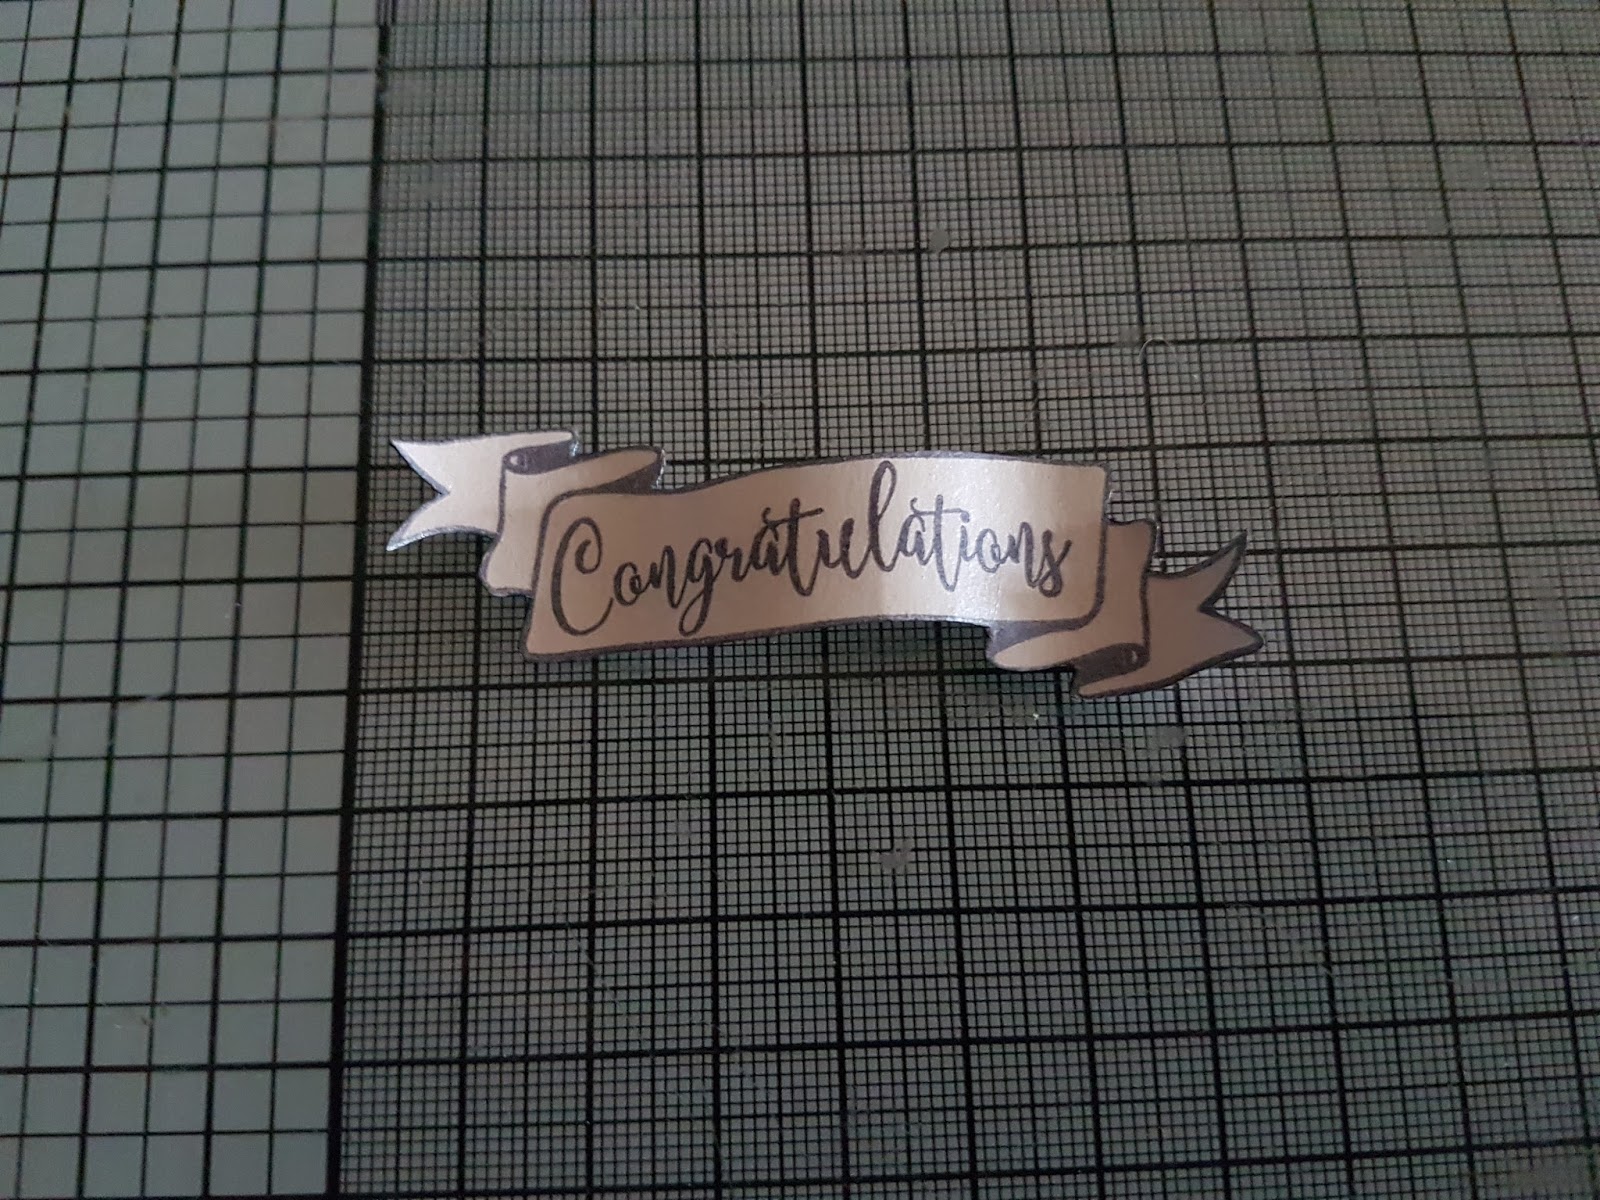
Step 6: Stamp the banner and sentiment from the collection onto Centura Pearl. Cut out.
Step 7: Cut the Hessian, using the heart die from the Newlyweds set. Onto mat black card draw around the same die and cut out, this creates the perfect thin mat for your hessian heart. Secure together.


Step 8: Cut out 'Hope' from Centura Pearl and position onto your layered hearts.

Step 9: Select a sheet from the 6 x 6 paper pad and layer it onto black card, leaving a narrow border.

Step 10: Create an 8 x 8 card base from the same Centura Pearl card. The taking a sheet from the printed Kraft card layer onto your base.

Step 11: Using foam pads add your decorative paper layers to the card, as shown.

Step 12: Arrange the heart in the centre, finally position your rose and banner to finish your card.


Thank you so much for joining me today, I really hope you have enjoyed the tutorial I have shared along with the finished card. Please join me again to see what I have to share. I would love to have your comments so I know that you like what I am sharing or not. Take care and Happy Crafting.xxx


