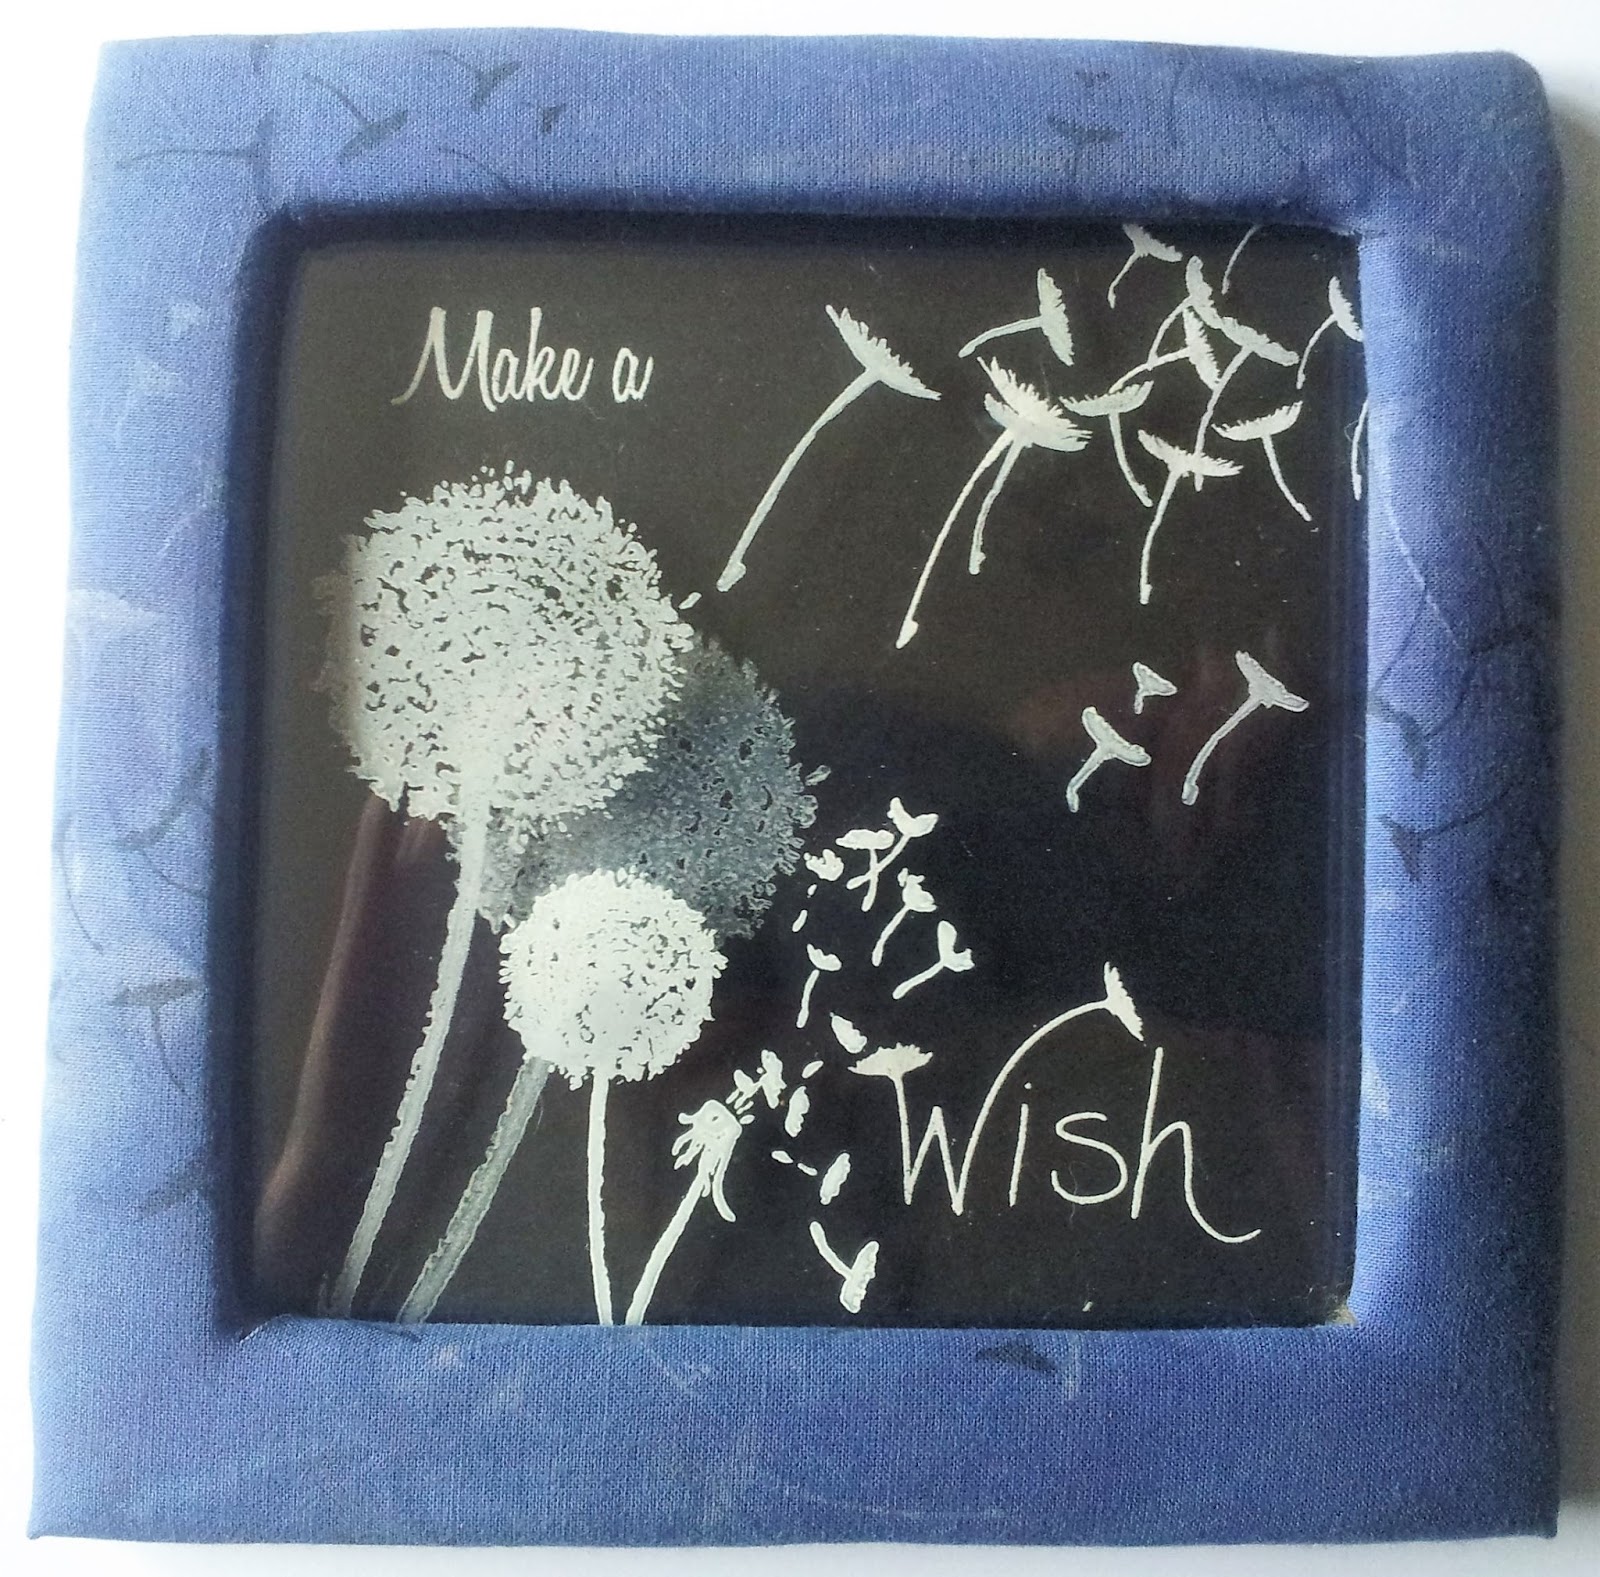
Morning, This is one of the projects I made for Bev's Bee Crafty launch show on Hochanda live from Alexandra Palace. I wanted to add a frame to this large MDF piece and to create and almost 3D look with real depth, like the layered glass images you sometimes see. I used the beautiful Dandelion set for this, it's such a wonderful set of stamps with such great detail.

To start with, I took a piece of cardboard and cut it to the same size as the MDF. Then using a square die I cut an aperture that would give a large enough window for the design while still keeping enough of the frame for the support needed.

Next I cut some thick wadding to the same size as the frame I had cut from the cardboard.

I coloured the back section of my MDF with Black Soot Distress Ink, the MDF has such a super smooth finish and takes inks extremely well, without any need for an undercoat. I wanted to keep the smooth surface for this piece.

On this back section I used Versamark to stamp the Sentiment, Dandelion and Seed Heads, then embossed with White detail embossing powder, making sure that the design fitted within the frame. To add the other layers I used squares of acetate large enough to fit behind the frame. Taking the first sheet I overlaid it onto the MDF stamped image to allow me to position the next layer of stamping, for these I used white Stayzon Ink. I repeated this for my next layer. When these were both dry, I secured them in turn using foam tape to give the distance between layers.

I took a square of cream calico and stamped the dandelion seed heads around the area where the frame would be. I stamped them in both Black Versafine Ink and Versamark to act as a resist. Then I dyed the fabric using a blue denim fabric dye.

Once dry, I cut the centre so I could cover the frame.

I stretched and secured around the inner frame using Cosmic Shimmer glue. Because of the tab at the bottom I just folded this edge and secured above the tab. The other 3 sides were secured with Wonder Tape and Cosmic Shimmer glue.

I covered the base/stand with the same fabric I had used for the frame and cut out the slit.

I stretched and secured around the inner frame using Cosmic Shimmer glue. Because of the tab at the bottom I just folded this edge and secured above the tab. The other 3 sides were secured with Wonder Tape and Cosmic Shimmer glue.

I covered the base/stand with the same fabric I had used for the frame and cut out the slit.

To finish I secured the frame to my base with Cosmic Shimmer glue.
I hope you like this project and the step by step I have shared with you today, I thoroughly enjoyed making it and sad that I had to send it for the show. Hope to see you again tomorrow, Take care and Happy Crafting.xx


