Showing posts with label Bee Crafty Stamps. Show all posts

Saturday, 1 October 2016

Make a Wish

Morning, This is one of the projects I made for Bev's Bee Crafty launch show on Hochanda live from Alexandra Palace. I wanted to add a frame to this large MDF piece and to create and almost 3D look with real depth, like the layered glass images you sometimes see. I used the beautiful Dandelion set for this, it's such a wonderful set of stamps with such great detail.

To start with, I took a piece of cardboard and cut it to the same size as the MDF. Then using a square die I cut an aperture that would give a large enough window for the design while still keeping enough of the frame for the support needed.

Next I cut some thick wadding to the same size as the frame I had cut from the cardboard.

I coloured the back section of my MDF with Black Soot Distress Ink, the MDF has such a super smooth finish and takes inks extremely well, without any need for an undercoat. I wanted to keep the smooth surface for this piece.

On this back section I used Versamark to stamp the Sentiment, Dandelion and Seed Heads, then embossed with White detail embossing powder, making sure that the design fitted within the frame. To add the other layers I used squares of acetate large enough to fit behind the frame. Taking the first sheet I overlaid it onto the MDF stamped image to allow me to position the next layer of stamping, for these I used white Stayzon Ink. I repeated this for my next layer. When these were both dry, I secured them in turn using foam tape to give the distance between layers.

I took a square of cream calico  and stamped the dandelion seed heads around the area where the frame would be. I stamped them in both Black Versafine Ink and Versamark to act as a resist. Then I dyed the fabric using a blue denim fabric dye.

Once dry, I cut the centre so I could cover the frame.

I stretched and secured around the inner frame using Cosmic Shimmer glue. Because of the tab at the bottom I just folded this edge and secured above the tab. The other 3 sides were secured with Wonder Tape and Cosmic Shimmer glue.

I covered the base/stand with the same fabric I had used for the frame and cut out the slit.

To finish I secured the frame to my base with Cosmic Shimmer glue.
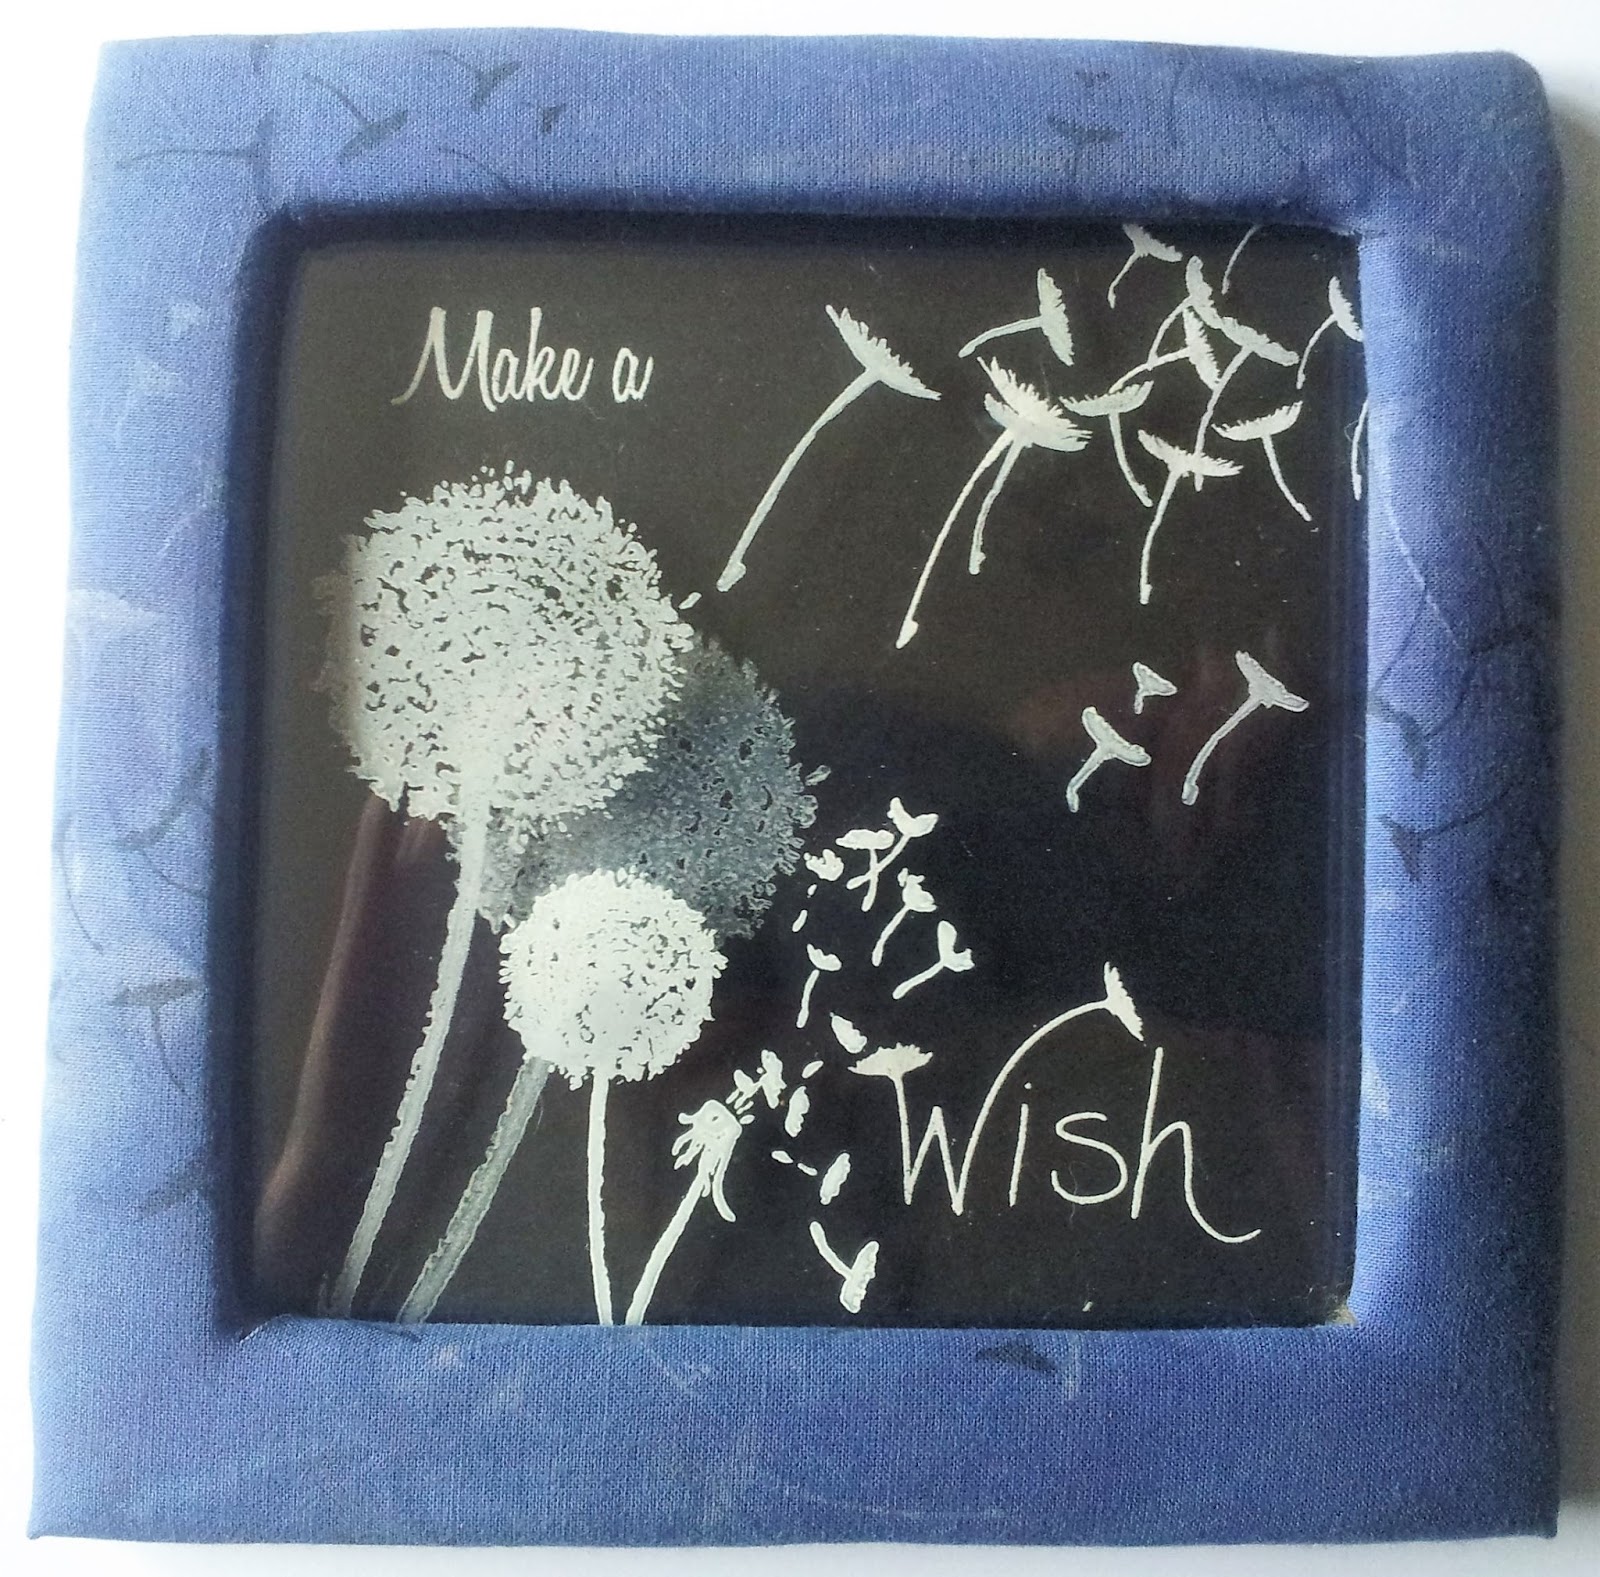
I hope you like this project and the step by step I have shared with you today, I thoroughly enjoyed making it and sad that I had to send it for the show. Hope to see you again tomorrow, Take care and Happy Crafting.xx

Tuesday, 30 August 2016

Back To Bed

Morning, I thought it would be nice to make a monochrome Christmas Card, Could be great for a mans card. You could also add a real statement shot of colour by adding a poinsettia in the corner, which I think would look great. For this card I used just one stamp from the Christmas Collection that Bev from Bee Crafty launched on Hochanda on August 18th, if you missed the shows, please visit the Hochanda Website as they will still be available via the Catch Up facility.

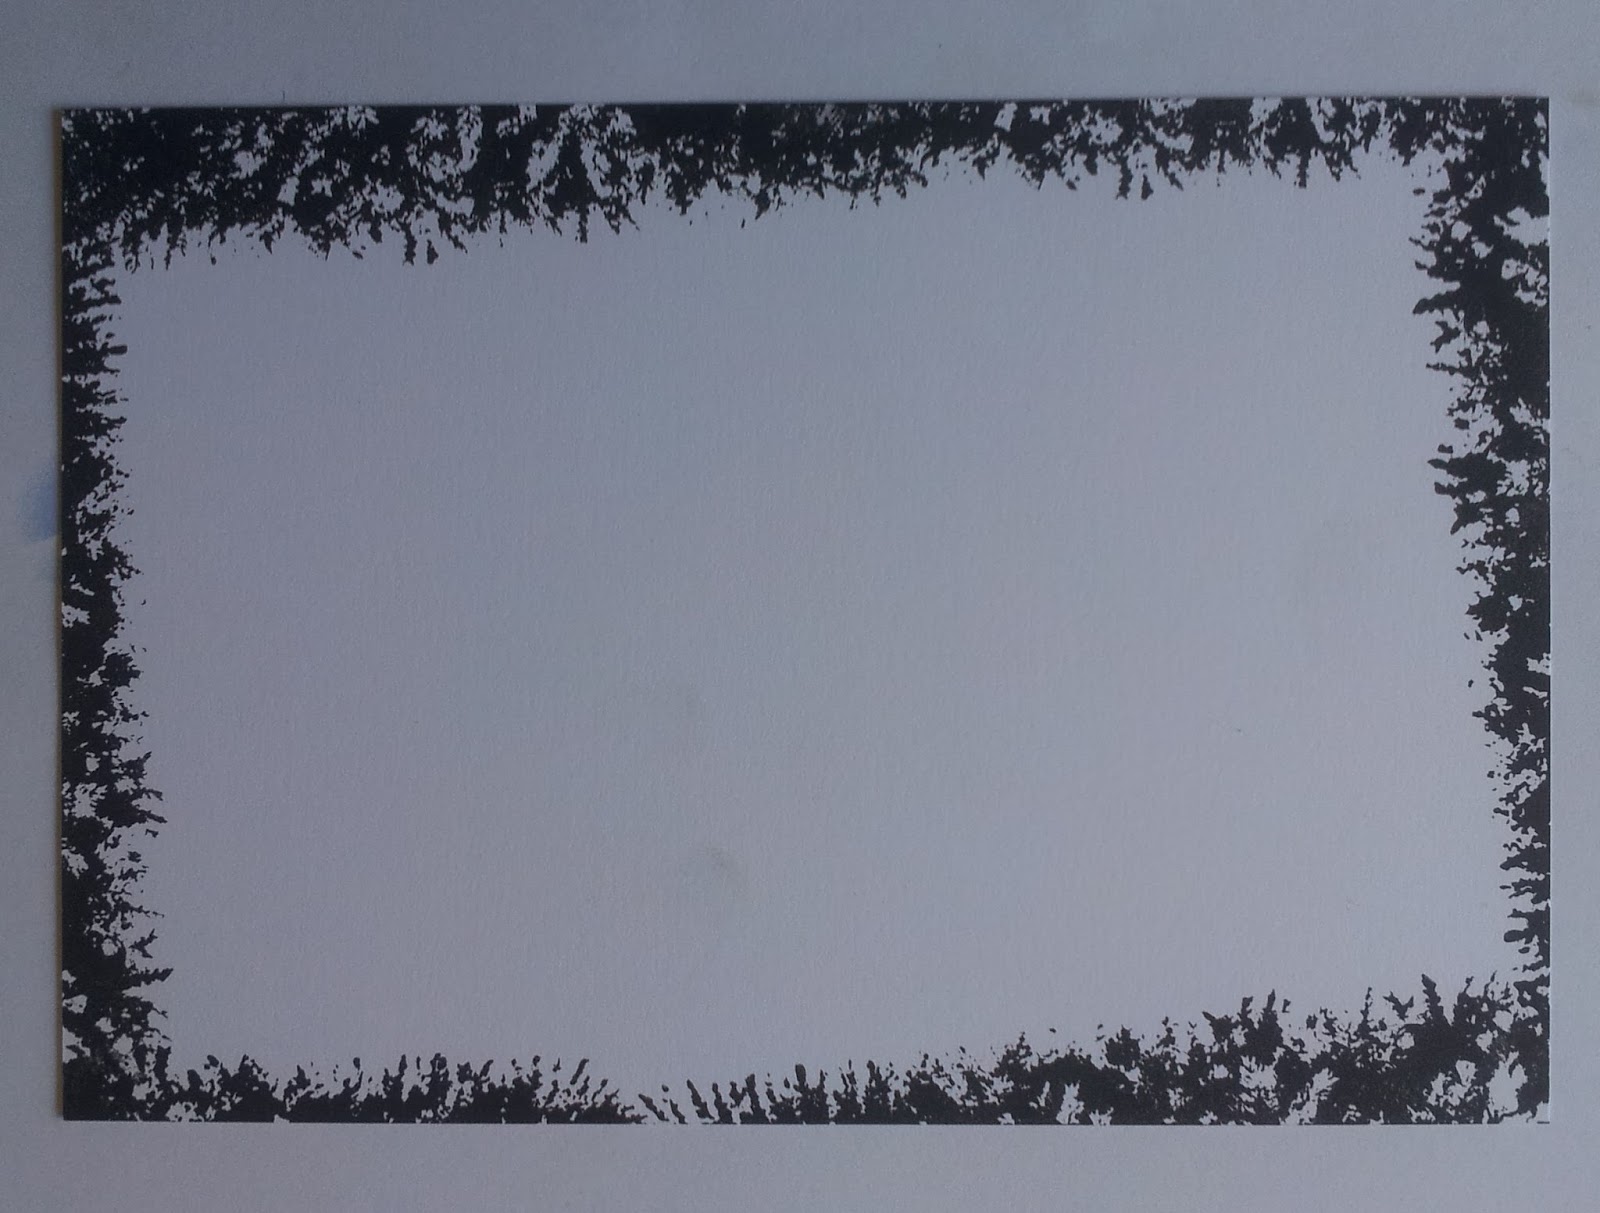
To create the frame for this card, I inked up the large Christmas Tree and stamped around the edge. I didn't want this uniform so I stamped some further in than others, while still keeping the continuity. These trees really are beautiful, the detail is absolutely amazing close up.

I had deliberately kept the edge low on the left hand side to allow for the sweeping landscape, so I could get the feeling of distance once I had added the image. I used torn paper and a light blend of Black Soot Distress Ink to create the land.

I started with the full large tree, I stamped one to the right. For the second I used torn paper to mask the first, I didn't want a hard line so I didn't make the mask to cover the whole of the edge. I also masked of the land using the torn paper so I could lower the tree without it looking wrong on the hillside.

Next I added my sentiment, which I think goes incredibly well for this card. Then using scrap paper I masked off the land again and stamped another of the trees, so that only part of it became part of the design and give the perspective in such a small piece.

That was my design complete.

To finish the card, I layered it onto Black Cardstock, I did look at other colours but black was the colour that finished of the card better than the others.


Thank you for taking time to visit today, I hope you have enjoyed the step by step I have shared today and the finished card. Hope to see you again very soon. Take care and Happy Crafting.

Tuesday, 5 July 2016

Dance In The Rain

Morning, I hope you enjoyed my last post. Today I am sharing another post using the beautiful Stamps Drawn by Sam from Bee Crafty that were launched on Hochanda on 24th June. If you missed the shows, you can visit the TV Schedule on Hochanda's website and view the shows, they are available for 2 weeks after the show. For this project, I have used the BEAUtanicals 'Tree and Branch' Set along with the Fables and Fantasy 'Ladies Profile' and the 4'' Inkables template 'Oak'. I chose to use the 'Life and Rain' sentiment.

Firstly I stamped out the ladies profile onto copier paper. I needed both the inside and outside of the profile for later.

I stamped the profile onto a piece of super smooth card measuring 8'' square. Then placed a cloud mask in position. I stamped part of the branch stamp onto her face to make her look like 'Mother Nature'.

Then I added colour using a blending tool and Shaded Lilac Distress Ink. I started on the mask, brushing down towards the face gently building up the colour.

I then built up the clouds using the same and colour technique. I used the inner profile mask to avoid lines on her face. I continued until I was happy.

Next I added the tree and also the branch as a smaller tree, using Black Archival Ink. Taking into account I wanted to add grassland.


Using a torn piece of copier paper or mask I added the hills in the foreground using a blending tool and Mowed Lawn Distress Ink, making sure I grounded the trees.

I drew some simple wind blowing from 'Mother Natures' mouth. Stamped my sentiment in place using Archival black ink. Then I used the Oak frame to create 3 trees made with Shaded Lilac Distress ink, each slightly different in depth to add perspective.Place over the sentiment.

Lastly using the outer mask I had made for the ladies profile, I used some distress ink to add colour around the edges of her face to make it look more rounded. To finish the card I layered it onto Navy Cardstock.

Thank you so much for joining me today. I really hope you like the card and the step by step I have shared with you today. I hope you will come back and see my next project. More from Leonie Pujol's new launch tomorrow.Take care xx