Showing posts with label Paper Pad. Show all posts

Wednesday, 19 September 2018

Joy To The World

Morning Friends and Crafters. Today I am sharing a card I made using the 'Winter Wonderland' Signature Collection from Sara. It's been an absolute favourite of mine. Such beautiful colours and packed with coordinating luxury cardstock, paper pads, Dies, stamps and embossing folders. A must have that will enable you to create all of your Christmas makes. I also have some INCREDIBLY EXCITING NEWS to share, I am fit to burst....

You will need:
Winter Wonderland Snowflurry
Winter Wonderland Snow Season Stamps
Winter Wonderland Festive Wishes Stamps and Die Set
Winter Wonderland Fluttering Snowflakes Embossing Folder
Winter Wonderland Luxury Matt Mirror Card Winter Blue & Sparkling Silver
Sheena Stamping Crad
Centura Pearl Card Base
Centura Pearl
Chipped Sapphire and Blueprint Sketch Distress Ink 
Tacky Glue
3D Glue Gel
Foam Pads or Foam on a Roll

Step 1: Cut a piece of Sparkling Silver 6 3/4 x 6 3/4''

Step 2: Cut a piece of stamping card 6 1/2 x 6 1/2, then emboss.

Step 3: Cut another piece of Sparkling Silver 5 1/2 x 5 1/2''

Step 4: Stamp and emboss a selection of snowflakes and heat emboss them. Also with silver embossing powder add the ' To The World'. Finally blend your ink from the outside, towards the centre, using the lighter colour first.

Step 5: From Centura Pearl, cut the edger die to form a decorative tag for the centre of the card.

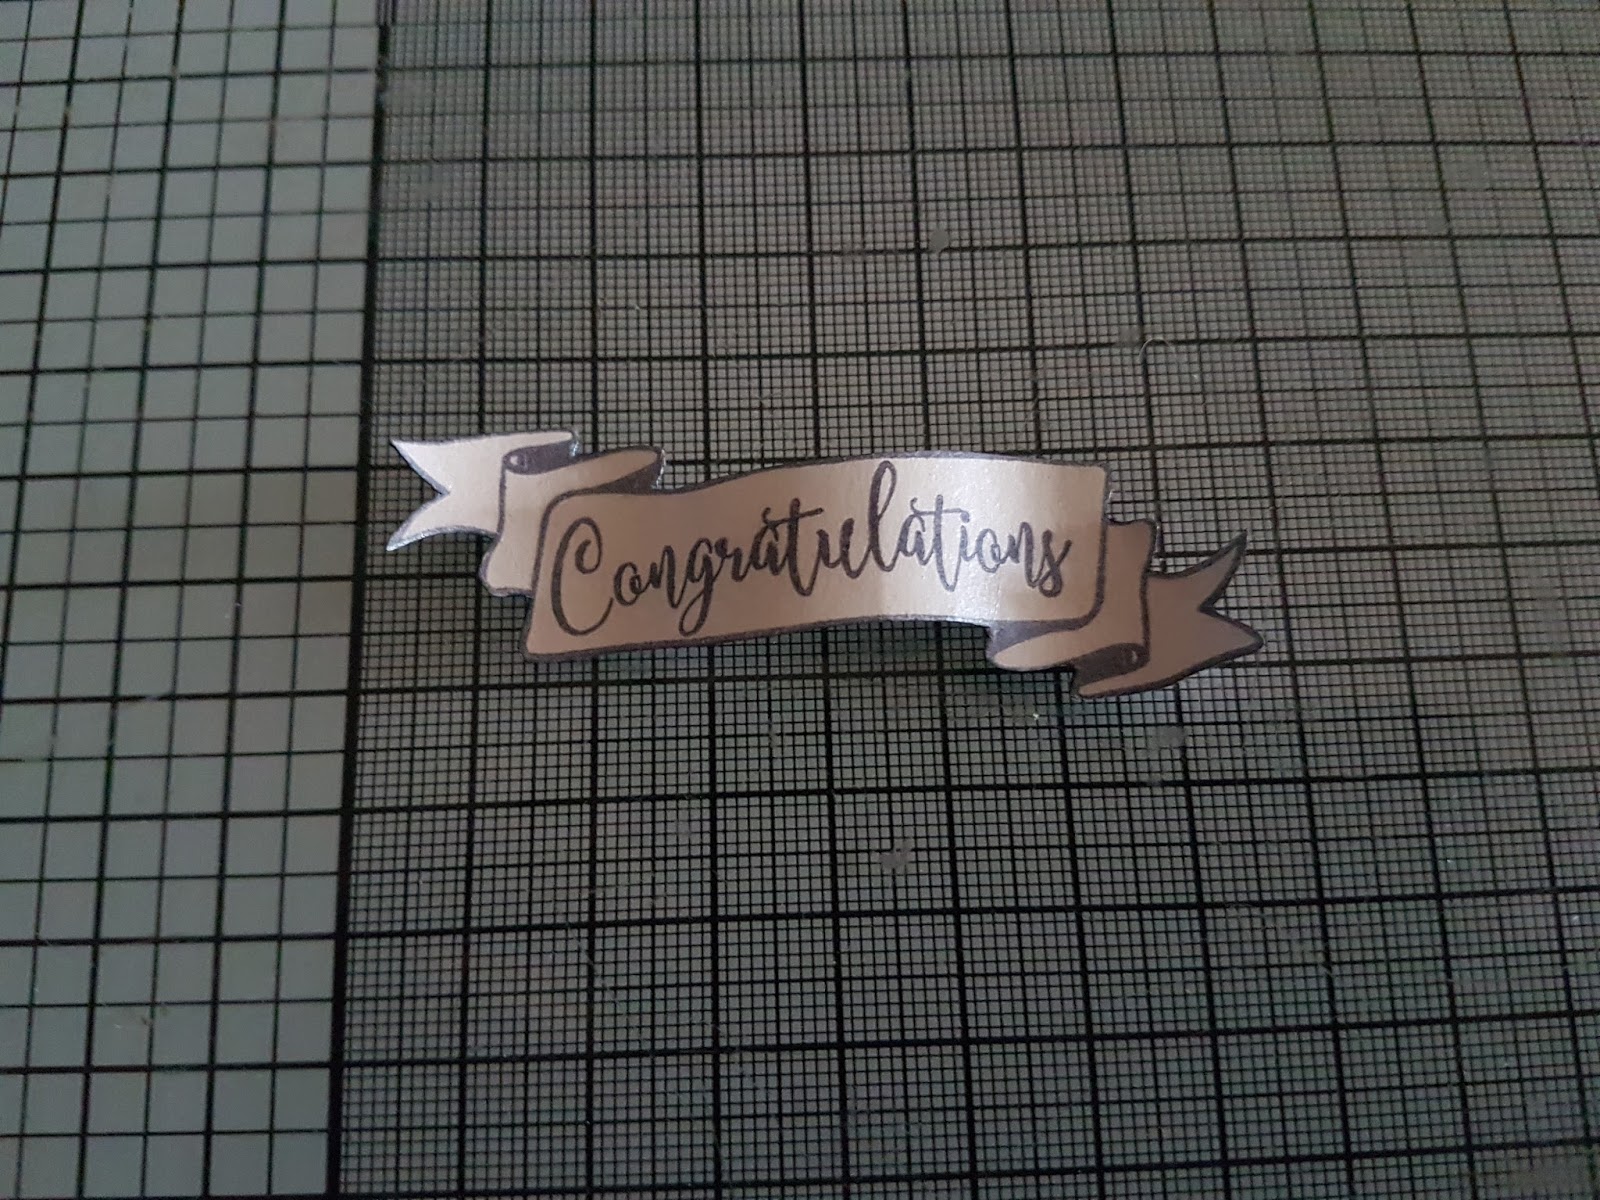
Step 6: Create a banner from a piece of embossed card and tint with the same inks.

Step 7: Cut out 'Joy' twice and layer up with Tacky glue

Step 8: Assemble your card elements as shown in the photo. Raise the centre panel by using foam pads or foam on a roll.

That is your card complete.

Thank you for joining me today, I do hope you will stop by again very soon to see what else I have to share with you. 

I have been so looking forward to telling you this news, for a long time now I have been designing something very different. I have visited Hochanda and I am pleased to say that I will be launching my new collection on Hochanda very, very soon. I will share more details later. I really hope you like what I have to offer, I am extremely pleased with the whole collection and I can't wait to share with you.

I do hope you have enjoyed the tutorial and the finished card I have shared. See you soon, For now Take care and Happy Crafting.xxx

Friday, 7 September 2018

Festive Fireplace Christmas Dimensionals

Morning Everyone, Today I am sharing a project I made for the Christmas Dimensional launch on Hochanda. I am sure you are all having great fun with them, I know I have been. There is a huge amount of content, most of which can be used can also be used on it's own for other cards and some makes the most wonderful embellishments.

You will need:
Fireplace Concept Die
Tree Accessories Die
Fireplace Accessories Die
Festive Foliage Set 1
Sparkling Snowflakes Set 2
Fireplace Accessories Clear Stamps
Embossing Folder 'Holly Frame'
12 X 12 Pain Paper Pad
12 x 12 Patterned and Foiled Paper Pad
Blue Ribbon
Centura Pearl Card Stock
Acetate 

Step 1: Cut your base wit the fireplace and window dies. Decorate your base design using the plain and patterned papers from the 12 x 12 paper pads.

Step 2: Cut and colour your chosen accessories.

Step 3 & 4: Decorate your room, giving it a really festive look.

Step 5: Cut a mat using the beautiful edger die, then add a sentiment.

Step 6: Now to decorate the front of your card to make it really special. Here I have used the beautiful embossing folder, some of the patterned paper, some mistletoe and a sentiment.

Step 7: Layer these together using tacky glue and 3D glue gel. Finally add a matching ribbon to finish your card.

Thank you for joining me today, I hope you have enjoyed the Tutorial along with the finished project I have shared. I hope you will continue joining me for more inspiration, there is a lot more to share with you. For now Take care and Happy Crafting.xxx 

Wednesday, 11 April 2018

Congratulations

Welcome to my first Tutorial using the amazing 'Rustic Wedding' Collection by Sara. What an amazing launch it was, I do hope you saw the shows. For my card today, I have used Foamiran to make the rose, In fact the first time I have ever used a quilling die with Foamiran. I do hope you enjoy the tutorial I have shared today.

For this card you will need:

Always and Forever Rustic Wedding Stamp Set
Rustic Wedding 6 x 6 Pad
Rustic Wedding A4 Printed Kraft Card
Rustic Wedding Bridal Bouquet Die
Rustic Wedding Hope Die
Rustic Wedding Newlyweds Die Set
Rustic Wedding Self Adhesive Hessian
Black Card
Versafine Black Ink Pad
Peeled Paint Distress Ink
Pale Peach or Pink Oil Pastel
White Foamiran
Green Foamiran
Adhesives, Tacky Glue, Foams Pads
Hot Glue Gun

Step 1: Cut out the White Foamiran with your die, then in green cut the leaves from the coordinating die. Colour the ends of the  petals sparingly at the ends and  then stretch and shape. For a fuller bloom use 2 of these die cuts. (For more Information of using the foamiran see LINK).

Step 2: Create you rose using a small amount of hot glue on the base of each petal in turn building up your flower.

Step 3: Cut a Calyx shape from green Foamiran, I have detailed this in my flower forming blog (See Post for more information) Colour using peeled paint Distress Ink.

Step 4:  Twist the leaves together and turn too and fro to give a more realistic look.

Step 5: Secure to the base of your rose with hot glue.

Step 6: Stamp the banner and sentiment from the collection onto Centura Pearl. Cut out.

Step 7: Cut the Hessian, using the heart die from the Newlyweds set. Onto mat black card draw around the same die and cut out, this creates the perfect thin mat for your hessian heart. Secure together.

Step 8: Cut out 'Hope' from Centura Pearl and position onto your layered hearts.

Step 9: Select a sheet from the 6 x 6 paper pad and layer it onto black card, leaving a narrow border.

Step 10: Create an 8 x 8 card base from the same Centura Pearl card. The taking a sheet from the printed Kraft card layer onto your base.

Step 11: Using foam pads add your decorative paper layers to the card, as shown.

Step 12: Arrange the heart in the centre, finally position your rose and banner to finish your card.

Thank you so much for joining me today, I really hope you have enjoyed the tutorial I have shared along with the finished card. Please join me again to see what I have to share. I would love to have your comments so I know that you like what I am sharing or not. Take care and Happy Crafting.xxx

Thursday, 22 February 2018

Tea for Two

Here is a card that I made for the launch of the 'Vintage Tea Party', the new Signature Collection from Sara at Crafters Companion. Before the tutorial, I just wanted to take a minute to highlight the quality of everything in the collection. The lace for instance is beautifully soft to the touch and in my opinion top grade. The paper pad is packed full of wonderful images and the colours are perfect for all of your projects.

For this card you will need:
Centura Pearl Ivory
Centura Pearl 'hint of Silver'
Lilac Centura Pearl (Lights Collection)
Kraft Card
Adhesives

Step 1:Take a sheet from the 6x6 paper pad, Prepare your layering, first layer from Centura Pearl Ivory, the 2nd in Lilac Centura Pearl. Cut both to allow a narrow border, also prepare your base card using the Ivory Centura Pearl.

Step 2: Take a length of the lace long enough to allow you to secure it behind the paper with tape. Now secure this to the layers you have prepared.

Step 3: Cut your sentiment, using the Hint of Silver Centura Pearl. Layer this onto the Ivory and then Hint of Silver, to tie everything together.

Step 4: Cut out your elements, Cut 2 cups and the teapot in Hint of Silver, with the decorative inserts. Then again with the lilac, using the plain edges.

Step 5: Secure the pieces together using either 3D glue gel or Collall All Purpose glue. Cut the cups again with Kraft card and insert to look like tea.

Step 6: Assemble the card as shown adding depth to the elements using 3D Glue gel.

This is a very simple card to make, it would be ideal for batch making, Invitations etc. The addition of a little pouch inside and it would serve as a voucher holder, maybe for a Tea for Two experience.

I hope you have enjoyed the tutorial today and like the finished card. Thank you for taking the time to visit today and I hope you will come back again very soon. Take care and Happy Crafting.xx


Friday, 16 February 2018

Doily Decoupage

Morning everyone. Today, I am sharing a decoupage card I made for the launch of Sara's Vintage Tea Party collection. I've used the pad, which is packed with design all in coordinating colours. I have coupled this with a sentiment and a die from the collection. 

I made sure that when I used the paper around the decoupage elements I was selective, to get the most from the pad, I didn't want to waste a single part.

For this card you will need:
Centura Pearl Ivory card base
Centura Pearl Pink (lights collection)
Centura Pearl Mint (lights collection)
Vintage Doily Die
Tea-riffic Sentiment dies
Paper pad

Step 1: Take your chosen paper, you will need  one full sheet for the base. Take the same design from 2 other sheets, carefully cut out. Cut the sentiment and the Doily from the mint card. Cut the doily in half and secure on the edge of your paper. (see photo)

Step 2: Shape the elements with a ball tool on a foam mat. Layer your decoupage onto the design, using 3D glue gel. Add your sentiment to the centre. Layer this onto your pink Centura Pearl with Tacky glue, then mount onto your card base.

Many thanks for taking the time to visit today. I hope you have enjoyed the short tutorial I have shared for this card. It really is a lovely way of showing off the designs from the paper pads.

Later today I have got the 3rd part of my flower embellishment series on the Hochanda Blog. Today I am sharing roses using clay. I do hope you will take a look and hopefully add your comments. I would like to make the Flower Embellishment's a monthly feature, but without the support to show that it's popular, it might not happen. 

Thank you so much. For now, Take care and Happy Crafting.xx

Tuesday, 29 November 2016

The Bookshop

Morning, I think everyone must be gearing up for the Christmas Season. I know I am, loads to do and running out of time to fit it all in. Today, I am sharing another project I made using the beautiful Bee Crafty Steam Punk paper pad which Bev brought to Hochanda. I really love the designs on these papers, they are wonderful to use, each one is a piece of art in it's own right and would look wonderful in a frame with very little done or added.

I chose to make a very simple design using this sheet from the pad, I selected the area I wanted to use and stuck it to a piece of board using Cosmic Shimmer Glue.


Using Gathered Twigs Distress Ink I stamped the Large Feather stamps onto Kraft card. I also stamped the Ink Pot with the same ink before using Versamark and brass embossing powder to stamp the nibs (both from the same set).

I used some of my alcohol markers to colour parts of the design to highlight the characters. Finally I cut out the other elements and secured them to my piece using 3D glue gel.

Thank you so much for joining me today, I hope you like what I have shared and the short step by step. Take care and Happy Crafting.xxx