Showing posts with label Kraft Card. Show all posts

Friday, 18 May 2018

Rustic Wedding Invite

Hi Crafters and Friends. Im back again today with a 'Rustic Wedding' Invitation, made using Sara's wonderful Signature Collection. As I have said so many times before, it really has been an inspirational collection to work on and design with. I have a full tutorial on my blog for you today.

You will need:
A3 Ivory Centura Pearl Card (cut to a 6'' width)
Ivory Centura Pearl
Kraft Card
Matching Organza Ribbon
Ribbon Slider Die
Adhesives

Step 1: Place the J'Adore die at the end of your card, make sure to cut into the pearl side of your card, Take your time positioning this and use low tack tape to secure. (See Photo) Then score from the  edge of the die cut at 1/4'', 6 1/4'' and 6 1/2'', then measure 6'' from the last score line and cut. This is the safest way, rather than give a measurement as score boards and tool thickness do vary.

Step 2: Cut the 'Just Married' die from Kraft card and snip out the second tree. At the base while cutting out,, add some grass rather than a straight cut.

Step 3: Cut a frame to fit using basic square dies, using Ivory Centura Pearl.

Step 4: Cut another square of Ivory Centura Pearl, the same size as the frame. Place under the Just Married Die to give you the area you can add and text and print on. Layer this onto Kraft card, leaving a narrow border.

Step 5: Layer these together and add your frame last, use Collall Tacky glue or similar. Secure to your inside centre panel using the same adhesive.

Step 6: On the back of your project, add a ribbon slider and thread through a length of matching organza ribbon, leave enough length to tie a nice bow.

Step 7: Take a piece of Kraft card 5 3/4'' x 5 3/4'', add some glue or strong tape across the bottom (as shown) and wrap with jute twine.

Step 8: Cut the 'Love' die from Ivory Centura Pearl and secure to your piece. Then add a wooden heart, threaded with the twine.

Step 9: Lastly secure this to the front of your card base. Close the card and tie a nice bow to close the invitation.

It's great that you have joined me today, I really hope you have enjoyed the tutorial I have shared along with the additional photos and finished card. I am hoping that I have shared some inspiration with you. I'd love to see you back again to see what else I am sharing, for now Take care and Happy Crafting.xxx

Thursday, 3 May 2018

Rustic Wedding Collection Place Settings

Morning everyone, I've been having a little rest for a few days, things have taken their toll. With so many things going on, I really am needed to take it easy for a spell. Great to have my blog back after Google removing it last week, I'm just so pleased to still be able to share with you I would have been lost without something I can manage to do, or I would feel useless. Today I am sharing some really simple, but effective place card settings using the 'Rustic Wedding' collection from Sara. With so much going on when planning a wedding along with all of the stationary to make and prepare for the big day these look special. Most importantly the collection makes it easy to create them leaving plenty of time for everything else.

For these you will need:
'Faith', 'Hope'  and 'Love' Rustic Wedding Dies
'Delicate Heart' Rustic Wedding Die
'Newlyweds' Rustic Wedding Die
Rustic Wedding Jute Twine
'Always and Forever' Rustic Wedding Stamp Set
Rustic Wedding Wooden Button Pack
Centura Pearl Ivory
Kraft Card
Black Ink Pad
Adhesives

Step 1: On Kraft card, print out the wording for the place settings. *Make sure to size them to fit the banner stamp. Stamp the banner stamp to surround them using Black Ink, then cut out around the edge of the banner.

Step 2: Use your outside Heart dies to create you easel bases, using Ivory Centura Pearl. Score and fold your card, making sure the edge of the die is hanging over the score line. For the Bride and Groom use the 'Delicate Heart' and for the others use the 'Newlyweds' die.

Step 3: Next cut out your heart toppers, For the Bride and groom, cut your base heart in ivory Centura Pearl and the delicate insert with Kraft card. For the others settings use Kraft card with the 'Newlyweds' die.

Step 4: Cut out a selection of 'Faith', 'Hope' and 'Love' using the Ivory Centura Pearl.

Step 5: Assemble your place settings, (See photo). To finish the card embellish, using the Jute twine and wooden buttons.

They are simple but really effective, a great way to create that 'Rustic' look and feel, while keeping the time to a minimum, leaving time for the other essentials that go towards making the 'Big Day' so special. They would also make super little thank you cards, mini greeting cards or even 'Just Because'.

Thank you so much for joining me today, I do hope you have enjoyed this tutorial and the finished pieces. It really has been another wonderful collection to work with, both for weeding and with a little imagination so many other occasions. For now Take care and Happy Crafting.xx

Friday, 13 April 2018

Happy Couple

Hi Everyone, I am very late with my blog post today. I am still trying to sort out far too many things, dont have enough time and I am desperately falling behind. I am sharing this card today, made with the Sara's 'Rustic Wedding' Collection, as it's been such a huge success. As always, I have provided a full Tutorial with additional photos, which I do hope you will enjoy.

You Will Need:
Rustic Wedding Delicate Heart Dies
Rustic Wedding Chic Border Die
Rustic Wedding Just Married Die
Rustic Wedding A4 Printed Kraft Card
Rustic Wedding Jute Twine
Sue Wilson Largest of the Ornate Pierced Rectangles (Noble Collection)
Funky Foam, Craft foam or similar
Parchment
Red or Silver Mirri card
Centura Pearl White 'Hint of Silver'
Quickie Glue Pen
Clear Glitter
White Stayzon Ink Pad
Embossing tool and Embossing Mat
Clear Tape
Crafters Companion Tape Runner

Step 1: Cut the 'Just Married' die in Funky Foam, You will only need the couple for this. (See Photo). Secure this to a stamping block and stamp onto the parchment using White Stayzon Ink.

Step 2: From the back of your parchment, emboss on a mat using the small embossing tool, Just the outline and a little white work for shape and dimension.

Step 3: You will need a card blank measuring  6 3/4'' x 8 1/4''. Centre the die into the front of your card to create the aperture.

 Step 4: Take another sheet of card, again centre the die, This will eventually go on the inside front of your card to cover the workings.

Step 5: Cut out the Chic Border 4 times

Step 6: Select a sheet from the Printed Kraft Card pack.

Step 7:Cut the couple out using the outer Delicate Border die, also one from mirri card. Secure the parchment to the mirri using a tape runner around the edges. Scribble on the parchments around the edge and cover with clear glitter.
Cut another Heart using Centura Pearl, then the full heart with decorative insert from Kraft card.


Step 8: Secure a Chic Border die centrally on the inside of your card (Pearl Outward Facing). Repeat this top and bottom. Secure a length of twine between the centre points and secure with clear tape. Secure the Chic Border die cuts over the first to pan bottom, this time pearl facing inwards.

Step 9: Secure the inner aperture  to hide all the workings and give a professional look. To finish your card carefully sandwich the hearts together across the jute, making sure the heart is central between top and bottom of the card.

Thank you ever so much for joining me again today, It's always nice to have your company. I hope hope you have enjoyed the tutorial I have shared along with the finished card. I do hope you will stop by again to see what I have to share. Have a great weekend and see you next week. Take care and Happy Crafting.xx


Wednesday, 11 April 2018

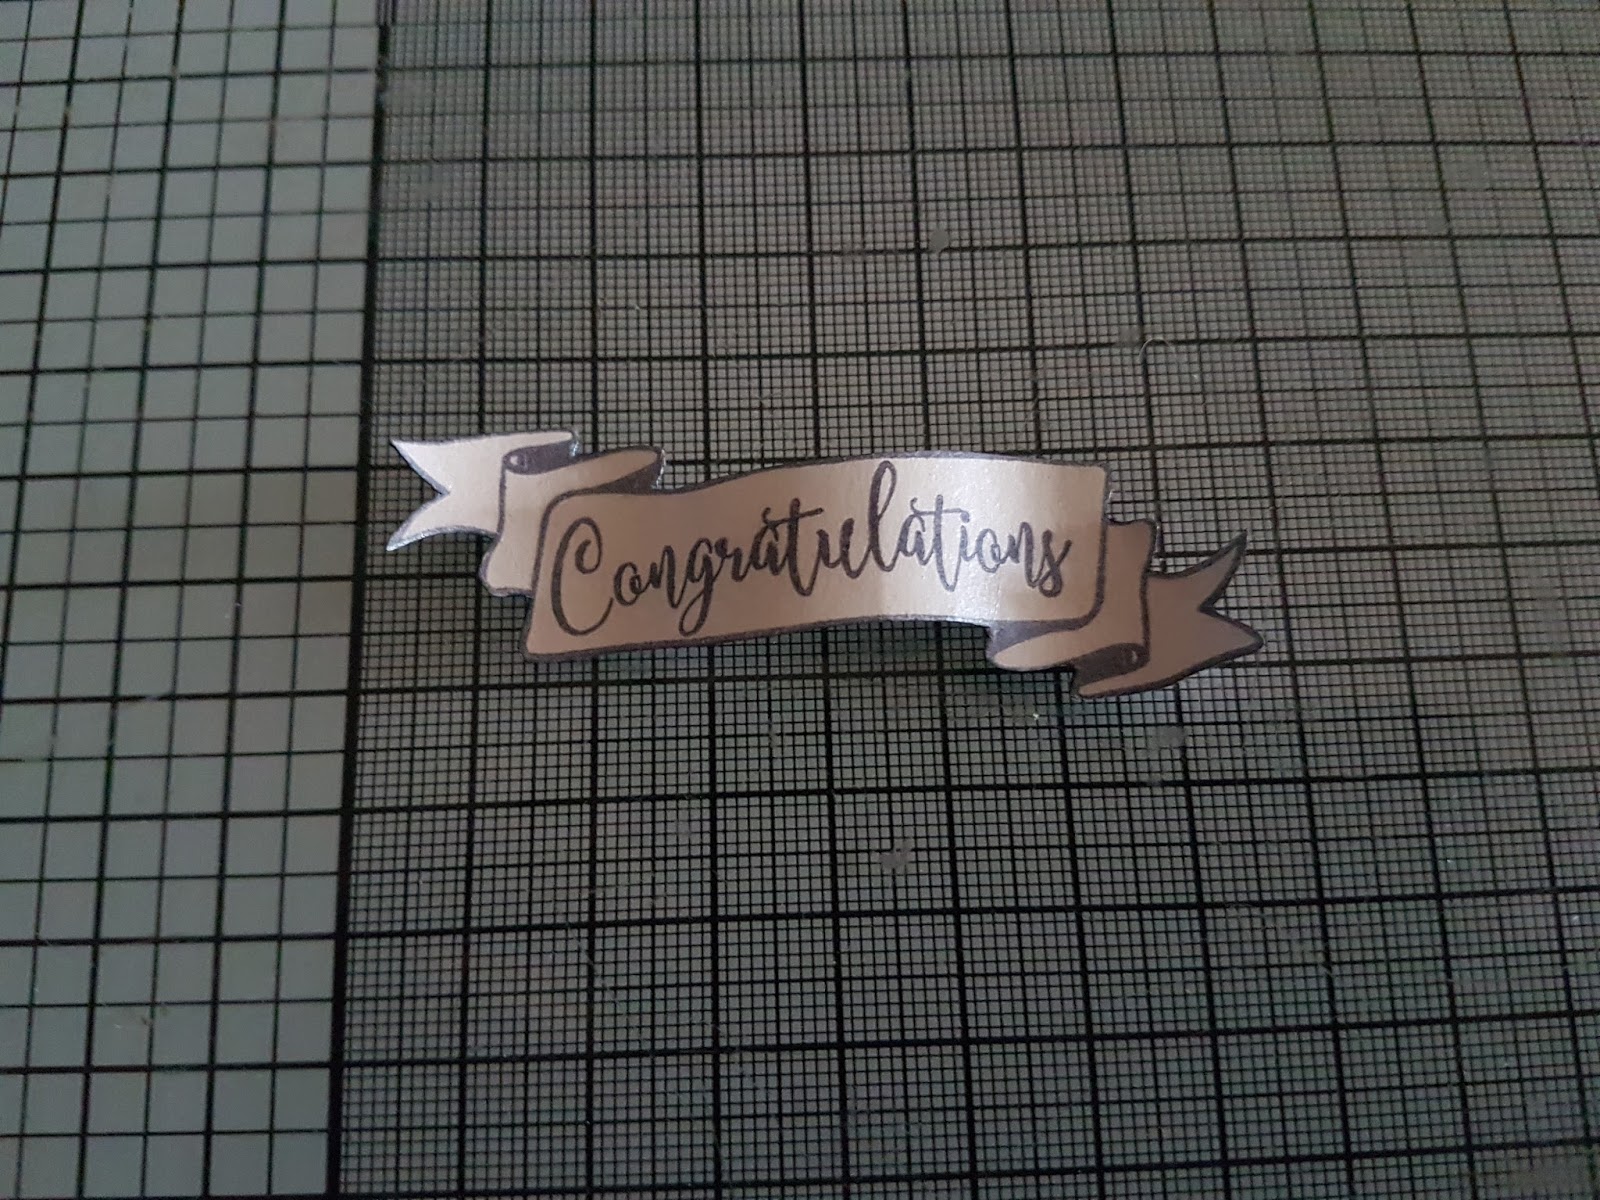
Congratulations

Welcome to my first Tutorial using the amazing 'Rustic Wedding' Collection by Sara. What an amazing launch it was, I do hope you saw the shows. For my card today, I have used Foamiran to make the rose, In fact the first time I have ever used a quilling die with Foamiran. I do hope you enjoy the tutorial I have shared today.

For this card you will need:

Always and Forever Rustic Wedding Stamp Set
Rustic Wedding 6 x 6 Pad
Rustic Wedding A4 Printed Kraft Card
Rustic Wedding Bridal Bouquet Die
Rustic Wedding Hope Die
Rustic Wedding Newlyweds Die Set
Rustic Wedding Self Adhesive Hessian
Black Card
Versafine Black Ink Pad
Peeled Paint Distress Ink
Pale Peach or Pink Oil Pastel
White Foamiran
Green Foamiran
Adhesives, Tacky Glue, Foams Pads
Hot Glue Gun

Step 1: Cut out the White Foamiran with your die, then in green cut the leaves from the coordinating die. Colour the ends of the  petals sparingly at the ends and  then stretch and shape. For a fuller bloom use 2 of these die cuts. (For more Information of using the foamiran see LINK).

Step 2: Create you rose using a small amount of hot glue on the base of each petal in turn building up your flower.

Step 3: Cut a Calyx shape from green Foamiran, I have detailed this in my flower forming blog (See Post for more information) Colour using peeled paint Distress Ink.

Step 4:  Twist the leaves together and turn too and fro to give a more realistic look.

Step 5: Secure to the base of your rose with hot glue.

Step 6: Stamp the banner and sentiment from the collection onto Centura Pearl. Cut out.

Step 7: Cut the Hessian, using the heart die from the Newlyweds set. Onto mat black card draw around the same die and cut out, this creates the perfect thin mat for your hessian heart. Secure together.

Step 8: Cut out 'Hope' from Centura Pearl and position onto your layered hearts.

Step 9: Select a sheet from the 6 x 6 paper pad and layer it onto black card, leaving a narrow border.

Step 10: Create an 8 x 8 card base from the same Centura Pearl card. The taking a sheet from the printed Kraft card layer onto your base.

Step 11: Using foam pads add your decorative paper layers to the card, as shown.

Step 12: Arrange the heart in the centre, finally position your rose and banner to finish your card.

Thank you so much for joining me today, I really hope you have enjoyed the tutorial I have shared along with the finished card. Please join me again to see what I have to share. I would love to have your comments so I know that you like what I am sharing or not. Take care and Happy Crafting.xxx

Thursday, 22 February 2018

Tea for Two

Here is a card that I made for the launch of the 'Vintage Tea Party', the new Signature Collection from Sara at Crafters Companion. Before the tutorial, I just wanted to take a minute to highlight the quality of everything in the collection. The lace for instance is beautifully soft to the touch and in my opinion top grade. The paper pad is packed full of wonderful images and the colours are perfect for all of your projects.

For this card you will need:
Centura Pearl Ivory
Centura Pearl 'hint of Silver'
Lilac Centura Pearl (Lights Collection)
Kraft Card
Adhesives

Step 1:Take a sheet from the 6x6 paper pad, Prepare your layering, first layer from Centura Pearl Ivory, the 2nd in Lilac Centura Pearl. Cut both to allow a narrow border, also prepare your base card using the Ivory Centura Pearl.

Step 2: Take a length of the lace long enough to allow you to secure it behind the paper with tape. Now secure this to the layers you have prepared.

Step 3: Cut your sentiment, using the Hint of Silver Centura Pearl. Layer this onto the Ivory and then Hint of Silver, to tie everything together.

Step 4: Cut out your elements, Cut 2 cups and the teapot in Hint of Silver, with the decorative inserts. Then again with the lilac, using the plain edges.

Step 5: Secure the pieces together using either 3D glue gel or Collall All Purpose glue. Cut the cups again with Kraft card and insert to look like tea.

Step 6: Assemble the card as shown adding depth to the elements using 3D Glue gel.

This is a very simple card to make, it would be ideal for batch making, Invitations etc. The addition of a little pouch inside and it would serve as a voucher holder, maybe for a Tea for Two experience.

I hope you have enjoyed the tutorial today and like the finished card. Thank you for taking the time to visit today and I hope you will come back again very soon. Take care and Happy Crafting.xx