Showing posts with label Gel Pen. Show all posts

Wednesday, 21 November 2018

Song of the Sea

Morning Friends and Crafters, My Dolphins are making another appearance for my project this morning. This time I have used them alongside ;The Funky Tree' from Leonie along with some other stamps to create this double scrapbook or Journal page. The Amsterdam Acrylics, brought to us by Lou are superb for creating the textured background and layers. Like she often says they go such a long way,as soon as you use them the quality is clear.

You will Need:
Funky Tree Stamp By Leonie Pujol
Leonie Pujol Typography Alphabet Dies
Rose Leaf Stamps
PaperArtsy Stencil or your chosen Design
Medium/Large Bubble Wrap
Selection of Gel Pens
Amsterdam Acrylics
Personal Photos
Extra Stamps of your Choice
Versafine Ink Pad Black
Black Fine Liner Pen
Black Card for Mounting your Photos
Yellow and Orange Brusho.
White Stamping card

Step 1: Use a selection of the Amsterdam Acrylics to create a textured background, here i have used a selection of blues and greens. Don't worry they go a long way, so you use very little. Use cross swipes to create as much texture and depth as you can overlaying the colours. Next paint the same colours onto your bubble wrap and stamp with it, either scrunch it up or mount it on a block with Tack n Peel.Stamp the first of the tree bases with Versafine Black ink.

Step 2: Create a mask for the tree base on copier paper. Stamp a couple more tree bases. Next I added a staircase which was printed onto rice paper, this was to coordinate with one of the photos I used. I then added the tops of the trees, these give a lot of texture, depth and dimension, especially hen you colour them with your gel pens. Next stamp a flurry of rose leaves around the top left of the first page, this will keep drawing your eye into the page.

Step 3: Use a block stencil around your page, this will add more depth and interest to your page, I have used a lighter colour here but you can stick to a background colour if preferred. Mount your photos onto black card, before securing them gut the centre with a basic die, the middles can then be used to mount any other photos, it saves an awful lot of card and keeps the bulk down in your journal or scrapbook.
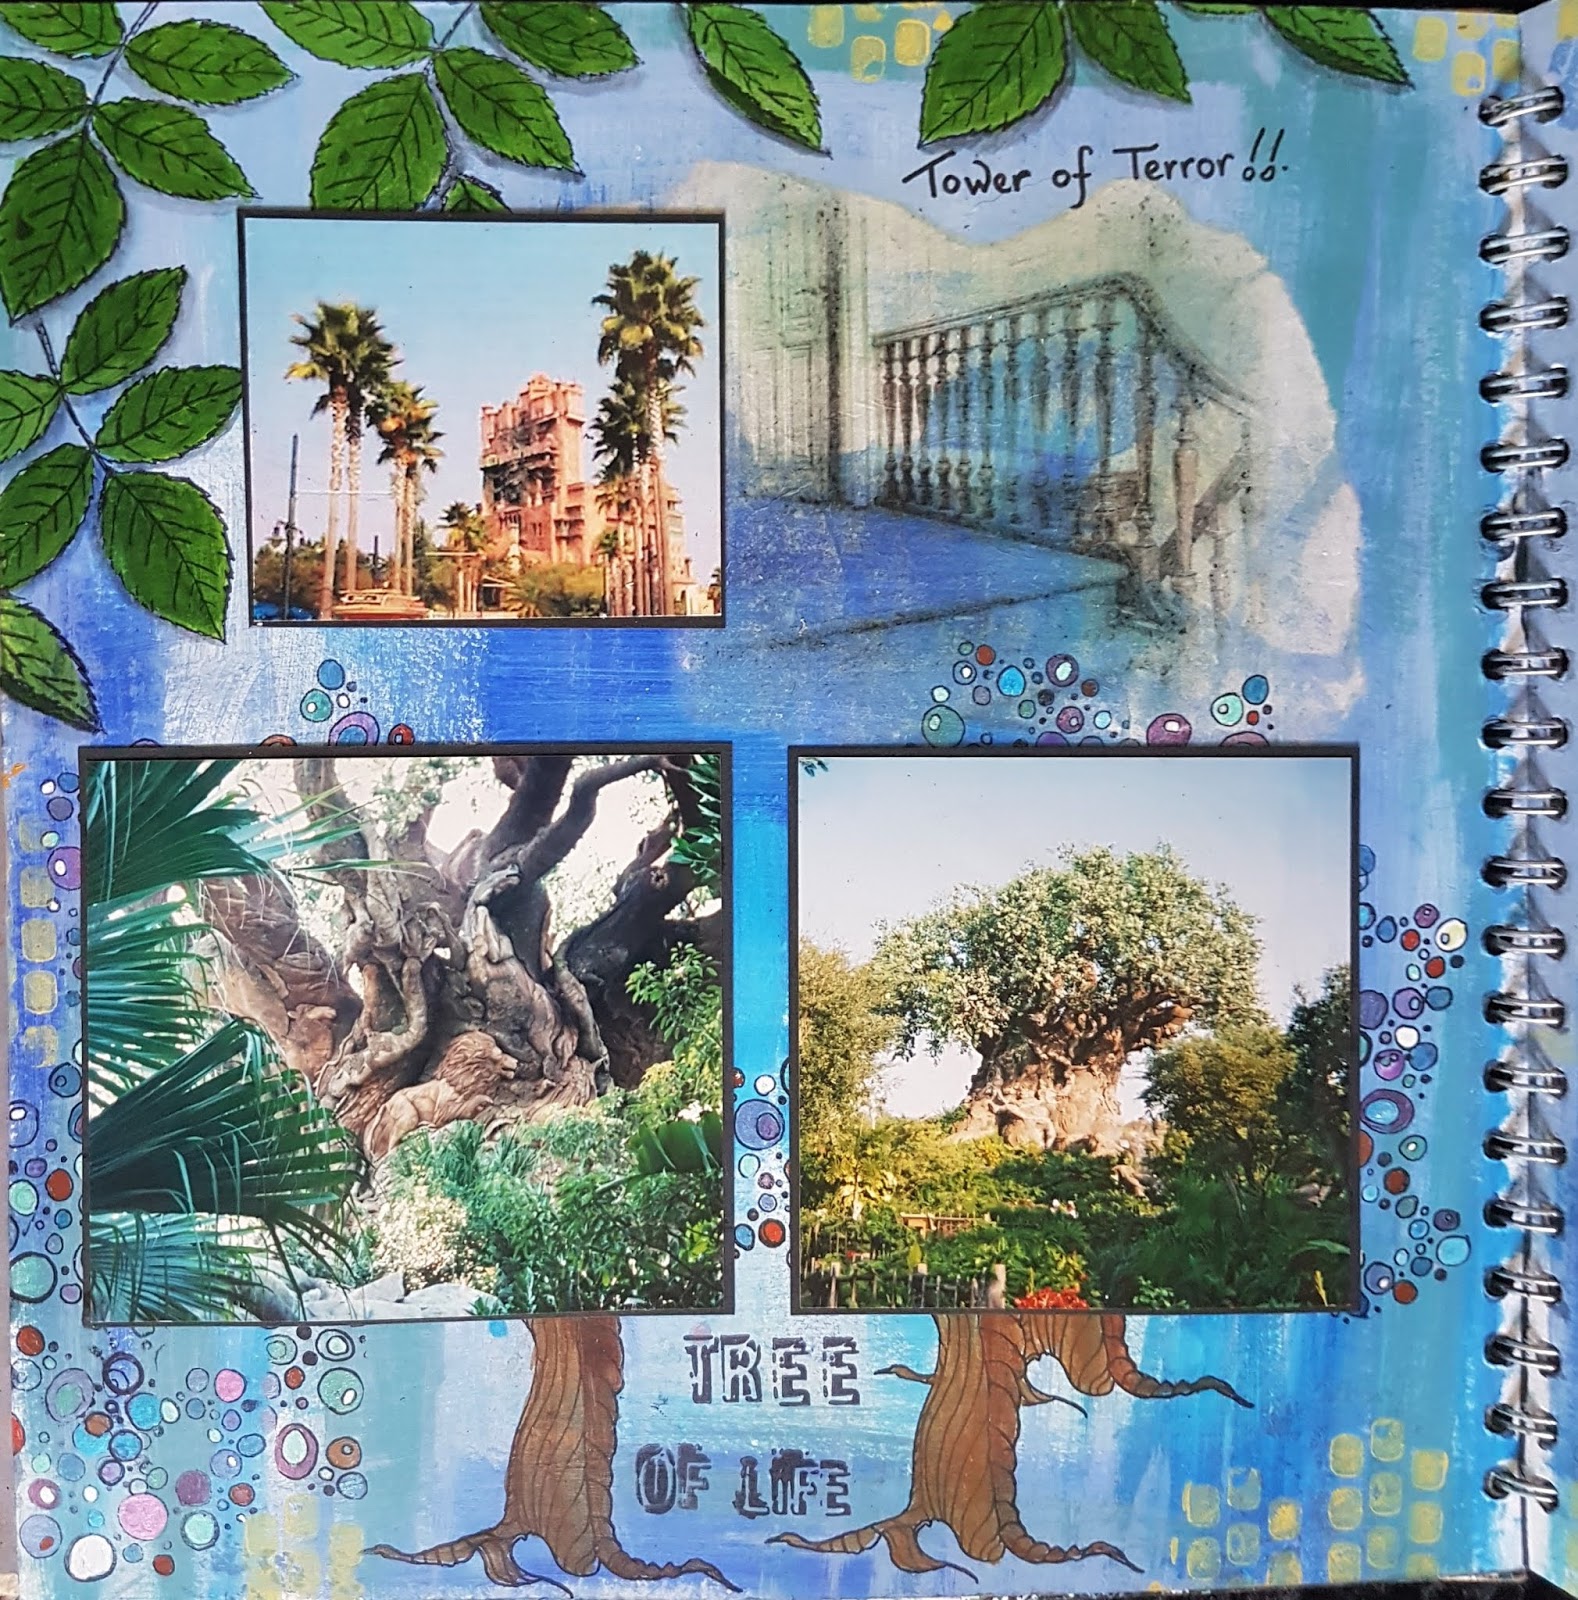
Step 4: Repeat the stenciling on the second page. Cut out the word required with the alphabet and colour with the Brusho. Stamp your Dolphins and chosen words. Use the acrylics again to colour them, Lastly mount and secure your photos. Whatever photos you decide to use, you will create a wonderful page to display your photos and so much nicer than leaving them in a box or on the phone.

Just a little extra here: If you have not shopped with Hochanda before, here is a voucher code giving you 30% off your first purchase (FEY5JBP7) it can be used for any purchase, feel free to share it.


As you know I love writing my blog and helping as much as I can, well I would really love for you to add you support by adding me as a favourite blog. All you need to do in that section is choose other and add my blog address nickinbarnsley.blogspot It would be great to get a mention even if I dont come anywhere.

Here is the link to add your support for all of the categories. 


Thank you ever so much for joining me today, I hope you have enjoyed the tutorial along with the finished project. Please stop by again to see what else I have to share with you. Take care and Happy Crafting.xx


Tuesday, 30 October 2018

Swimming in the Moonlight

Morning Friends and Crafters, I'm so pleased you have stopped by today. I am sharing a page I made today, but it would also make a great Birthday card. I hear so many crafters say how difficult it is to make cards for men, much of my collection can be used to make mens cards for all occasions, that are very different from whats available out there. It would also look smashing mounted, framed and hung.

You will need:
Craftascope Dolphin Stamp Set 1
11 x 11'' Black Card
Shaded Lilac Distress Oxide Ink
Stayzon White Ink Pad
Phat Foam
White Gel Pen
White card for mounting or a 12 x 12 Journal
A Little Bit Magical 'Maid of the Sea' 
Square of Copier paper with a basic circle cut out (for the moon)
Torn Copier Paper for the Hills and Mountains
H2O's or Creative Expressions Mica Watercolours

Step 1: Start by placing your moon in the sky, use the shaded Lilac Distress Oxide to add this. Next add the mountains and hills, again with Shaded Lilac. Place the torn paper, then with a smoothie or Phat Foam, blend gently downwards, build up the colour until you are happy with the depth. Using an old hard brush, swipe back and too across the moon to give the illusion of mist and clouds.

Step 2: Take the edge of a ruler or piece of card, tap Shaded Lila onto it and create the shore line (See Photo), build this up until you are happy. Next stamp the dolphins and the rocks with the Stayzon white ink.

Step 3: Use Shaded Lilac and a hard brush or a stencil brush to add sea spray around the rocks.

Step 4: Colour the dolphins with H2o's, Then add some white Stayzon to lighten the mountains, Imagine where the moonlight would fall.

Step 5: Use your white gel pen to add moonlight to the surface of the sea. *Top Tip* Add a little and dab with your finger tip, it makes it look more natural and less like a line. Slowly and gently build this up, also add a little around the rocks.

Step 6: Add a few more details around the mountains with the gel pen and a few stronger ripples on the water. Stamp your chosen sentiment or words, here' Let Your Spirit Soar' onto black card with White Stayzon, then mount onto white before adding to your project. Mount your project onto white card, add to a journal or add a frame.

Step 7: Finally using a black fine liner and your gel pen add a few birds in the sky and in front of the moon.

All of the stamps in my collection have been carefully sized in a way that they will suit Journals or card making. If used with shrink plastic they also make the most wonderful ATC cards. I have made a lot of ATC's using this collection and I hope I get the time to share them during the show, If not I will be sharing everything I have made here for you.

Thank you so much for joining me today, I hope you have enjoyed the tutorial along with the finished project. I would love you to tune in to my first show on Hochanda this Thursday at 4 pm for some more inspiration, demos and as many samples as possible. Another thing, here is a 30% off voucher to use on your first order (anything) from Hochanda, use code FEY5JBP7.

As you know I love writing my blog and helping as much as I can, well I would really love for you to add you support by adding me as a favourite blog. All you need to do in that section is choose other and add my blog address nickinbarnsley.blogspot It would be great to get a mention even if I dont come anywhere.

Here is the link to add your support for all of the categories. 

https://www.britishcraftawards.com/


Until Tomorrow, Take care and Happy Crafting.xx