Showing posts with label black. Show all posts

Monday, 9 May 2016

Time Collides Mixed Media Project

Morning,This is another project that I am very excited to share. Mixed Media is something that I have always wanted to try, but didn't quite have the confidence to do. It was only after watching Let Leonie Loose on Hochanda, that I finally made the decision to have a go.


Well, that was way back in March, Since then I have been collecting and making things to use and include. So here goes, My first try along with a step by step of how I went about it.

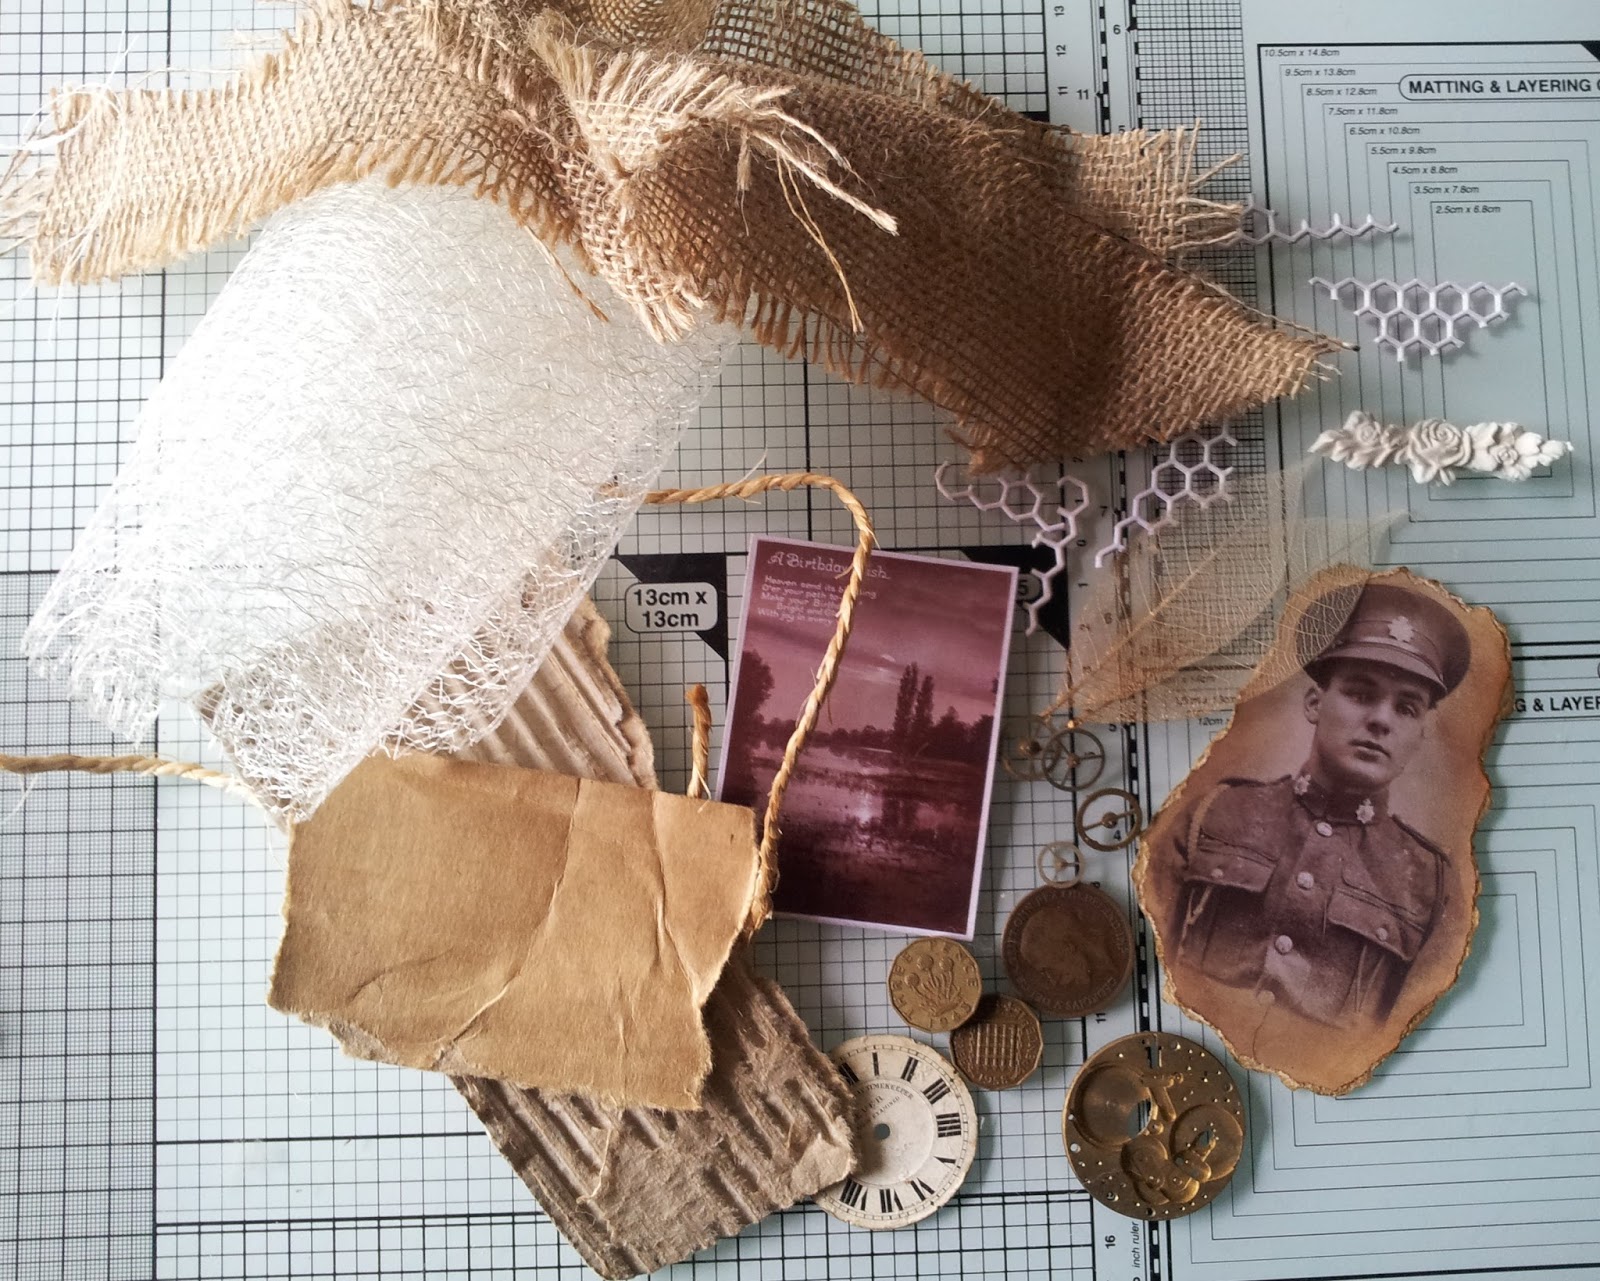
I started by getting all of the items together along with my board.

Taking a Clarity Stamp 7x7 stencil and some white texture paste (I coloured it so it's easier for you to see on screen). I spread this through the stencil and left it to completely dry.

Then I positioned the items. This is the bit that takes quite a lot of time and thought, working out what you want and you would like your finished project to look.. I would definitely suggest taking a photo when you are happy with your arrangement to refer to when securing them to your board.

Here are close up photos of a couple of areas on my project.


Using mainly Cosmic Shimmer Glue but a little 3D glue gel I assembled my piece. When this was dry I painted the whole project with Black Gesso, I had to make it different. When this was dry, I added a second coat of Gesso. It was quite surprising to see what I had missed. Leave this to dry overnight.

The rose, photo and stencils were to be my main focus, so I decided to leave the rest of the background black. I used Red Bauble Iridescent watercolour paint by Creative Expressions for the roses. For the Hessian,cardboard and surrounding area I used Purple Mist and Mediterranean Blue Gilding Polish, again by Creative Expressions.

Lastly I added highlights throughout my project with Pebeo Gilding wax in 3 colours: Silver, Empire Gold and Renaissance Gold from Crafters Companion. When this was dry, I polished the wax to a shine.

I thoroughly enjoyed making my first mixed media project, I will definitely be making more in the future. Thank you so much for stopping by, I really hope you are liking the projects I share. I really appreciate your comments, they mean a lot to me and keep me going too. Take care xx 

 I am going to enter this into the Country View Crafts monthly Challenge, this month it's 'Use a Stencil'

Wednesday, 20 April 2016

Parchment Zentangle

For this card I decided to create a Parchment design using Zentangle. Leonie's new stamps are fantastic for this, the sky is the limit when it comes to different ways to use them. Across the collection there are many possibilities to be creative.
Firstly, I chose a design that I wanted to use. It's best to pick and open design or stamp for this to give you room to play with the design. For this you will also need a mask for the inside and outside of the design to allow multiple pattern stamps to be used.

I traced my design onto parchment using a mapping pen and the same design onto copier paper, this will act as your masks. The outside mask will stay in place throughout the project until the stamping is complete.For each section of stamping I just removed the particular segment from the inside mask and replaced them as needed. For the stamping I used a white stayzon ink pad.


When I had completed all of the stamping I removed the remaining masks. Then I created a square frame around the design. It's easy to mask this off and I used low tack tape while I stamped all the way around the inside of the frame. I used a mask of the stamp I used so I could overlap the stamps without causing any crossed lines.I used a ball tools to produce the white work and add shading where I wanted. You don't have to do this, you can just retrace your design using a small ball tool and a soft mat.

To finish, I shaded the back of the parchment with black. You can use black pencils or Alcohol markers, whatever your particular preference. I chose black but any colour would work well. I used a corner punch to attach to black pearl card and layered onto Centura Pearl Snow White from Crafters Companion.


Tuesday, 19 April 2016

Black & White Zentangle Using Stamps from Leonie's Launch

How Excited am I. Loved Leonie's Launch show and I am sure you did too. Now I have the opportunity to share some of the samples I made.


These stamp collections and Stencils are so versatile. I have to admit when they first arrived, I was suffering from Craft Block. But once I got going, there was no stopping me. Dont know why I was so worried about completing 6, I could have done 60.


I have been playing with them for weeks. I have 17 projects to share from this launch. Some of them are very simple, using only one stamp and others are more elaborate. I have to let yo know how easy it has been to create such a variety of looks and styles. Well done Leonie, a great collection.


For this card, I started out by marking out the square for the finished card. Then with hardly any pressure on a pencil (Almost resting between your fingers) I marked out the  main focal point. Then I added a couple more around the edge. I have made the pencil lines a bit darker so they show up.

Taking the first stamp I made a couple of masks as these are needed as the images overlap. Then I stamped along the line being careful to make sure the right images were masked. I then did the same with the other stamps I selected on the other main lines.


When I had completed that, I took my other stamps to fill in the spaces. Then took graphite sticks to add shade and dimension. In areas that I wanted a more dramatic look I used black fine liners.


This would look stunning in colour maybe monotone and completely different using  mixture of vibrant colours.


I am entering this card into the Suzy Bee's Challenge.