Hi everyone. Long time no see, I'm back with a post for you today, it's a big one with lots of pictures, had to be after such a long time. This project has been created for the AALL-and-CREATE Europe Challenge 1. I have used a real mix of products and techniques and had to include letters from Leonie's Typography range, which I tend to use endlessly.I am extremely proud of it and thoroughly enjoyed creating it, while I have been secluded.

To begin, I transferred my map of Europe onto calico, using tracedown. I darkened the lines using a black Copic fineliner.

Next I used a selection of stitches to achieve a variety of interesting texture throughout the map, depicting the countries with shades of blue thread. The coast of Africa was stitched in red. I also stitched onto the map design the phrase 'Ties that bind' demonstrating the tight threads that have historically joined us to Europe. The french knots that I have used for many of the countries have added a lovely texture to the piece, but took forever. Thank you to Katrina from Rowandean for the inspiration.

One part of the challenge brief was to include something modern, after all that has happened with my laptop, it had to feature in my project, so I will never forget. I also wanted to include an element that stretched back through our rich history. What better than an ancient king and a historical ship, so I stitched these onto calico to illustrate the long history of Europe.


Next I moved onto the frame, which is slightly larger than A3, I used a thick backing board covered with Centura Pearl cardstock, the wrong side up.

Then came the exciting part, creating the texture and decoration and lots of rearranging. I started by covering the whole frame with Spiders web ribbon, securing with Collall tacky glue.

I was so inspired by this project, to include the European printmaking influence, I decided to use the word 'Inspire' I would have loved to include all of the translations of the word but had to settle on 4 for this. I have used English, Welsh,Danish and Czech. The Danish 'Inspirere' is enclosed in a mini printers tray. The letters I have used are from Leonie's 'Typography' die collection.

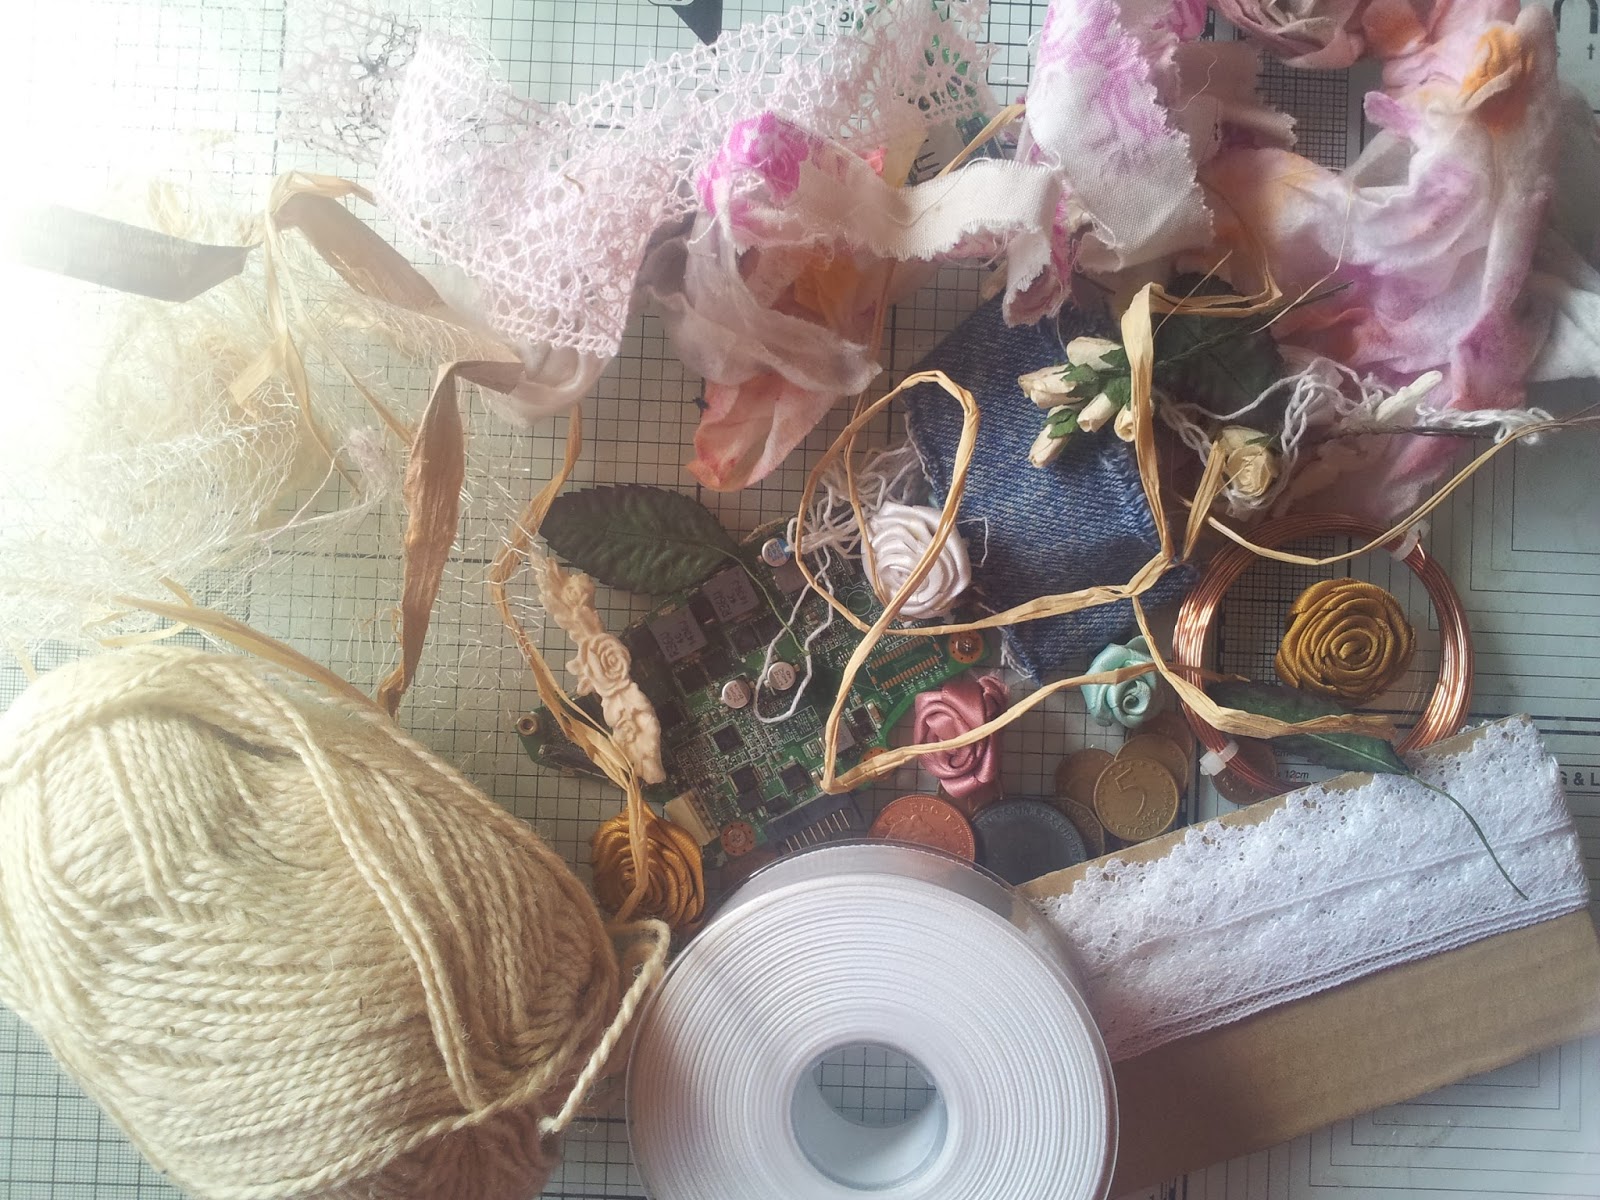
Next I took a selection of bits and bobs to create my frame and add as much texture and interest as possible without detracting from the main map. I made ribbon roses, antique and modern lace, scrap fabric, old baby wipes along with a lot of other items. After a lot of rearranging, I came up with a plan. I did have a selection of old and new coins from all over Europe but decided to leave them out of the final design.

I had planned on using Ivory Powertex for my frame.......

But decided I wanted to continue the old and new theme, so changed to bronze Powertex. I added sand and different sized balls for even more texture.

For the letters, I added a little depth, using black sand texture gel from Pebeo.

I painted some parts of my old Laptop black and assembled onto the base sing garden twine and Powertex. I have included some close ups here.


The letters for my printers tray were finished with black gesso before lifting the texture with a selection of gilding was from Pebeo.

I then enhanced the textures created on the frame by drybrushing, firstly with black gesso. Then I used Colortricx Brons Gold mixed with Easy Varnish from Powertex.


I secured acetate in the aperture, then the stitched map behind. To finish, I added my stitched embellishments.


Thank you so much for coming to see this project. As I said before I have really enjoyed making it. I am so pleased to be back in the land of craft and hope to see you all very soon. I have to build up a selection of blogs, but I a working on it. Take care and Happy Crafting.xxx
Wow! This is brilliant. Worth waiting for. Thank you for sharing this.
ReplyDeleteThank you so much. I am glad you like it and think it was worth the wait.xx
DeleteWow what an amazing return to the world of crafting and blogging! A true masterpiece from you Nick. It must have taken a very long time to do this one.
ReplyDeleteSo glad to have you back. Thank you for sharing,Nicola xxx
Nick, this is absolutely fabulous. I can't imagine how many hours you spent on this - so much clever detail and such beautiful work. x Anne
ReplyDeleteThank you so much Anne, More hours than I care to admit to, but I think they were hours well spent. I am so pleased you like the finished piece.xx
DeleteThank you Nicola, It was such a big project t take on, I am almost glad I didn't have the laptop or maybe it wouldn't have been finished. So pleased you like it.xx
ReplyDelete