Showing posts with label memento. Show all posts

Sunday, 21 May 2017

Life's an Adventure

Create a rustic look with these fantastic 3D Embossing Folders launched on Hochanda by Crafters Companion. There is so much Depth and Dimension in these folders that they really hold their own. I have really enjoyed designing to show just how detailed they are.

For this card, I wanted the finished card to be larger than the embossing folder, but also wanted the folder to be the main focal point, so I cut 2 which I would join together later. I inked my 'Regency Swirls' folder with Rich Cocoa Memento Ink and ran through my machine. This coloured the lowest part of the design to highlight the different levels of emboss. The card I used here was Neenah Dessert Storm.

Next I trimmed the design, both pieces to 6 3/4'' x 4 3/4''.
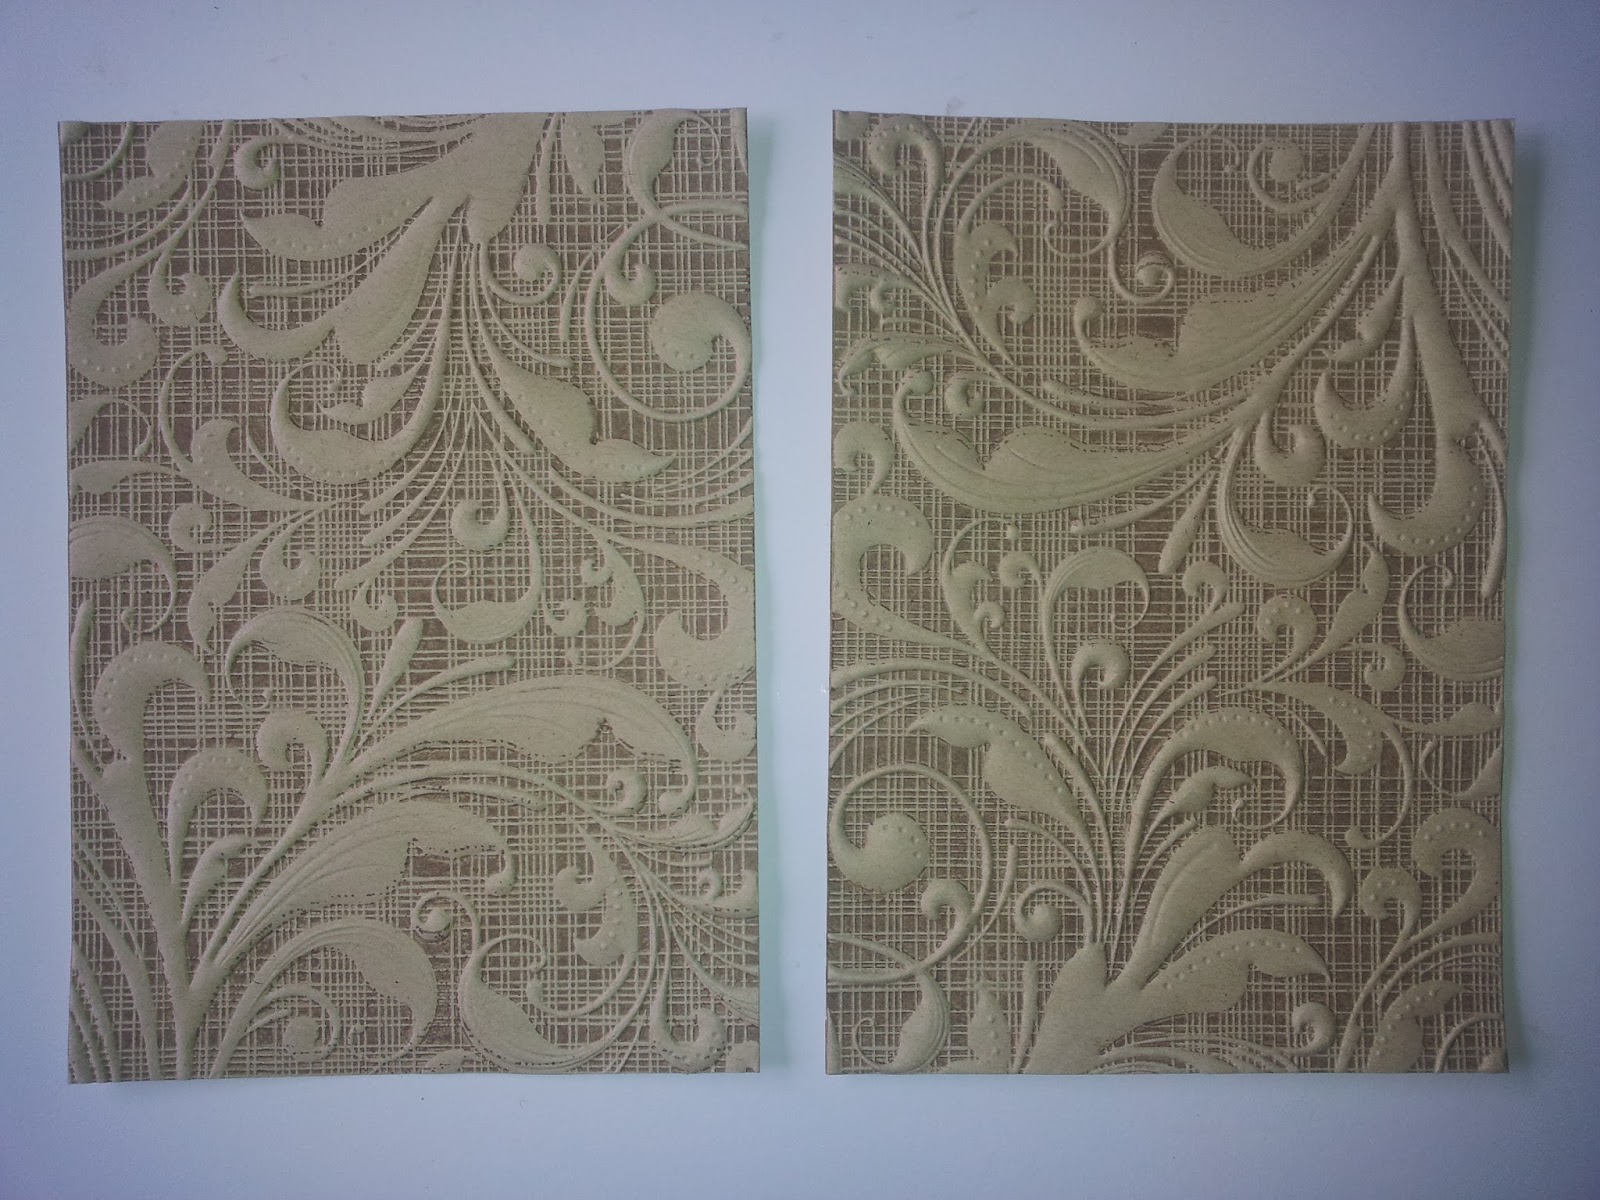
I took a strip of hessian, which I frayed at the edges. Then I joined the embossing folders to give me a 7 1/2 x 6 1/2 piece. I wrapped the hessian around horizontally and secured at the back with red liner tape. I did the same with some raffia, then again vertically, where they crossed I tied a knot.

I backed the piece onto red pearl card to give a narrow border, then attached to my 8 x 7 base card made with Ivory Centura Pearl card. I stamped the sentiment and cut it with a basic circle die, distressed with Antique Linen and layered onto some matching card cut with a larger basic circle die.

I hope you have enjoyed this step by step and the finished card, I hope it has shown the depth and detail of the folder, which is what I wanted with this card. Thank you so much for taking the time to visit and hope to see you soon. Take care and Happy Crafting.xxx


Tuesday, 23 August 2016

Christmas Kaleidoscope

Morning, Today I want to share a card that shows just how useful the square Inkables are, this is just one use for them but there are many, many more. I have also used a selection of the Christmas Stamps that Bev from Bee Crafty launched on Hochanda last Thursday (18 August). I think we all take some tools for granted or look at them and dont realise how else we can use them,Me Included.

This card I completely flat, so brilliant for posting. However id does appear to be be fairly layered. By using the Inkables and overstamping it gives the illusion of dimension. To start with, I took my card base and put the largest Inkable in place using temporary spray adhesive, here I used Stick n Spray from Crafters Companion.

The using Memento Bamboo Leaves, I stamped around the outer edge using the large tree stamp. I then repeated this with the other sized Inkables, rotating them slightly each time ensuring the centre one was square with my card.

In the outermost square I stamped the white space using the Holly Flourish and Memento Bamboo Leaves. In the next space I used the individual Holly Stamp and this time used Pine Needles Distress Ink.

For the next space I used only the swirl part of the Holly swirl and stamped using both the Bamboo Leaves and the Pine Needles. I then overstamped all of the edges with Black Versafine, making sure the green showed from beneath.

In the centre square I stamped my Christmas sentiment and edged using the smaller Holly Flourish with Bamboo Leaves.

I then added the holly berries, using Cosmic Shimmer PVA glue in 'Festive Berry'. I then took a Zig glue pen and highlighted all of the edges with gold foiling to add even more dimension.

To compete the card I layered it first on to red Mirror Board and then a black base card.

I hope you have enjoyed the step by step I have shared with you today and the finished card. Thank you so much for taking the time to visit and hope you will come back again very soon. Take care and Happy Crafting.xx

Thursday, 12 May 2016

Countryside Stepper Card With a Twist

Morning, Here is a fun twist on a regular stepper card. I made it from a sheet of A4 card, so it gives you a finished card smaller than A5. I made a template for it, I have included measurements here in case you would like to try it out. I originally worked it out on copier paper.


Working from the right on the longest edge of your A4 sheet of card, Lightly mark with pencil at 5'' and then at 3 1/2'' on the top. Then on the bottom mark again at 5'' and then at 2''. These are your score lines.


Score using a bone folder and crease. Your card will now look like this:


I then Marked off to create a squared card, like this:


The cut off the excess as shown here:


I created the background using a My Craft Studio CDRom. It's a create a scene, so built up from elements from the software. I printed this off, on a separate piece of super smooth card, I printed off some extras for the foreground to decoupage, to continue the 3D look and feel.

I stamped the main image with a Memento ink pad (Black Tuxedo) then coloured with my alcohol markers. It was cut out using my Brother Scan n Cut and the mat for the image was cut adding a 5mm border. I then distressed the edges with distress ink and blending tool (Bundled Sage)

The background was then cut to fit the card and layered using black card. To finished I assembled the card and added the extras with 3D Glue Gel.


Thank you so much for taking the time to visit my blog today. I hope you have enjoyed the step by step today. Thanks again for all of your lovely comments, Take care xx 

Friday, 29 April 2016

Home Birds Project

I cant quite believe we are nearly into May, this year seems to be flying by. Today I am sharing another project I have made using Leonie Pujol's Collection. I know I have said this before, but they really have been a pleasure to work with and the ideas do keep coming. I really hope you have enjoyed seeing the projects I have made.


For this project I thought it would be nice to add another stamp to the design and I have chosen a beautiful Clarity Stamp, The House-martin, Although by using different colours I have created a couple of fantasy breeds. I have also used Leonie's home mask and a selection of stamps from her collection.


I started the project by placing the home mask in the area I wanted and stamping the birds. I wanted the birds to be slightly off my main design. Secondly I planned and mask off my design area with washi tape and copier paper.

Next I stamped the large flower stamps and masked them off, I used cut outs first, but just lately I have come to the decision that I prefer Pebeo drawing gum. I wish I had used that in the first place. Especially on this project as I wanted to use blending tools for the Distress inks and the cut out do tend to need repositioning then.


I then stamped all of the fillerinerus (as Leonie calls them). Using Shaded Lilac Distress ink I blended the centre of my design across the Home mask, The from the outside in towards the home I used Adirondack Stonewashed. I repeated this with Blueprint sketch and stopped about halfway and finally repeated just around the edges with Chipped Sapphire, concentrating more around the stamped corners.

After removing all of the masks, I coloured in the elements using a selection of my alcohol markers. Then, I cut around the edge of my design with a craft knife and ruler, avoiding the overhanging wings and layers onto black card and then onto dark blue.


Hopefully, you have enjoyed this post and I really hope you like what I have done here. Thank you so much for taking the time to visit my blog. Thanks for all of your comments, I am over the moon to get them. 

Friday, 22 April 2016

Misty Morning Scarecrow

It was very misty this morning, the sky was the most beautiful shades of blue and the mist was sitting in the pockets of the land. I have tried to show that in this card I made for the Monthly Clarity Challenge blog.

I used the Scarecrow as my main image and wanted it to appear that he was coming out of the card. I started by stamping him onto my base card and onto a piece of copier paper to act as a mask. Then layered masks over him to create the frame, sunrise, and hills. Using a Clarity Countryside Stencil, a clarity moon mask, a clarity landscape mask and so torn copier paper.

For the landscape I used, Bundled Sage and Mowed Lawn Distress Inks. For the Sky I used Adirondack Cloudy Blue and Stonewashed. For the sun I used Mustard Seed and Spiced Marmalade Distress Inks.

I then removed the Stencil and replaced it with the Countryside mask (inner) and masked my frame with washi tape. I offset the mask slightly to achieve a slightly 3D look and continue the misty feel. I blended away from my mask first and then blended off from the frame using Blueprint Sketch distress ink,

The frame was deckled using a black fine line marker and the space between coloured with my alcohol markers. I then removed the mask and coloured the scarecrow using my Alcohol markers. I cut out the frame using a craft knife and ruler, and finished by cutting around the parts of the scarecrow that extended past the frame.

Finally I layered this onto white cardstock then onto a black pearl card.

I am entering this card into the Clarity Blog Challenge Number 38