Showing posts with label Oil Pastel. Show all posts

Tuesday, 29 May 2018

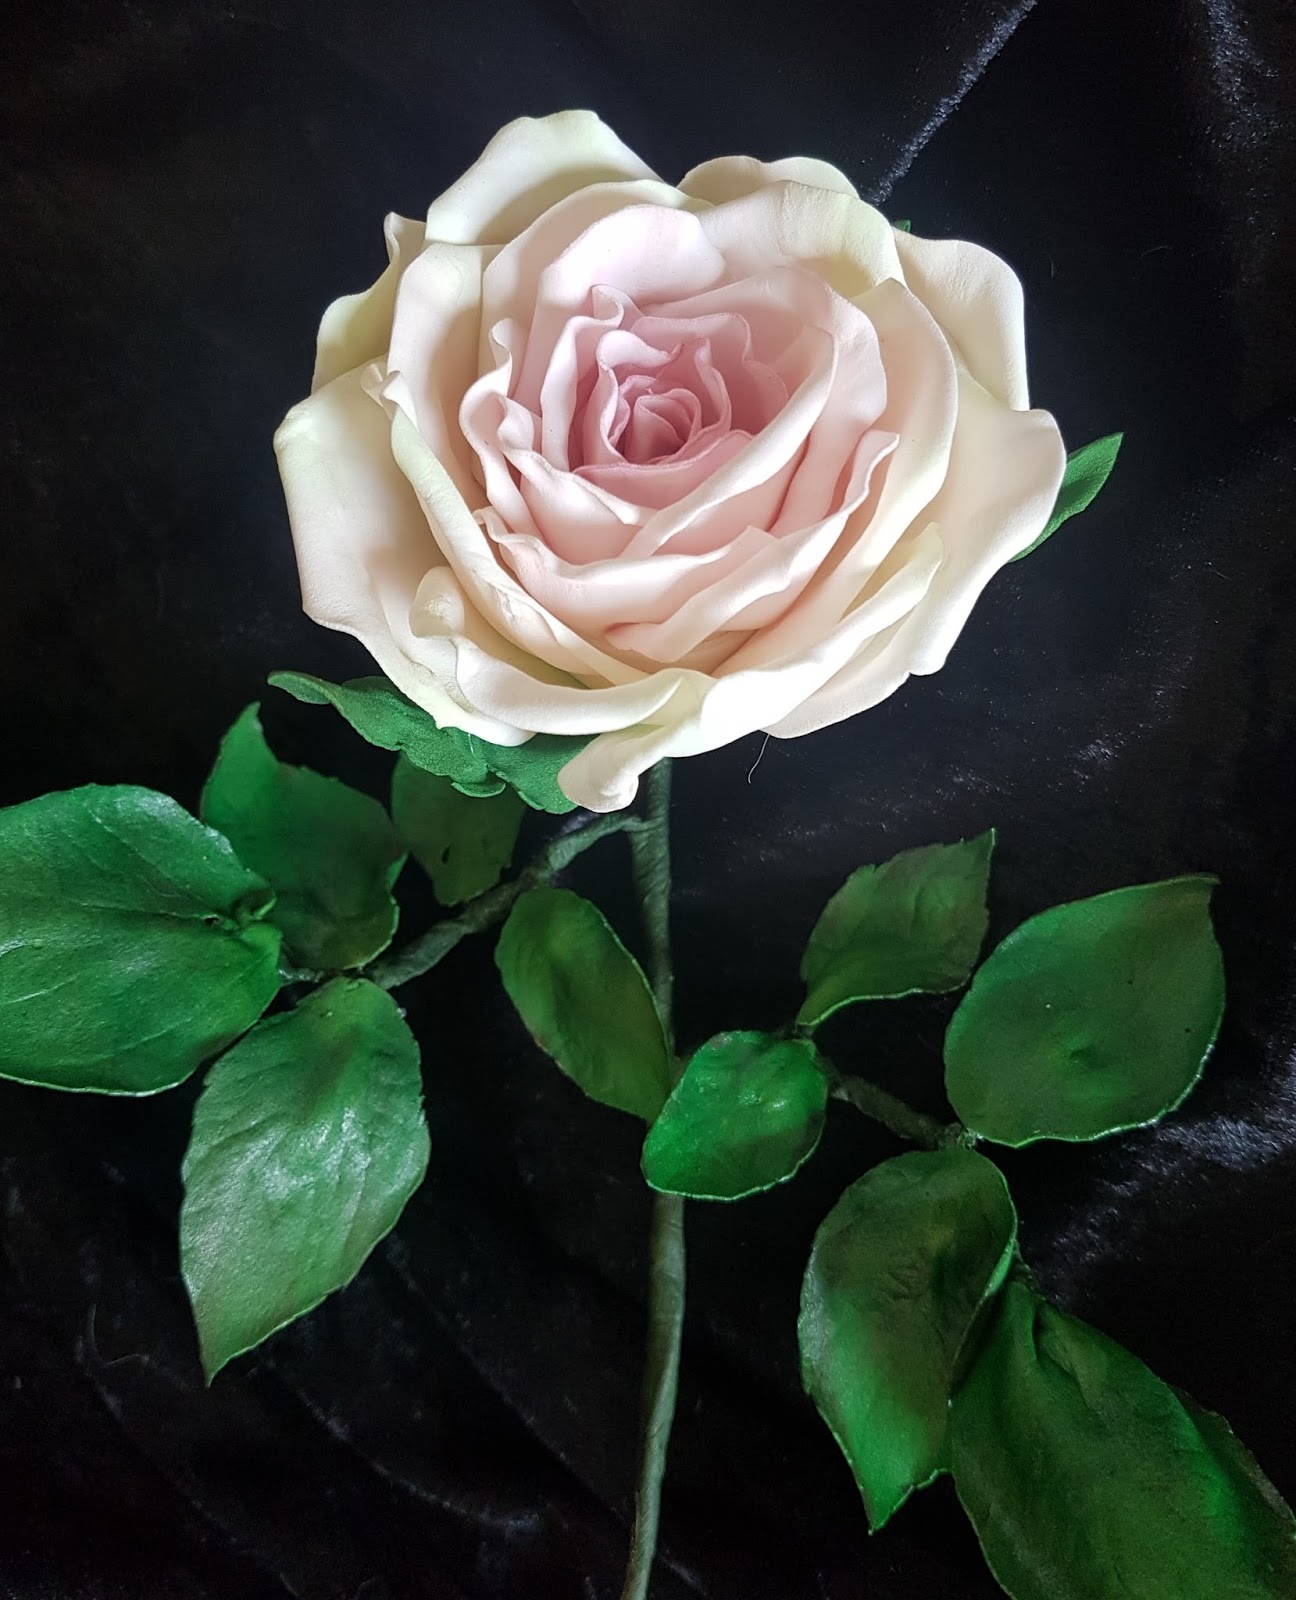
Large Fantasy Bloom

Hi Crafters,Today is a special post, which I am dedicating to my Nan, who would have been 96 today. She would have loved Foamiran and the flowers it enables you to make, so this is for you Nan.xx For quite a while I have wanted to create a large statement bloom, so I thought today would be the day to make and share this fantasy bloom. It could be a heritage rose or a peony, well whatever you choose really, you decide. I've included a highlighted video, which has been shortened, I must appologise for coming out of shot a couple of times, but I burnt my hands.

You will need:
Ecru Foamiran (002) From 14 Craft Bar
Oil Pastels, Mid Green, Pale Pink or Peach and Deep Pink
Scissors
Hot Glue Gun
Stamens in Yellow and Brown/red

Step 1: Cut your foamiran into squares, see the photo for measurements and numbers.

Step 2: Cut the petals, I find it easier to cut them exactly like I did for the rose and then take out the extra pieces. See the photo for a detailed view.

Step 3: Colour your photos use Green at the base of all petals.Then use less & less of the Deep Pink as and ore of the green as the petals get larger. See the photo included.


Step 4: Concertina fold the smallest petals as shown, then twist back and forth. Gently tease the twist out but leave the petals fairly tight.


Step 5:For all of the larger petal sizes, use something round to create the cupped shape, here I have used a soft apple, it's just the right size and gives a nice texture to the petals.

Step 6: Concertina the edges of all petals and twist as before, uncurl and gently stretch to increase the petal size and shape. The 2 largest size petals can also be rolled outwards on the edges. Here is the highlighted video showing me putting it together.

I used a spray varnish for my leaves this time, sadly I was a little heavy handed with it so they are rather glossy. Here is the finished Bloom inside and outside.


Thank you ever so much for joining me today, I really hope you have enjoyed my post today, including the video. I would love to hear what you think and what you thought of the video. Take care and Happy Crafting.xx

Sunday, 13 May 2018

A Single Bloom

Morning Everyone, It's a real pleasure to be sharing my first post as part of the 14CraftBar Design Team. I am thrilled as it's a real honour to be part of such a talented team doing something that I really love, anyone who knows me will know that I love Roses. So today I am sharing a Beautiful Single Rose Bloom made with Foamiran from 14CraftBar.


You will need:
Florist Wire
Copper Wire
Green Florist Tape
Glue Gun
Mod Podge Glossy
Oil Pastels Petals: Green, Peach and Pink. Leaves: Dark Green and Deep Red

I have actually done a few sections of video to go with this tutorial,however it was really disappointing as I have a new kitten who was calling for mum, I dont know how to turn the sound off, so I will try again next time.

Step 1: Prepare your petals from squares, rounding off 3 of the corners as shown in the picture. You need 7 - 4 x 4 cm, 7 - 4.5 x 4.5 cm and 12 - 5 x 5 cm.

Step 2: Colour your petals, each of the sized needs green at the base, front and back. Edge the smallest leaves with the pink, then blend pink on the front and back of the petals. For the mid size use very little pink and more peach. For the largest size use a little green and mostly peach.

Step 3: Shape your petals, by concertina folding the top edges and twisting them back and forth, Lightly stretch to give a cupped middle, For the mid and large sizes roll the petal gently outwards.

Step 4: Roll a cone shape and secure to the end of a piece of copper wire. Take the petal and secure around the cone as shown.

Step 5: Repeat on the opposite side as shown.


Step 6: Repeat with all of your smaller petals.


Step 7: Next add your mid size petals, overlapping each over the last. Make sure to secure these slightly loser than before.


Step 8: Cut a selection of leaves from the green Foamiran, also cut a calyx shape.

Step 9: Colour these using dark green oil pastels and areas of red, especially around the edges.

Step 10: Roll a small piece of foil, thread onto the wire and secure at the base of the rose.

Step 11: Add the calyx, secure in place with the glue gun, shape around the foil using a toothpick.

Step 12: Firstly add veins to each leaf using the mold then wire all the leaves and join them to form the classic rose leaf arrangement.

Step 13: Wire the leaves to the stem and cover with florist tape, paint the leaves with glossy Mod Podge or similar.

Step 14: Enjoy your beautiful bloom.


Thank you so much for joining me today. I really hope you enjoyed it and I promise to do a video for the roses in my next post. I would love to have your comments and to hear what you think. For now Take care and Happy Crafting.xx