Morning everyone, I have such a lot to share with you as I have fallen so far behind. I am sure you all know what it's like there just aren't enough hours in the day or days in the week come to that. Today I am sharing a card I made for the launch of the stunning Christmas 3D Embossing Folders. The designs are so beautiful, so I like to keep them simple to show off as much detail as possible. These really are perfect for batch card making at Christmas and give a striking effect.
You will need:
Poinsettia Frame 3D Embossing Folder
Gemini Festive Words 2
Gemini Festive Foliage Set 1
White Stamping Card 5 x 7''
Black Card 8 x 6''
Centura Pearl Card Base 8 1/2 x 6 1/2
Anti Static Bag
Versamark Ink Pad
Red Satin Card
Red and Green Foamiran
Red Ribbon
3D Glue Gel
Tacky Glue
Step 1:Run over your card with an anti static bag. Then coat your folder with Versamark and emboss your card.
Step 2: Coat the card with Black Embossing Powder and heat to set.
Step 3: Cut the 'Merry & Bright' from the centre of the red card that you will use for the mat. Secure with Tacky glue and then mount your card onto the red.
Step 4: Take your black card and wrap the ribbon around both corners, secure with tape then mount onto your card base.
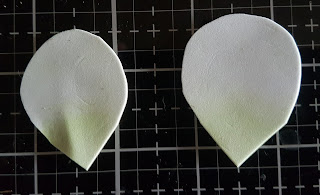
Step 5: From Foamiran cut some of the poinsettias & leaves, screw them up gently and set aside for a few minutes. Unravel and layer.
Step 6: Add the flowers and leaves to you card too finish the project.
Thank you so much for joining me today, It's been great to have your company. I hope you have enjoyed the tutorial and the finished card. See you soon, For now Take care and Happy Crafting.xxx


