Showing posts with label Townhouse Teal. Show all posts

Thursday, 6 December 2018

Almost Invisable

Morning Friends and Crafters, This will be my last blog post for a little while, I am having a little break and hope to join you again very soon. If I do have the opportunity to share any crafty news then of course I will. Today I am going to share a journal page I made for the launch of my Collection last month. It's a great page as it is but also gives you a wonderful opportunity to add to it later, with embellishments, journalling or decorating any way you choose.

You will Need:
Old Dictionary Pages
Creative Expressions Mat n Seal Decoupage Glue
Clear Texture Paste
White Card for the Sentiment
Distress Ink Pad Black Soot
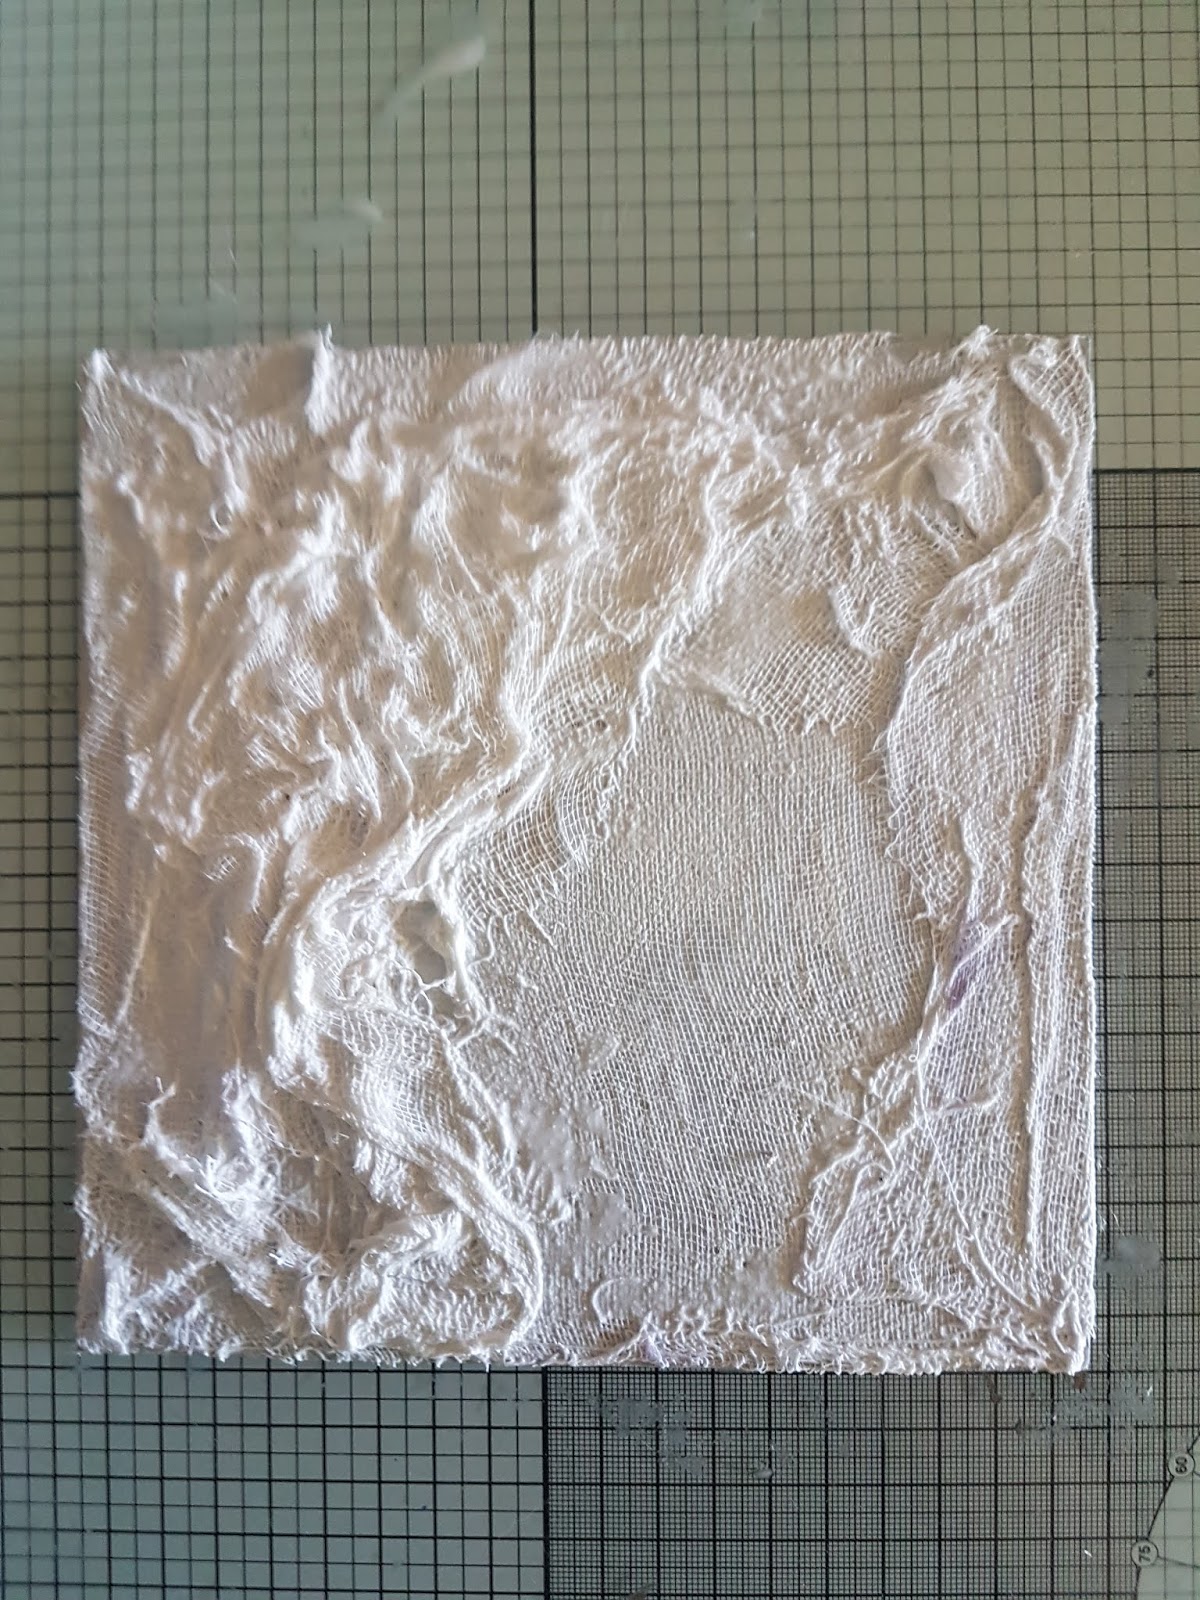
Pink Pig Journal 11 x 11 (White Paper)
Brayer

Step 1: Select some old dictionary pages, all the better is they have images on them as well as these add so much interest and depth to your page. Use the decoupage glue to secure them to your journal page. If they have aged and yellowing pages all the better and try to keep some of this.

Step 2:  Use a brush, a very small amount of white Gesso and a touch of water. You dont want to obliterate all of the colour and detail, just build layers.

Step 3: Use your Brayer to add the first light layer of Bonfire, it really doesn't take long to dry, then repeat with the Townhouse Teal, which really contrasts well. Build up a couple of layers like this, again dont be too heavy with it, You might want to add a little white if you do happen to add too much colour. Finish with a layer of the bonfire, but use very little paint. This all adds to the depth and texture of your project.

Step 4: With a palette knife to mix a little Townhouse Teal into your clear texture paste. You want the stenciled image to show but not jump off the page at you. Using the same colour in your paste blends it while adding more texture to your page.

Step 5: As the paste dries you will see the image shows much more.


Step 6: On some separate card add a little of the same colours, you can apply it with some scrunched copier paper or similar to give you some texture and tie it in with your page. When dry, stamp your sentiment in place with Versafine Black Ink, Then add a little Black Soot Distress Ink around the edges to make it stand off the page. Secure the sentiment to your page with some Tacky glue or for a little more dimension use the 3D glue gel.

Thank you ever so much for joining me today, and for following my recent Hochanda Journey, which I never thought would ever happen. It's been an amazing experience for me. I would like to thank each and every one of you, who bought the collection. I really hope you are having fun with them. I really would love to see your creations, so pleased o share them in the 'Craftascope Facebook group and pleased leave a review on Hochanda so others can see what you think.

If you would like to get your hands of the last few of my collection they are only available at Hochanda or via my Etsy site, a link is at the top of my blog (CRAFTSCOPE ETSY SHOP).

Just a little extra here: If you have not shopped with Hochanda before, here is a voucher code giving you 30% off your first purchase (FEY5JBP7) it can be used for any purchase, feel free to share it.

I hope you all have the most amazing Christmas with Family or Friends, however you will be spending it. Thats all from me now unless by some chance I do have the opportunity to share something with you. So for now Take care and Happy Crafting. Have fun!!!!


Tuesday, 4 December 2018

Double Mixed Media Journal page

Morning Friends and Crafters, the project I am sharing with you today is all about layering, it was really fun to do. Lots of stamping with all sorts of items, adding texture and lots of different layers to give the pages a real feel of dimension. The Funky Tree from Leonie makes another appearance as do some of the other stamps from her collections, as well as some statement stamps from AllandCreate. There's lots of colour used in this one from Indigoblu, Amsterdam Acrylics & Eco Green.

You will need: 
AALL&Create stamp selection
Leonie Pujol Stamps Selection, including Funky Tree.
Selection of Texture Stamps
Eco Green Acrylics
Amsterdam Acrylics
Indigoblu Acrylics
Gelly Roll Pens
Friendly Plastic
Pebeo Silver Gilding Wax
Selection of Rice Papers
Versafine Black Ink
Small, Medium and Large Bubble Wrap
Selection of lids (Different Sizes)
Brayer
White & Black Gesso
Round Epiphany Tool and Acrylic Cap or glossy accents

Step 1: HAVE FUN!!! Choose a selection of colours you like, here I've used Eco Acrylics in Blueberry, Mulberry, Light Blue and White. Add blobs across the pages and using an old store card or card, fingers or some sort of spreading tool, create swirls, spread out to make lovely patterns. On your glass mat, mix Blueberry with a little amount of black to deepen the colour. Dip your lids in this to create a series of circles around your pages in different sizes. Use a brush to give an edge to your page coming in from the edges in a sweeping motion to create some sort of frames project, (See Photo)

Step 2: Using the same colour as used for the background, now stamp with some texture stamps to add more depth. Take a contrasting colour and a brush to add a rough panel and some crosses or marks on your pages, this keeps the pages united. Deepen the colour a little either using some of the deeper Amsterdam Acrylic Green or a black and soften the lines a little. Don't worry if you go over some of the circles.

Step 3: Add some Indigoblu Townhouse Teal, which really contrasts with the lime green. Use this with the texture stamps as well, to really add to those layers.

Step 4: Take some medium Bubble wrap with the mulberry and blueberry, use a brayer to smooth colour onto the wrap and stamp on your pages one colour at a time. Use the 2nd generation of paint to to really let the underneath show through.

Step 5: Use the small bubble wrap now, in the same way as before but this time with the lighter blue.

Step 6: Take a stencil with even smaller circles and to add a touch of brightness and drama use the oranges from the Amsterdam Acrylics, they really let the background come through but give a lovely look too and give the pages a kick.

Step 7: Now for adding even more interest and layers to the page, this time with some rice paper, This still allows the background to show through slightly too which is great for more depth. Once dry use the bubble wrap and the same colors as before to soften and blend the edges.

Step 8: Next for some stamping, once the last layer is dry of course. Choose a selection that you like, here I have used allandcreate on both pages as a focal image and as a page edger along with some of Leonie's stamps, you really want to arrange your stamped images to draw the eye in and keep it on the page to see and take in all the details, rather than wonder off.

Step 9: Now fill most of the circles with white Gesso, this will make the colours in them pop more later and seem more vibrant. Leave a few that show off the wonderful background patterns made earlier. A little bit like windows.

Step 10: Try to use colours that you have used before to fill the circles, this keeps the page unified and stops it jarring. Once these are dry add some of the inspirational words and phrases, make up your own too by mixing the stamps, like I have here and shortening them for a totally different word. I've used Leonie's scribbled circles stamped on the page and coloured with gelly roll pens. I have stamped into friendly plastic with words and rubbed them over with silver gilding wax. Use a white gel pen to add detail around some of the circles. Finally when dry add 'Trent', position the stencil and ink through with Versafine Black ink.

Step 11: On a separate piece of card use your brayer and a couple of colours used in the pages to make a background.

Step 12: Stamp one of the small sentiments onto it and use the Epiphany tool and resin cap to make the cabochon. You could do this with a basic die and add glossy accents if you dont have the tool.

Step 13: Add this resin piece to one of the smaller circles on your page. In another stamp the profile stamp a couple of times. Use some inspiring words in some and some part stencils in some others, again to keep the pages unified and harmonious.

Step 14: To finish your piece add some highlights to your pages using a white gel pen.

Just a little extra here: If you have not shopped with Hochanda before, here is a voucher code giving you 30% off your first purchase (FEY5JBP7) it can be used for any purchase, feel free to share it.

My Collection is still available from Hochanda and they have kept the generous discounts and Flexi but I know there isn't a great deal left. I doubt I can restock due to minimums orders. 

It is also available on my Craftascope Etsy Shop, while there is stock available after my Hochanda Show.

As you know I love writing my blog and helping as much as I can, well I would really love for you to add you support by adding me as a favourite blog. All you need to do in that section is choose other and add my blog address nickinbarnsley.blogspot It would be great to get a mention even if I dont come anywhere.

Here is the link to add your support for all of the categories. 
https://www.britishcraftawards.com/

I do hope you have enjoyed the tutorial along with the finished pages I have shared with you today, Maybe you will have a go yourself, It would be great to see what you do with my collection. I hope you will pop by soon to see what I have to share with you. For now Take care and Happy Crafting.xxx

Sunday, 25 November 2018

Mixed Media Acrylic Portrait

Morning Friends and Crafter, Im back today with another mixed media project for you, There are lots of extra photos to go with this tutorial, making it very easy to follow. It's one of those pieces that really does look better in real life the camera just hasn't picked up the colour as much as I would have liked. With Cyber Weekend in full swing it's really a good time to get all of your essentials and while your at it why not treat yourself to something new.

You will need:
Craftascope A5 Media Stencil 'Bailey' (Only available at my Etsy Shop or via Hochanda)
8 x 8 Board, Here I have used Zutter but any board will be perfect.
Pebeo Studio Acrylics Modeling Paste
Indigoblu 'Townhouse Teal Acrylic Paint
Pebeo Deco Paint (81) Mango
Dylusions 'Squeezed Orange'
Eco Green 'White' Acrylic Paint
Black Gesso

Step 1: Add a couple of inches of the modelling paste to your board.

Step 2: With a palette knife, spread over the surface unevenly.  

Step 3: Cover with a sheet of medical gauze, making sure it makes contact with the paste, especially around the edges.

Step 4: Start building texture around the board, making sure you leave an area for your portrait. Coat each layer with the paste before adding and molding to your project.

Step 5: Repeat step 4.

Step 6: Keep building layers as before to create as much texture and dimension as you like. Leave this to dry thoroughly before continuing.

Step 7: Start adding your background colours. Have lots of fun and dont think about it at all!!!

Step 8: Add a little white Gesso where the face will go, again dont be careful with it, keep away from heavy lines. Add the Gesso roughly. If you add to much you can always add more colour.

Step 9: Lightly trace your 'Bailey' Stencil, use only one set of lines, either the inside, outside or a mixture of both, you dont want to draw around all of them or you will get a thick line. each choice will give you a different look.

Step 10: Use a graphite pencil to deepen the lines of your face, roughly.

Step 11: Start building up more colour to you piece, darker around the edges by adding the smallest amount of black Gesso with your finger. Next use the mango, again with your finger to start building up the features, nose round the chin and cheeks. Use the colours first then to deepen use the smallest amount of black and only if needed, as the colours mix they will give you the depth.

Step 12, 13 & 14: Continue building your layers of colour, until you are happy. Don't worry if you go through stages, when you dont like it, carry on. I went through a lot with this piece. Remember it's not finished till you decide and white Gesso is a very good friends sometimes.


My Etsy shop 'Craftascope' is now open and fully stocked, I have joined in the Cyber Weekend by adding a 20% discount on all orders over 30 pounds (or equivalent) with free postage and packing, until tomorrow, or while the stock lasts. There is a link at the top of each blog page or CLICK HERE.

I do hope you have enjoyed the Tutorial along with the finished project. Maybe try it especially if it's something you have never done before, It's always fun to try something new, It's always fun and there's never a dull moment in crafting, more inspiration to come so do pop back. Take care and Happy Crafting.xxx


Monday, 19 November 2018

Faces

Morning Friends and Crafters, late again. So sorry got that much on at the moment and sadly the back up blogs I did before I came to the UK are all published now, so it's one at a time for a while, so do bear with me. Today I am sharing a Journal/Scrapbook page, again this could easily be resized for a smaller card or even scaled down to make a really nice ATC. Like I always say, it's all about having fun.

You will Need:
Rice Paper, Printed and Stamped (Totally your Choice or a mix)
Selection of Stamps- Here I have used Paper artsy, Indigo Blu, Sheena (again your selection)
Selection of stencils (Your Choice)
Funky Foam
Indigo Blue Townhouse Teal, Pantry White,
Eco Paints Cranberry & White mixed Your Glass Mat
Black Gesso
Old Stiff Brush
Creative Expressions Glue n Seal or Similar

Step 1: On your journal page use the face stencils to add some part faces, Trace through with a HB pencil, go over this with a 6B,blend and shade with the Pergamano blender from Clarity. (Video coming soon)

Step 2: Next use section of your chosen rice paper to add more interest, depth and layers. I have used some printed and some stamped for this project. Use Glue N Seal or similar to add them.

Step 3: Stamp your profile stamp in the top left hand corner to overlook the page and bring your eye in to the centre. Start to build up more layers with your chosen stamps.

Step 4: Next start adding some of your acrylics to really bring everything together. You can always re stamp if you cover up something you want to be seen, it all adds more dimension to the finished project.

Step 5: Continue building up the layers, using the acrylics, stamps and stencils. I always find 3 colours are best to bring things together. To make the '3' I drew it onto Funky Foam and cut out with scissors. I then mixed some Cranberry and white together on a mat, spread out with a Brayer, Stamp the 3 then use the same colour to add some more stenciled design. Once again, if you cover something you want to be prominent, you can re stamp. Finally using the old brush and black Gesso, I swiped back and forth around the edges to give a frame to the project, This brings everything together and highlights the black stamped designs.

Another thing, here is a 30% off voucher to use on your first order (anything) from Hochanda, use code FEY5JBP7.

As you know I love writing my blog and helping as much as I can, well I would really love for you to add you support by adding me as a favourite blog. All you need to do in that section is choose other and add my blog address nickinbarnsley.blogspot It would be great to get a mention even if I dont come anywhere.

Here is the link to add your support for all of the categories. 

Thank you so much for joining me again today, I hope you have enjoyed the tutorial and the finished project. I hope you will pop by again very soon to see what else I have to share. For now Take care and Happy Crafting.xx

Wednesday, 14 November 2018

ATC Book Box

Morning Friends and Crafters. It has been amazing for me over the last few days seeing so many wonderful creations made with my collection. It's impossible for me to describe what a wonderful feeling it's given me seeing how many of you are now enjoying crafting with my designs, something I never thought would be possible. Today I have a lovely little project, made using a super MDF ATC book from Louise Withers. These are such a super design and just perfect to store all of your ATC's as well as having fun putting your own mark on them, excellent quality and design.Thank you Lou.xx

You Will Need:
Indigoblu Acrylic Townhouse Teal
Indigoblu Acrylic Pantry White
Eco Paint Acrylic Pumpkin
Black Gesso
Epiphany Tool Round and Oval Including acrylic domes (can use Glossy Accents or similar)
Versafine Black Ink
Brayer
The whole collection is available as a bundle for better value (Available here).

Step 1: Prepare the surface with Black Gesso, Inside & Out. I masked the spine with masking tape or similar to keep it natural but this is optional.

Step 2: Secure a piece of narrow black ribbon to the inside bottom of your box. This will help remove the cards later without causing any damage to your little works of art. Later you can add a little bead or charm to the lose end.

Next using the Acrylics, build up layers of colour and texture until you ate happy with the result.

Step 3: To decorate use the mans profile stamp and Versafine Black ink. I used the stamps from both sets to make a couple of embellishments & added a twine bow for more interest. Before securing them to my book I used another stamp directly onto the surface. This finished the front, but have more fun, decorating the back and inside cover. On the areas that were plain black Gesso I added a little gilding wax to give an aged look to the sides.

All thats left is for you to fill the box with ATC's you have made or swapped, a wonderful little holder for all your treasured cards.
Just a little extra here: If you have not shopped with Hochanda before, here is a voucher code giving you 30% off your first purchase (FEY5JBP7) it can be used for any purchase, feel free to share it.


As you know I love writing my blog and helping as much as I can, well I would really love for you to add you support by adding me as a favourite blog. All you need to do in that section is choose other and add my blog address nickinbarnsley.blogspot It would be great to get a mention even if I dont come anywhere.

Here is the link to add your support for all of the categories. 

https://www.britishcraftawards.com/

I hope you have enjoyed the tutorial today along with the finished project. Please come by again to see what else I have to share with you. Whatever you make and Create Have fun. Take care and Happy Crafting.xxx


Friday, 12 October 2018

Spring Leaves

Morning Friends and Crafters, I am sharing a card today that I made for the launch of the Clarity 'A Little Bird' collection of wonderful Stamps and Stencils. I have had great fun with these & enjoyed some different techniques with them too, especially making different backgrounds etc for them.

You will Need:
Clarity 'A Little Bird' Stamp
Clarity 'Spring' Stamp
Brayer
Gelli Plate
White Stamping Card
Black Card
Leaf from the Garden
Indigo Blu 'Townhouse Teal Acrylic Paint
Indigo Blu 'Pantry White' Acrylic Paint
Indigo Blu 'Banana Custard'
Eco Paint 'Stormy'
Eco Paint 'Clamshell'
Alcohol Marker Toner or very light Grey

Step 1: Start by creating a background to stamp onto, Use the Indigo Blu Acrylics for this with a Brayer. Build up the layers of colour for texture and interest.

Step 2: Next on your Gelli plate create your main background using the Eco Paints. Remove some of the paint with your leaf and take a print.

Step 3: Stamp your little Bird stamp and 'Spring' onto your first background. Trim to size and mount onto black card, also cut a black layer for your background and create a base card from Centura Pearl.

Step 4: Position and secure your topper and sentiment, using Tacky glue. If you would prefer more dimension you could use 3D Glue gel.

Here is the finished card:

Thank you for joining me today, I really hope you have enjoyed the tutorial along with the finished card. Another thing, here is a 30% off voucher to use on your first order (anything) from Hochanda, use code FEY5JBP7.

As always I really hope you will come by again to see what I am sharing next time. For now Take Care and Happy Crafting.xxx