Showing posts with label Pebeo Gilding Wax. Show all posts

Sunday, 30 September 2018

Christmas Rose

Morning Everyone, I thought I would share a little frame card with you today. It's a card I made for the launch of the  wonderful 3D Embossing Folders from Crafters Companion. I love these folders, the detail, depth and dimension is super, I have said it so many times, they are such beautiful designs, so I like to show them off as simply as possible.

You will need:
Christmas Rose 3D Embossing Folder
Spectrum Noir Metallic Pencils
Black Card
Textures Embossing Folder 'Bark'
Centura Pearl Ivory Card Base 7 1/2 x 6 1/2
Pebeo Gilding Wax  (A selection)
Collall Tacky Glue
3D Glue Gel
Foam Pads or Foam Tape

Step 1: Emboss your black card 5 x 7''. Colour with the metallic pencils.

Ste 2: Cut a frame 6 1/2 x 7 1/4, the inside measures 6 x 5''. Emboss this with the textures Bark folder. Bring out the texture with a selection of Gilding waxes.

Step 3: Mount the frame onto your project with either foam tape or foam pads, then mount onto your base card.

Step 4: Use some scrap card to emboss a few more flowers, colour and shape them. Position and secure them to your frame using 3D Glue gel.

Here is the finished card:

Many thanks for visiting today, it's always nice to have some company. I hope you have enjoyed the tutorial along with the finished card. For now Take care and Happy Crafting.xxx

Thursday, 12 April 2018

Moonlit Couple

Morning, I have another project for you this morning using the 'Rustic Wedding' Signature Collection from Sara. Just by changing the colours used, the look and feel changes completely. I thought it might be a good idea to share to show you how versatile it can be, even when used within the wedding theme. We all adore the Rustic look, but it's always good to make as much use as possible from your stash. A quiet moment for the Happy couple in the moonlight, after all the excitement of the day, The Perfect Ending.

You will need:
Rustic Wedding 'Just Married Die'
Rustic Wedding 'Always and Forever' Stamp Set
Matt Black Card 6 x 6''
Sheena Stamping Card 6 x 6''
Centura Pearl Hint of Silver Card Base 6.5 X 6.5''
Distress Inks: Faded Jeans, Blueprint Sketch and Chipped Sapphire
Silver Embossing Powder
Versamark Ink Pad
Anti Static Bag
Heat Gun
Pebeo Silver Gilding Wax
Self Adhesive Sheet (single sided)
Clear Glitter


Step 1: Create your landscape on the Sheena Card, Use ripped copier paper for the hills and mountains. Use the Distress inks, the deeper shades towards the edges and lighter towards where the hills meet to give the moonlit illusion. Use Stick n Spray to secure a circle to your piece, position it where you would like your oversized moon.

Step 2: Add your sky, again the darker shades blending towards the centre, getting lighter towards the moon and land. Deepen the edges with the deepest colour. Then stamp a few tress for depth of your scene.

Step 3: Centre your die within the black card, cut and emboss the first. The cut a further 2 the same, layer them up using Tacky Glue, keeping the embossed piece at the top.

Step 4: Use a section of self adhesive sheet behind the bride, trim around the edges with scissors. Cover with clear glitter to add sparkle to her dress. Secure to your background piece with either foam tape or 3D glue gel.

Step 5: Using Versamark, stamp the 'Just Married' sentiment within the banner and emboss with silver embossing powder. (Don't forget to use your anti-static bag first). Trim around the banner, shape and add to your design.

Step 6: Sparingly add the silver gilding wax, to the trees and leaves to add the hint of moonlight. The to finish the card add to your card base, made with Centura Pearl, Hint of Silver.

Thank you for joining me today, I really hope you have enjoyed the tutorial along with the finished card today. I do hope you will join me again as there is always something to share. For now take care and Happy Crafting.xxx

Thursday, 1 February 2018

Absent Friends

Morning, For my project today I have used a couple of sets of the Classiques Dies, 'Rose Vine' and 'Parisian Mirror' from Crafters Companion. These dies were on Hochanda Yesterday along with the 3d Embossing folders. I have also used both swirls and corners from the 'Rose Buds' stamp set and poppies from Sheena.

Cut the largest frame from Kraft Card 5 times to give a really substantial frame. I wanted a very large aperture, so with the card still in the die I cut right along the die to give a crisp, clean cut. I secured 4 of these together using Collall Tacky Glue.

I did the same for the large corner dies and smallest die from the mirror set for my sentiment. I then aged my photo by scrunching and then adding Old Photo Distress Ink.

I cut out the perfect poppies from an old dictionary page that I photocopied onto card, then coloured with alcohol markers.

I aged an old postcard using Old Photo and made an envelope for it which I decorated using the 'Rose Bud' stamp set along with Gathered Twigs and Walnut Stain Distress Inks.

Taking my MDF board and base, I stamped with the same stamps and inks.

I then blended all around the Edges from dark to light using Vintage Photo, Gathered Twigs and Walnut Stain Distress Inks.

The frame and corners were then stained with Walnut stain, then highlighted with Empire Gold Gilding Wax from Pebeo.

I arranged the finished elements onto my MDF, securing them in place with Collall Tacky Glue and 3D Glue Gel.

Thank you for joining me today, I hope you will be back to see some more very soon. For now, Take care and Happy Crafting.xxx

Tuesday, 12 September 2017

Ties That Bind

Hi everyone. Long time no see, I'm back with a post for you today, it's a big one with lots of pictures, had to be after such a long time. This project has been created for the AALL-and-CREATE Europe Challenge 1. I have used a real mix of products and techniques and had to include letters from Leonie's Typography range, which I tend to use endlessly.I am extremely proud of it and thoroughly enjoyed creating it, while I have been secluded.

To begin, I transferred my map of Europe onto calico, using tracedown. I darkened the lines using a black Copic fineliner.

Next I used a selection of stitches to achieve a variety of interesting texture throughout the map, depicting the countries with shades of blue thread. The coast of Africa was stitched in red. I also stitched onto the map design the phrase 'Ties that bind' demonstrating the tight threads that have historically joined us to Europe. The french knots that I have used for many of the countries have added a lovely texture to the piece, but took forever. Thank you to Katrina from Rowandean for the inspiration.

One part of the challenge brief was to include something modern, after all that has happened with my laptop, it had to feature in my project, so I will never forget. I also wanted to include an element that stretched back through our rich history. What better than an ancient king and a historical ship, so I stitched these onto calico to illustrate the long history of Europe.

Next I moved onto the frame, which is slightly larger than A3, I used a thick backing board covered with Centura Pearl cardstock, the wrong side up.

Then came the exciting part, creating the texture and decoration and lots of rearranging. I started by covering the whole frame with Spiders web ribbon, securing with Collall  tacky glue.

I was so inspired by this project, to include the European printmaking influence, I decided to use the word 'Inspire' I would have loved to include all of the translations of the word but had to settle on 4 for this. I have used English, Welsh,Danish and Czech. The Danish 'Inspirere' is enclosed in a mini printers tray. The letters I have used are from Leonie's 'Typography' die collection.

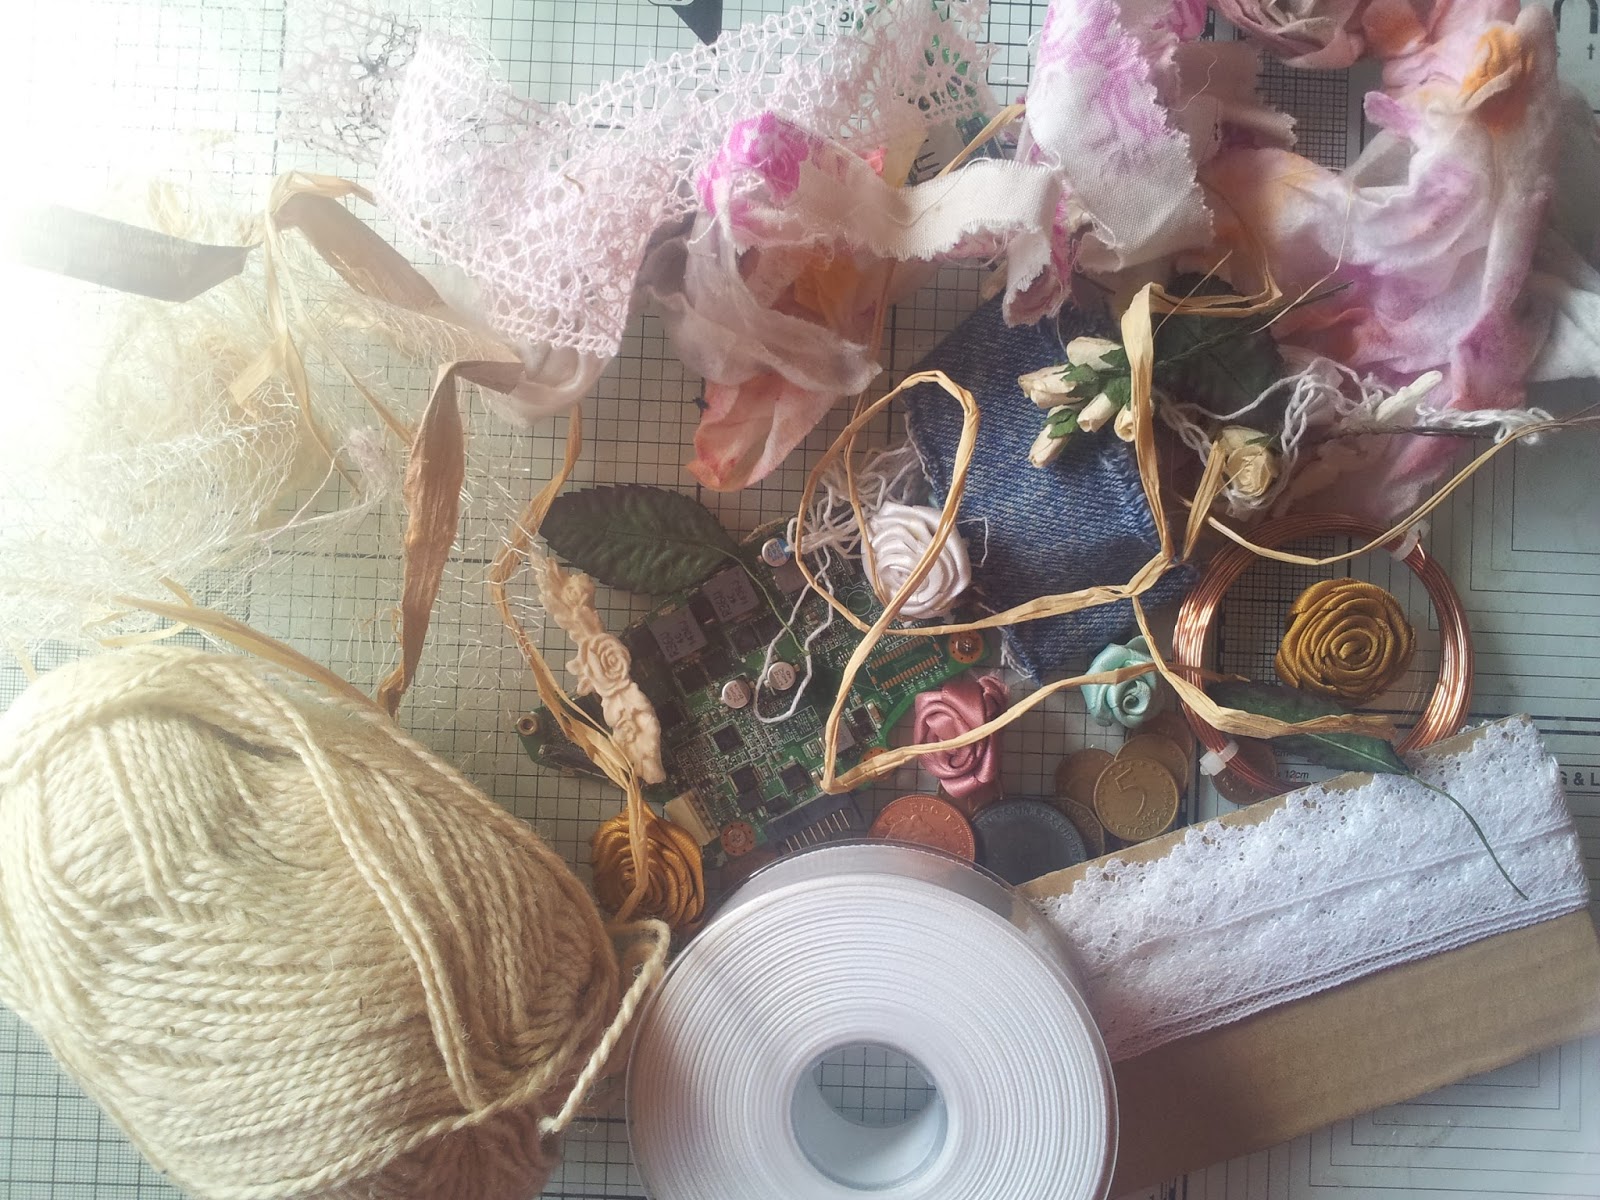
Next I took a selection of bits and bobs to create my frame and add as much texture and interest as possible without detracting from the main map. I made ribbon roses, antique and modern lace, scrap fabric, old baby wipes along with a lot of other items. After a lot of rearranging, I came up with a plan. I did have a selection of old and new coins from all over Europe but decided to leave them out of the final design.

I had planned on using Ivory Powertex for my frame.......

But decided I wanted to continue the old and new theme, so changed to bronze Powertex. I added sand and different sized balls for even more texture.

For the letters, I added a little depth, using black sand texture gel from Pebeo.

I painted some parts of my old Laptop black and assembled onto the base sing garden twine and Powertex. I have included some close ups here.

The letters for my printers tray were finished with black gesso before lifting the texture with a selection of gilding was from Pebeo.

I then enhanced the textures created on the frame by drybrushing, firstly with black gesso. Then I used Colortricx Brons Gold mixed with Easy Varnish from Powertex.

I secured acetate in the aperture, then the stitched map behind. To finish, I added my stitched embellishments.


Thank you so much for coming to see this project. As I said before I have really enjoyed making it. I am so pleased to be back in the land of craft and hope to see you all very soon. I have to build up a selection of blogs, but I a working on it. Take care and Happy Crafting.xxx


Wednesday, 7 June 2017

Le Cirque

Morning, I have thoroughly enjoyed using the new Kinetic Dies to create these cards. For todays Step by Step I have also used the 'In a Spin' die from Leonie's Mixed Media Collection along with 'Le Cirque' from Graphic 45.

I cut out the 'In a Spin' 4 times and layered together using Tacky Glue. Next I selected images from Le Cirque, cut them to size and secured them in place at the back.

I then cut the base Circle Pop Out card using double sided Black Pearlescent card, along with the 'Thank You' sentiment. I then edged the card base using a Pebeo silver 4Artist marker.

I cut the panels and decorated using a selection of the Graphic 45. I then covered the whole piece using the Crackle Medium from Tonic. Once this was dry, I highlighted the cracks with Gathered Twigs Distress Ink.

I cut the layering panels in the same black card and edged them with the silver. Then layered the decorated panels onto black with Tacky Glue.

I cut a clown from the collection and decoupaged him to give him more depth. I filled the circles with Glossy Accents, giving a domed look. Then I added Pebeo Silver Gilding Wax to texturize the circles. I assembled as in the photos, placing the clown so he was pointing at the sentiment.

Thank you ever so much for taking the time to visit today. I do hope that you have enjoyed the step by step and the finished card. If you do enjoy reading my blog and the things I share then I would love your nomination for best blog in the International Craft Awards, the link is here:
http://www.craftsbeautiful.com/awards/
Take care and Happy Crafting.xx