Showing posts with label Paperartsy. Show all posts

Wednesday, 21 November 2018

Song of the Sea

Morning Friends and Crafters, My Dolphins are making another appearance for my project this morning. This time I have used them alongside ;The Funky Tree' from Leonie along with some other stamps to create this double scrapbook or Journal page. The Amsterdam Acrylics, brought to us by Lou are superb for creating the textured background and layers. Like she often says they go such a long way,as soon as you use them the quality is clear.

You will Need:
Funky Tree Stamp By Leonie Pujol
Leonie Pujol Typography Alphabet Dies
Rose Leaf Stamps
PaperArtsy Stencil or your chosen Design
Medium/Large Bubble Wrap
Selection of Gel Pens
Amsterdam Acrylics
Personal Photos
Extra Stamps of your Choice
Versafine Ink Pad Black
Black Fine Liner Pen
Black Card for Mounting your Photos
Yellow and Orange Brusho.
White Stamping card

Step 1: Use a selection of the Amsterdam Acrylics to create a textured background, here i have used a selection of blues and greens. Don't worry they go a long way, so you use very little. Use cross swipes to create as much texture and depth as you can overlaying the colours. Next paint the same colours onto your bubble wrap and stamp with it, either scrunch it up or mount it on a block with Tack n Peel.Stamp the first of the tree bases with Versafine Black ink.

Step 2: Create a mask for the tree base on copier paper. Stamp a couple more tree bases. Next I added a staircase which was printed onto rice paper, this was to coordinate with one of the photos I used. I then added the tops of the trees, these give a lot of texture, depth and dimension, especially hen you colour them with your gel pens. Next stamp a flurry of rose leaves around the top left of the first page, this will keep drawing your eye into the page.

Step 3: Use a block stencil around your page, this will add more depth and interest to your page, I have used a lighter colour here but you can stick to a background colour if preferred. Mount your photos onto black card, before securing them gut the centre with a basic die, the middles can then be used to mount any other photos, it saves an awful lot of card and keeps the bulk down in your journal or scrapbook.
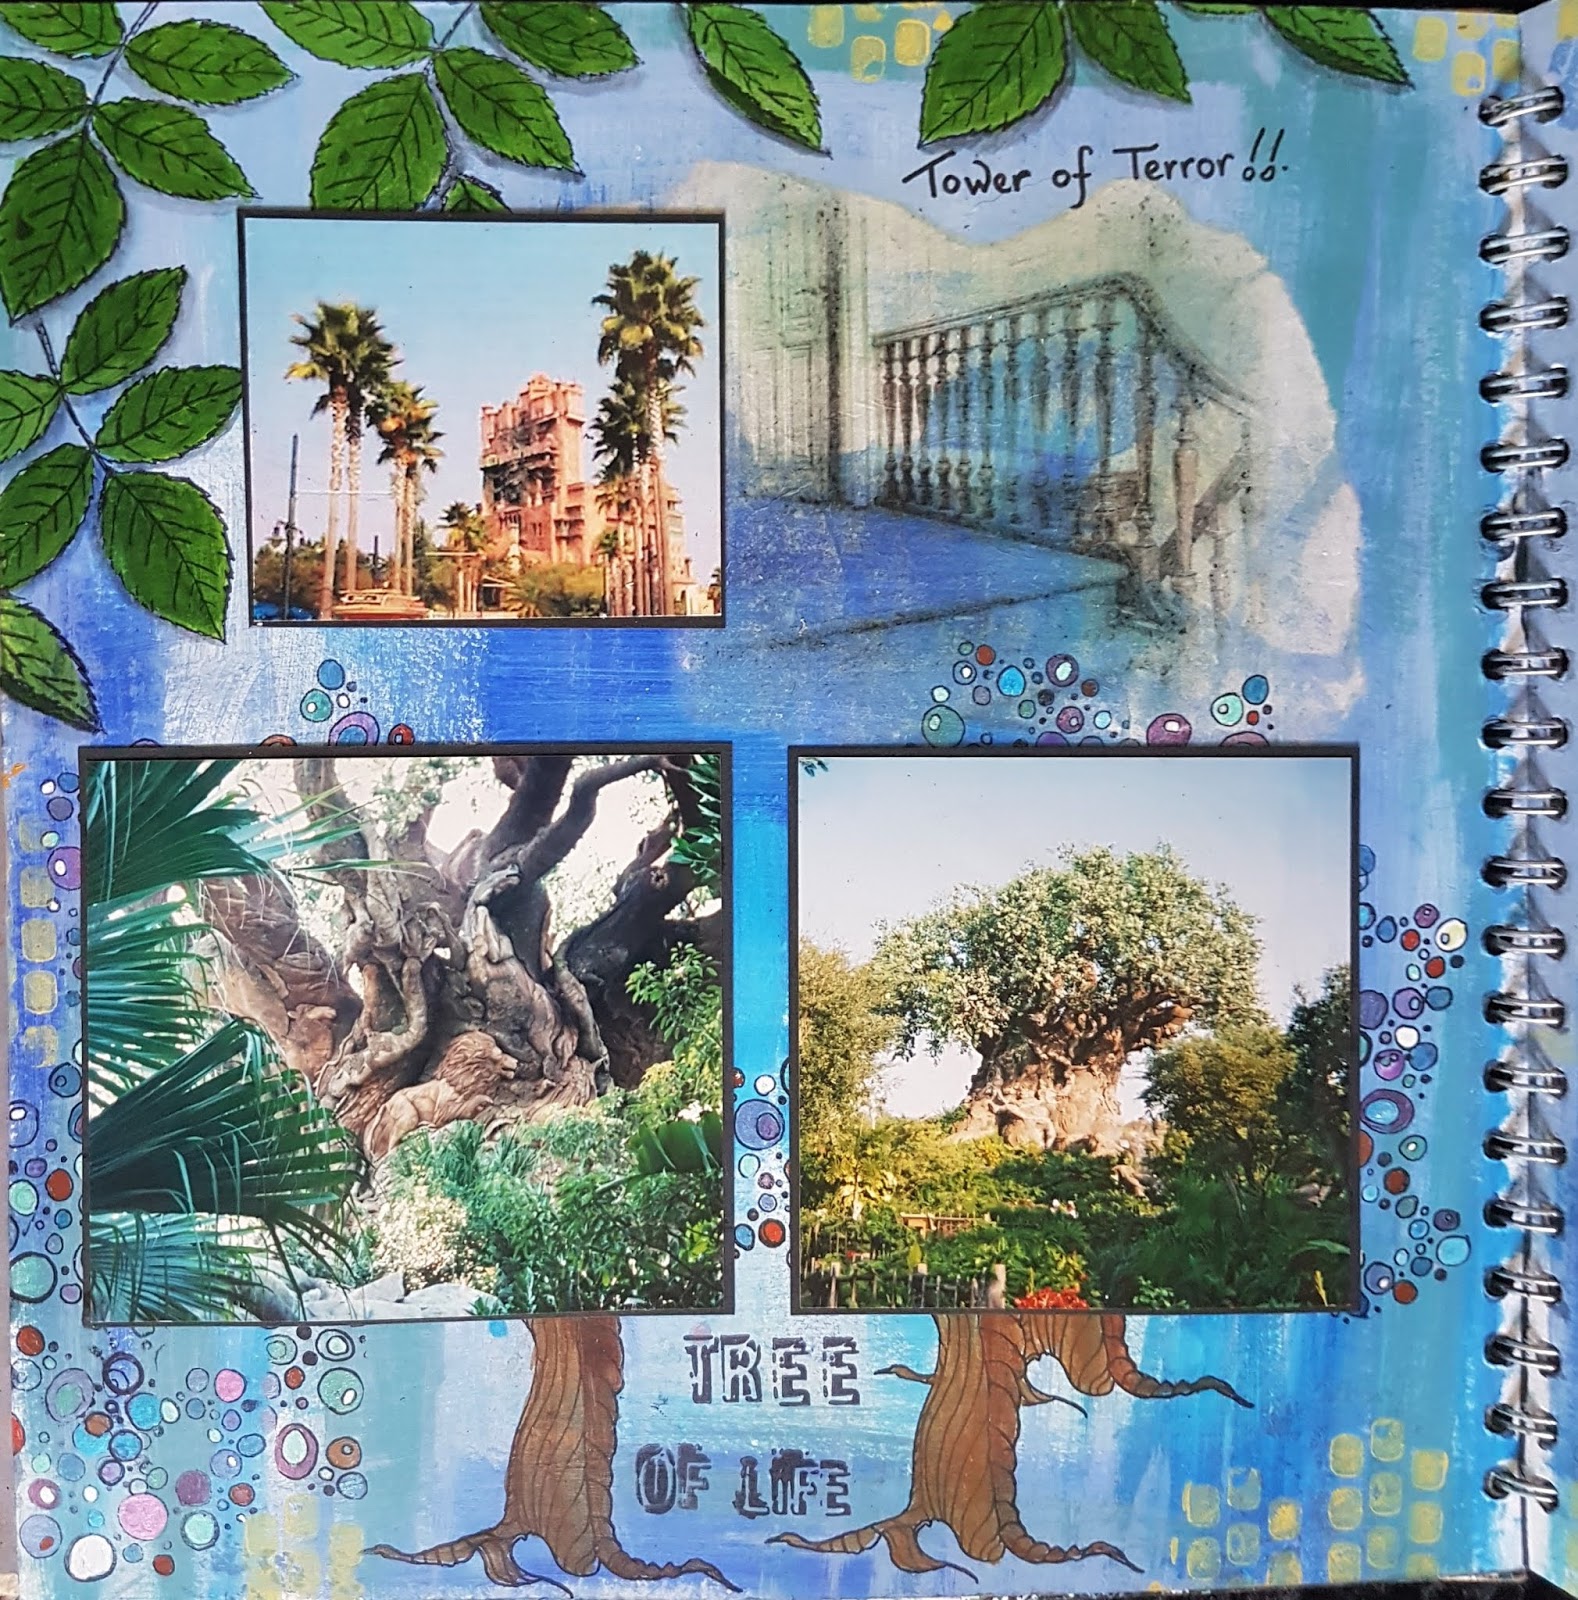
Step 4: Repeat the stenciling on the second page. Cut out the word required with the alphabet and colour with the Brusho. Stamp your Dolphins and chosen words. Use the acrylics again to colour them, Lastly mount and secure your photos. Whatever photos you decide to use, you will create a wonderful page to display your photos and so much nicer than leaving them in a box or on the phone.

Just a little extra here: If you have not shopped with Hochanda before, here is a voucher code giving you 30% off your first purchase (FEY5JBP7) it can be used for any purchase, feel free to share it.


As you know I love writing my blog and helping as much as I can, well I would really love for you to add you support by adding me as a favourite blog. All you need to do in that section is choose other and add my blog address nickinbarnsley.blogspot It would be great to get a mention even if I dont come anywhere.

Here is the link to add your support for all of the categories. 


Thank you ever so much for joining me today, I hope you have enjoyed the tutorial along with the finished project. Please stop by again to see what else I have to share with you. Take care and Happy Crafting.xx


Monday, 3 September 2018

Beauty with the Clarity Three Way Overlay Stamps

Morning Friends and Crafters, I do hope you are enjoying the ongoing Celebrations for 25 Years of Clarity. Today there is still the fabulous One Day Special with Paul & Linda at 9 am, 1 pm and the Final Call at 5 pm. Today I am sharing a card along with a full tutorial of one of the samples I made for the show.

You will need:
Clarity Three Way Overlay Townhouse Stamp Set.
Stamping Card
Black Card
White Card Base
Word Chain Stamps
Brayer
Indigo Blu Town House Teal Acrylic Paint
Indigo Blu Pantry White Acrylic Paint
PaperArtsy Fresco Finish Tango Acrylic Paint
Black Fine Liner
Ruler
Versamark Black Ink
Hickory Smoke Distress Oxide

Step 1: Create a textured background using the acrylic paint selection, Add each layer separately, leave to dry and add more layers until you are happy with the texture, depth and effect. This will give you lots of texture and interest.

Step 2: Stamp your outline stamp, using Black Versafine ink.

Step 3: Add the positive layer stamp, using Hickory Smoke Distress Oxide, layer this until you are happy with the depth of colour.

Step 4: Trim to size and mount onto a black mat.

Step 5: Create a background piece in the same way as before, here i have used an A4 piece, which will give me some for a future project.

Step 6: Trim to size, Use a fine liner pen to add a frame around the piece. Mount onto a black base before adding to your base card.

Step 7: Use 'Beauty' from the Clarity Word Chain Stamps, stamp with the black ink onto a matching piece of background.

Step 8: Using the fine liner and ruler, create a frame around this also. Mount this onto black card.

Step 9: To finish your card, add the topper you have created and add the sentiment to your project.

Here is the finished piece:

Thank you ever so much for joining me today, I do hope you have enjoyed my tutorial along with thee finished card I have shared with you. Enjoy the last day of the Clarity Celebrations with Paul and Linda and here's to another 25 plus years. For now Take care and Happy Crafting.xxx

Wednesday, 17 August 2016

Snow Is Falling

Hello, I decided to make a fairly simple, but different Christmas Card today using the Entwined Collection that Leonie launched on Hochanda on the 10th August. The shows will still be available on Catch up via the Hochanda website, If you are looking for more inspiration or just fancy watching them again, do take a look.

I started by creating my background paper for the design. I took a sheet of Tissue paper and spritzed it all over until it was thoroughly soaked. Then I sprinkled it with Paperartsy Infusions 'Royal Blood', heavier in some places and lighter in others. I then spritzed more water until it was flooded and the water pooled. I left this in the sun to dry, it gives amazing texture where the colour pools, like broken ice on a pond that has frozen again and again.


Then I cut out the Entwined Snowflake 'Snow' with Silver Mirror Card and the Entwined Snowflake 'Base' from blue Centura Pearl card from Crafters Companion. I sprayed it with Stick n Stay and covered with ultra fine crystal glitter, to allow the colour to shine through while adding the sparkle.

I cut my base card to 8 x 5'' from blue Centura Pearl card. I chose this colour as it really enhanced the pattern and colour of my background. I covered this with the tissue I had made using Stick n Spray as I didn't want to use a wet glue which would have caused creases, which I didn't want for this piece.

I sprayed a very light coat of Spray n Sparkle Silver, just a suggestion really. I tried entwining the die and it looked lovely, but I decided it wasn't right for this piece. So I cut another base and created a drop shadow for the word Snow and used glitter in a contrasting colour.

Ii think in this particular design, arranging it differently framed my card. I then layered onto mirror card and then onto a matching card base.

I do hope you have enjoyed the step by step I have shared today and the finished card. I have more to share so I hope you ill return soon.Take care and Happy Crafting.

Thursday, 21 July 2016

A Valentine For Him

Leonie will be on Hochanda tomorrow evening at 8 pm to launch a brand new collection. I have to say that I am extremely excited about this launch. I love all of Leonie's products but this has been especially wonderful to craft with, please tune in as I have a feeling these are not going to hang around. I thought it might be nice to make a man's card to share for a change, I know how a lot of people say we are difficult to make for. 


The idea started when I was sorting out some fabrics and I came across some lovely black leather. I cut out the hearts from the 'Lots of Love' set.

Next I took a zip and cut a section of some denim. I wanted the sentiment to be appearing through the open zip.

As I had some denim left over, I decided to cut the hearts from this as well.

For the sentiment, I measured a piece of board which I had covered with white super smooth paper and cut it to 13 1/2 x 7 1/2 cm.

Next I stitched the zip to both sides of the denim making sure it would position over the board okay.

With Archival Black ink, I stamped the handwritten 'Love' stamp.

I blended across this with Shaded Lilac, Faded Jeans and Peacock Feathers. Then I rolled it up to form creases all the way across. I then highlighted the creases with the ink that was left on my blending tool.

To make the corner sentiments, I worked out the size of card I needed and cut the card using a basic square die. I also used one of the accent stamps in the corner. The nice thing about using a strip stamp is that you never end up with any of the words being upside down.

I opened the zip, positioned it over my sentiment and secured in place using Cosmic Shimmer glue.

I blended the same distress inks around the corner sentiments once I had cut out the required centre square die and cut them in two.

I took the leather hearts and splattered the with Red Daler Rowney paint for added interest and texture.

For the background, I took a sheet of tissue paper an inch or so larger than my finished project. I placed this onto my glass mat and spritzed with water until it was totally saturated. I then sprinkled on some Royal Blood Infusions from Paperartsy. I continued spraying with water which made the paper crinkle and the colour puddle into the beautiful pattern. I left this to dry in full sun, which intensifies the effect. When totally dry I carefully peeled it away from the matt.

I used Crafters Companion Stick n Stay to secure it to my card to keep the pattern I had created and to minimise additional wrinkles. I turned the excess to the back and secured with Cosmic Shimmer glue. This gives a much neater edge than using scissors to trim.

I then assemble my card as shown in the finished photo. With the exception of the 'Love Sentiment' everything was secured with Cosmic Shimmer glue. For the sentiment I used 3D glue gel.

I hope you have enjoyed the step by step and the card I have shared with you today. Thank you so much for taking the time to visit and for the lovely comments you leave both on here and on Facebook. I really hop that you will come by again soon.Take care xxx

Monday, 20 June 2016

Oscar Owl

Morning. When I first got Leonie's new Dies, I cut them all out to look at what I could make that would be a little different. I always look to see if there is anything unusual that springs to mind. This little project sprung to mind as soon as I saw the die cut's and how they were arranged. Please do take a look at the Launch shows on Hochanda, you can find them via the TV Schedule and they are available for a couple of weeks, you might just catch them if you hurry.


For this project, I started by making my background. I took a piece of Watercolour Board and sprinkled some Paperartsy Infusions onto my piece. I used Blacknight and Violet Storms. The Infusions are pigment powders and give some wonderful effects, they are brilliant for backgrounds. I then spritzed with plenty of water to get the effect I was looking for.


Taking a sheet of double sided pearl black card, I die cut the Folk Heart 'Sensational Swirl'. The die cut formed the main body of 'Oscar' and I used the waste to create the eyes, eyebrows and talons. I used Cosmic Shimmer Gilding Paste from Creative Expressions to add colour to these extra pieces, Ocean Teal for the eyes and Purple Twilight for the eyebrows.


I found a really aged piece of twig to form the branch for him to sit on. I added some extra texture to it using some white gesso mixed with a little sand and glued it to my background board with Cosmic Shimmer Glue. Then I assembled my finished piece also using Cosmic Shimmer from Creative Expressions.


Another fun piece made with Leonie's wonderful Dies. I really hope you have enjoyed today's project and the step by step I have shared. Thank you so much for visiting today and I hope that you will be back again soon. Take care and have a good day.xxx